

Prep your cleaning toolkit
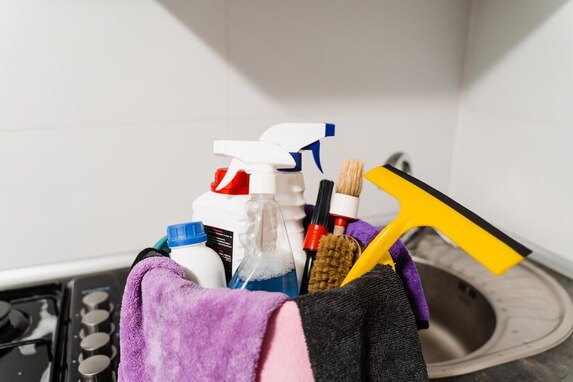
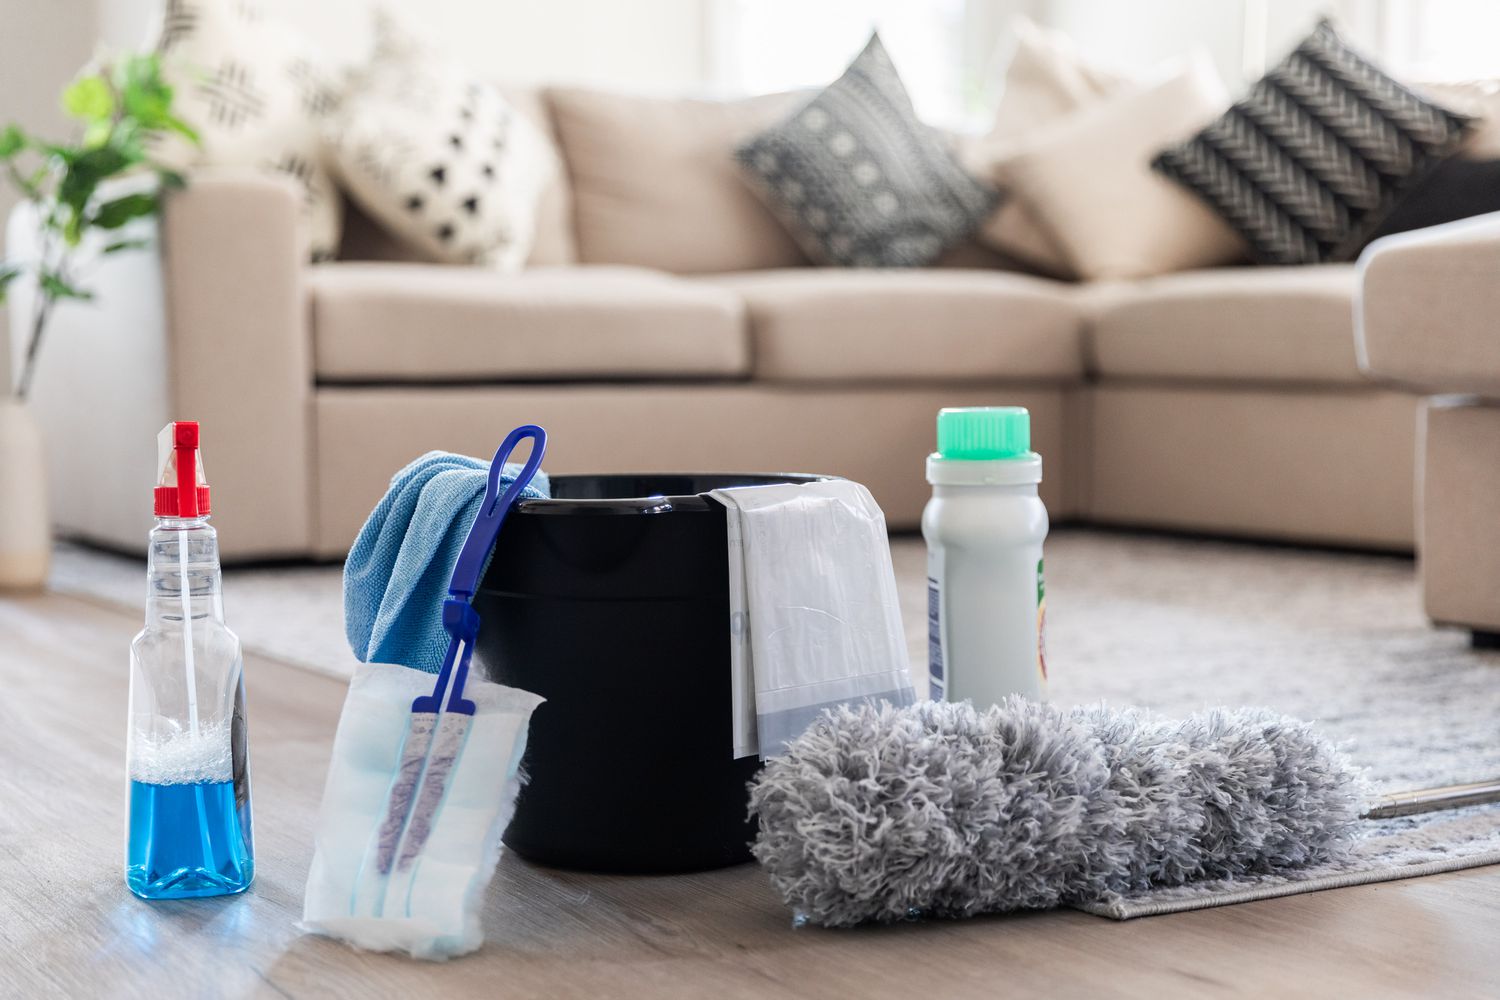
Gathering the right equipment before you start prevents mid-task stops and ensures you can tackle both the exterior and kitchen appliances effectively. A focused toolkit reduces physical strain and improves cleaning efficiency. Start by laying out your supplies in a caddy or bucket so everything is within reach.
Essential Tools and Gear
For the home exterior, you need durable brushes for siding and decks, a pressure washer or garden hose with a spray nozzle, and sturdy gloves to protect against weather and grime. Inside the kitchen, focus on specialized brushes for appliance crevices, microfiber cloths that trap grease without streaking, and a dedicated sponge set. Using the right tool for each surface prevents damage and saves time.
Safety and Protection
Cleaning chemicals and outdoor elements require protection. Wear safety goggles when using pressure washers or spraying detergents to shield your eyes. Rubber gloves are essential for handling kitchen degreasers and exterior cleaners. If you are working on ladders for exterior windows or gutters, ensure they are stable and have a spotter if possible. Proper gear keeps the process safe and comfortable.
![Amazon Basics Microfiber Cleaning Cloths, Ultra Absorbent, Lint Free, Streak Free, Non-Abrasive, Reusable and Washable, 16" x 12", Blue/White/Yellow, Pack of 24 [Amazon-developed Certification] Compact by Design](https://m.media-amazon.com/images/I/91WjG1lqmLL._AC_UL960_QL65_.jpg)


As an Amazon Associate, we may earn from qualifying purchases.
Wash siding and windows
Start with the siding before you touch the glass. Exterior surfaces accumulate the most grime, and rinsing them first prevents dirty runoff from streaking your clean windows. This approach to washing siding and windows keeps the process logical and protects your finish.
Rinse from the top down
Connect a garden hose to a spray nozzle and wet the siding starting at the roofline. Work in 4-foot sections, letting gravity pull the water down. This initial rinse knocks off loose dirt, pollen, and cobwebs so your soap doesn't turn into mud. Avoid high-pressure washers on vinyl or wood siding, as the force can force water behind the siding or splinter the wood.
Apply soap with a soft brush
Mix a bucket of warm water with a mild detergent or a specialized exterior cleaner. Use a soft-bristled brush or a sponge to scrub the siding. Work from the bottom up to prevent streaks, then rinse that section immediately. For vinyl siding, a long-handled brush makes the job easier and keeps you off the ground. Rinse thoroughly to remove all soap residue, which can attract more dirt if left behind.
Clean windows in shade
Wait until the sun is out of direct contact with the windows. Cleaning glass in bright sunlight causes the cleaning solution to dry too quickly, leaving behind unsightly streaks. Spray a mixture of water and a few drops of dish soap onto the glass. Use a squeegee to wipe the window in an "S" pattern, wiping the blade with a clean cloth after every pass.
Detail the edges
Use a microfiber cloth to dry the window frames and sills. Water left in these crevices can lead to mold or rot over time. Check the corners of the squeegee blade for lint or debris before your final pass. A clean edge ensures a crystal-clear finish without water spots.
Wet the siding starting at the roofline and work downward in 4-foot sections. This knocks off loose debris before you apply soap.
Use a soft-bristled brush and a bucket of warm water with mild detergent. Scrub from the bottom up and rinse immediately to prevent streaks.
Spray glass with a water and dish soap mixture. Use a squeegee in an "S" pattern, wiping the blade after every pass for a streak-free finish.
Wipe down window frames and sills with a microfiber cloth. Removing standing water here prevents mold growth and wood rot over time.
-
Rinse siding from top to bottom before applying soap
Scrub outdoor fixtures and decks
Decks and outdoor fixtures collect grime that standard rinsing can’t remove. Wood fibers trap dirt, while metal railings oxidize and accumulate pollen. A targeted scrubbing routine restores the original surface without damaging the material.
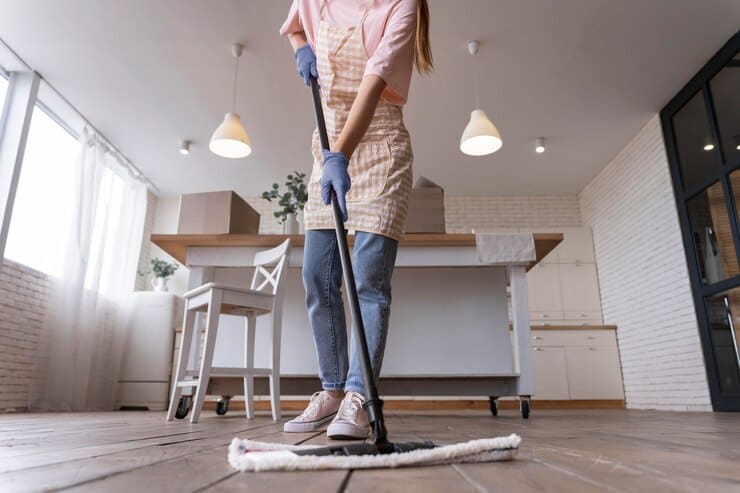
Clear the deck of furniture, planters, and loose debris. Sweep thoroughly to remove dirt and leaves. This prevents scratching the surface during the scrubbing phase and ensures your cleaning solution reaches the wood or metal directly.
Mix a mild detergent with warm water or use a dedicated deck cleaner. Apply it evenly across the deck boards and metal railings. Let the solution sit for ten minutes to break down stubborn algae, mold, or oxidized metal, but do not let it dry on the surface.
Use a stiff-bristled brush for wood and a non-abrasive pad for metal. Scrub the deck boards along the grain to avoid deep scratches. For metal fixtures, focus on joints and crevices where dirt accumulates. Apply firm, consistent pressure to lift embedded grime.
Rinse the area with a garden hose or a low-pressure washer. High pressure can damage wood fibers or force water into siding joints. Start from the top and work downward to prevent streaking. Ensure all soap residue is gone to avoid attracting more dirt later.
Deep clean the refrigerator
A deep clean of your refrigerator removes hidden grime and odors that regular wiping misses. Start by unplugging the unit if possible, then remove all food, shelves, and drawers. This allows you to access every corner and prevents cross-contamination between dirty surfaces and clean items.
Discard expired items and wipe down removable parts with warm, soapy water. For stubborn stains or odors, use a mixture of baking soda and water or a diluted vinegar solution. These natural cleaners are effective and safe for food-contact surfaces. Rinse thoroughly and let parts dry completely before reinserting them.
While shelves are drying, wipe the interior walls, ceiling, and door seals with a damp cloth. Pay special attention to the rubber gaskets, where mold and crumbs often accumulate. Use a soft brush or cotton swab to reach tight crevices. Finally, wipe the exterior and handle with a suitable cleaner for your fridge’s finish.
Remove all food items and discard anything expired or questionable. Take out shelves, drawers, and bins. Inspect the interior for spills or leaks that may have dripped onto the bottom.
Fill a sink or basin with warm water and mild dish soap. Soak shelves and drawers for 10 minutes to loosen grime. Scrub with a non-abrasive sponge, rinse well, and dry with a clean towel.
Mix a solution of one tablespoon baking soda per quart of warm water. Dip a cloth in the solution and wipe down all interior surfaces, including the ceiling and sides. For odors, leave an open box of baking soda inside after cleaning.
Use a cotton swab dipped in the baking soda solution to clean the rubber door gaskets, removing trapped crumbs and mold. Wipe the exterior and handle with a cleaner appropriate for your appliance’s finish.
Once all parts are completely dry, slide shelves and drawers back into place. Return food items, organizing them by category. Plug the unit back in and set the temperature to 37°F (3°C) or below.
Clean the oven and stovetop
Baked-on grease and food residue turn your cooking surfaces into a stubborn mess that standard wiping can't fix. Removing this grime requires a combination of chemical softening and mechanical agitation. We break the process into two distinct tasks: the oven interior and the stovetop surface.
Remove the oven racks and set them aside. For the interior walls, spray a commercial oven cleaner or a paste of baking soda and water. Let it sit for at least 15 minutes, or overnight for heavy buildup. The chemicals need time to break down the carbonized grease so you don't have to scrub it off by hand.
Use a damp microfiber cloth or sponge to wipe away the dissolved grime. You may need to rinse and wring the cloth several times. For stubborn spots, use a plastic scraper to lift the residue without scratching the enamel. Wipe the interior one final time with plain water to remove any chemical residue before replacing the racks.
Sprinkle baking soda over the stovetop and spray with vinegar or a mild all-purpose cleaner. Let the fizzing action work for five minutes. Use a non-abrasive scrub pad to lift the grease from around the burners. For glass tops, use a dedicated razor blade holder at a 45-degree angle to scrape off burnt-on food without scratching the surface.
Dry the oven interior and stovetop thoroughly with a clean towel. Polish the stovetop with a little glass cleaner or vinegar solution for a streak-free shine. Reinstall the oven racks and any removable burner caps. Ensure everything is dry before turning the power or gas back on to avoid smoke or odors.
Maintain your dishwasher and microwave
These two appliances work hardest behind closed doors. A quick deep clean now prevents odors, streaks, and mechanical failures later. Follow this sequence to keep them running smoothly.
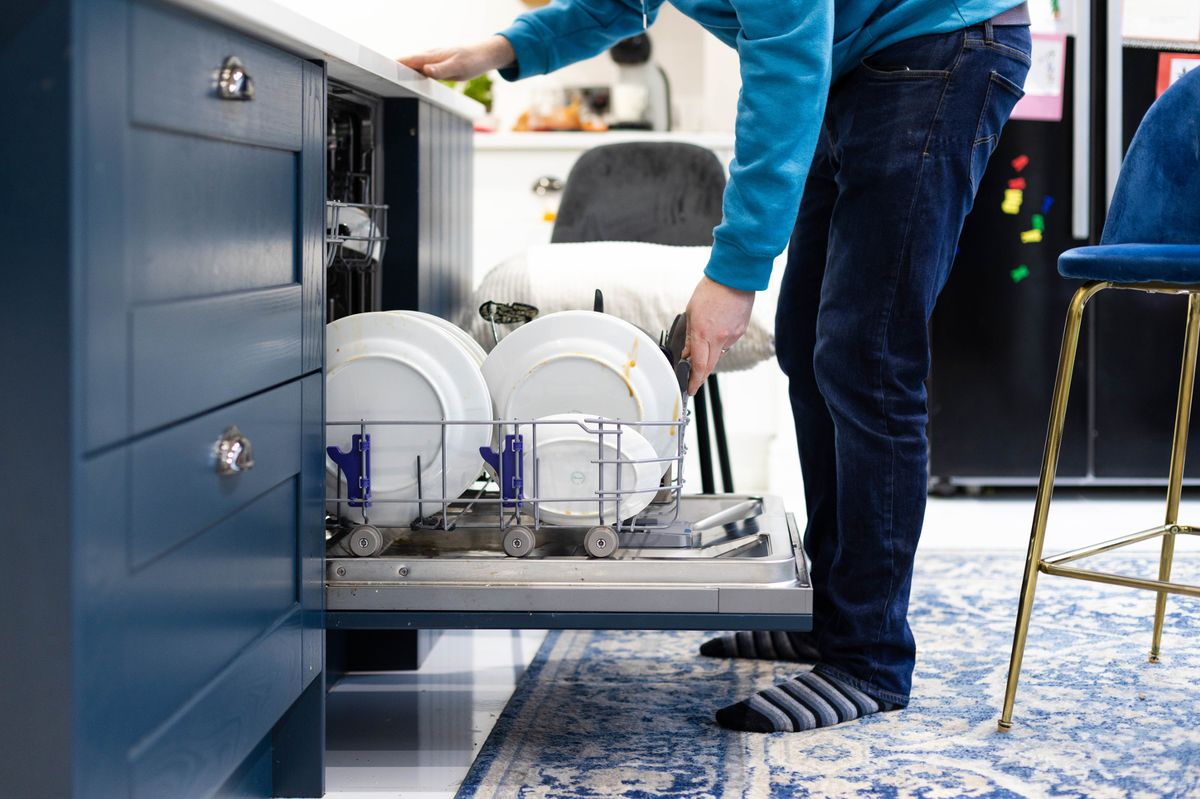
Locate the filter at the bottom of the tub. Twist it out and rinse it under warm water. Use a soft brush to remove trapped food particles. This step alone stops most bad smells and improves wash performance.
Mix warm water with a few drops of dish soap. Wipe down the door gasket, the interior walls, and the spray arms. Food residue builds up in these hidden spots, blocking water flow. Dry the seal thoroughly to prevent mold growth.
Place a cup of white vinegar in a dishwasher-safe bowl on the top rack. Run a hot water cycle with no dishes inside. The acid breaks down mineral deposits and grease left by detergent. This restores shine to your dishes and interior.
Fill a microwave-safe bowl with water and lemon slices. Heat it on high for three minutes. The steam loosens baked-on food. Wipe the inside with a damp cloth. For stubborn spots, let the steam sit for another minute before wiping.
Use a microfiber cloth with a little glass cleaner or stainless steel polish. Wipe the outside panels and the control keypad. This removes fingerprints and grease splatters. Finish by drying the surface to prevent streaks.
Common cleaning mistakes to avoid
Even with the best products, technique matters. Small errors in your deep cleaning routine can dull surfaces, spread grime, or leave residues that attract more dirt. Avoid these frequent pitfalls to keep your home exterior and kitchen appliances looking their best.
Using the wrong solution on stone
Natural stone like granite and marble is porous and sensitive to acid. Spraying vinegar or citrus-based cleaners on stone countertops or exterior pavers strips the sealant over time, leaving dull spots. Use a pH-neutral cleaner instead. The EPA notes that mild, non-acidic options like lactic acid are safer for many surfaces without causing damage.
Letting grime sit too long
Dried-on grease on stovetops or baked-on food in ovens requires more scrubbing and harsher chemicals than fresh spills. When you clean immediately after cooking, a simple wipe with warm soapy water is usually enough. Waiting until the residue hardens turns a two-minute task into a half-hour ordeal.
Mixing chemicals carelessly
Combining bleach with ammonia or vinegar creates toxic gases that can irritate the lungs and eyes. Always read labels and never mix products unless the manufacturer explicitly states it is safe. Stick to one active ingredient per session to avoid dangerous reactions and ensure the cleaner works as intended.
Ignoring the hidden spots
Focusing only on visible surfaces misses the areas where bacteria and grime accumulate. Check behind appliances, under sink edges, and the rubber seals on dishwasher doors. These hidden zones often harbor mold and mildew that can spread to other parts of the kitchen if left unchecked.
Always test a small, inconspicuous area with your cleaning solution before applying it broadly. This prevents unexpected damage to finishes or discoloration on sensitive materials like stone or painted wood.
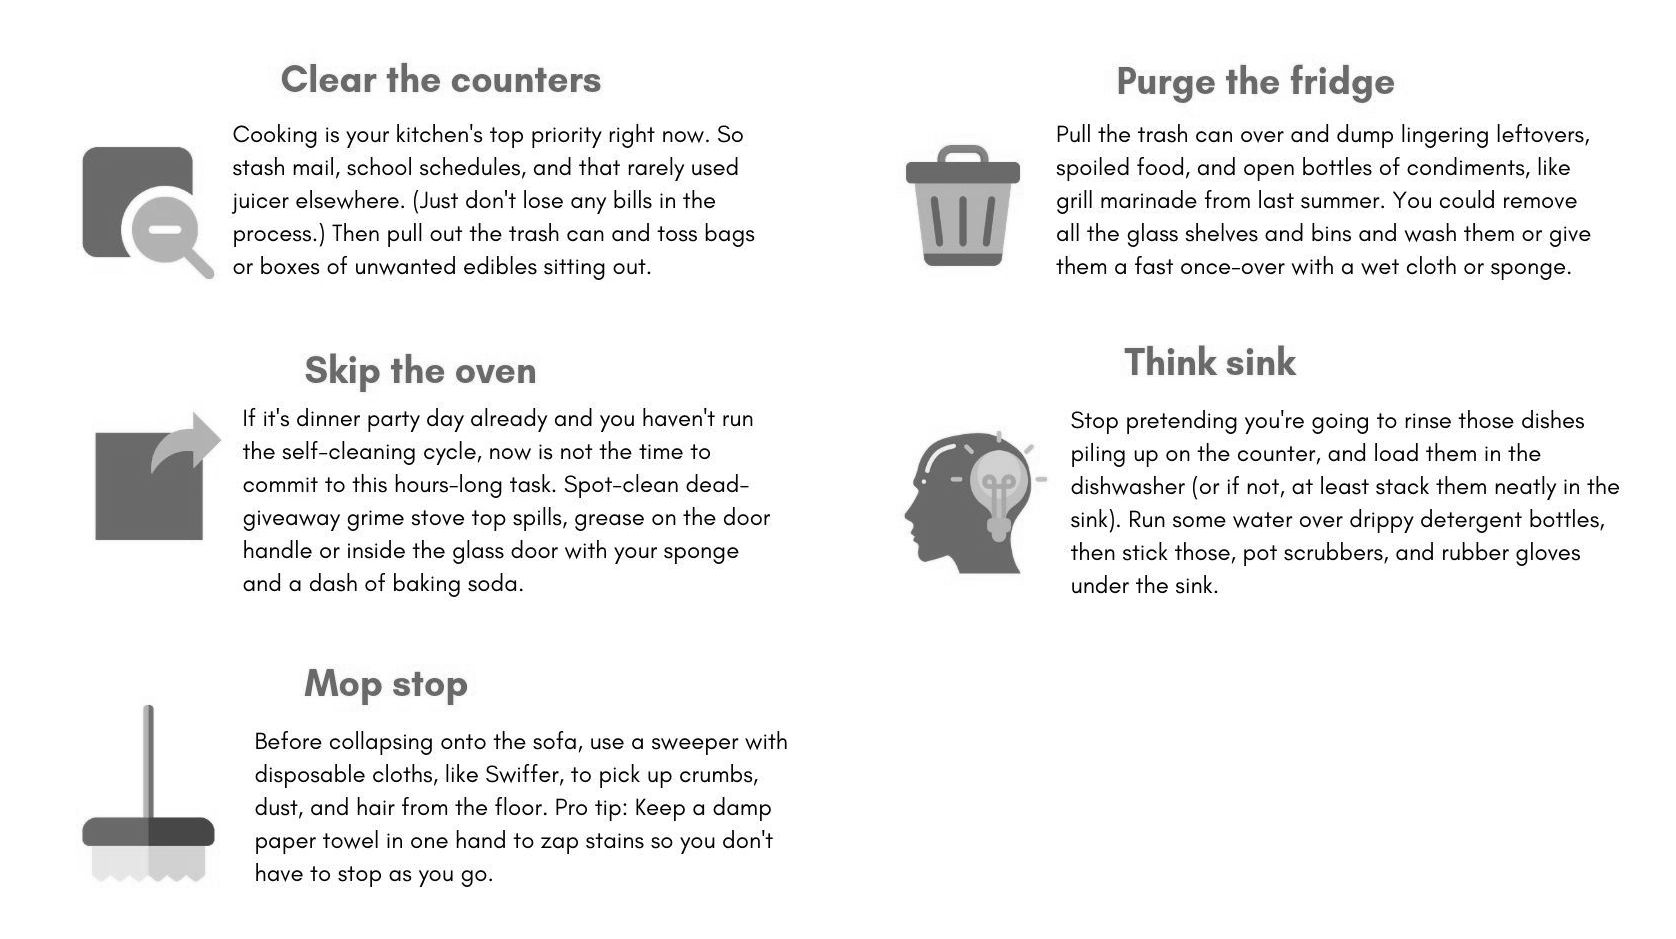
Gravity pulls dirt downward. Start with high surfaces like range hoods and upper cabinets, then move to countertops, and finish with the floor. This ensures you don’t drip clean surfaces with grime from above.
Soap residue attracts dust. After scrubbing, rinse surfaces with clean water and dry with a microfiber cloth. This leaves a streak-free shine and prevents sticky buildup that pulls in more dirt.
No comments yet. Be the first to share your thoughts!