
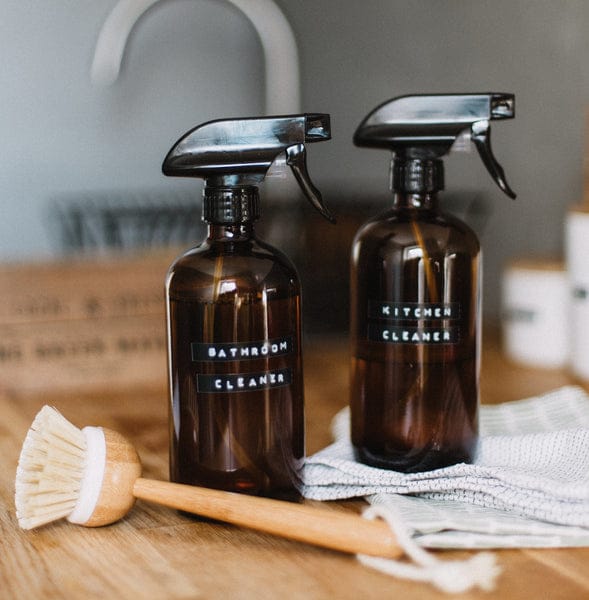
Why switch to non-toxic appliance care
Traditional appliance cleaners are often overkill for daily kitchen maintenance. Most commercial sprays rely on harsh solvents and synthetic fragrances that leave behind volatile organic compounds (VOCs). These chemicals don't just sit on the surface; they off-gas into the air you breathe while cooking or storing food. Switching to non-toxic cleaning hacks reduces this indoor pollution significantly, creating a safer environment for your family and pets.
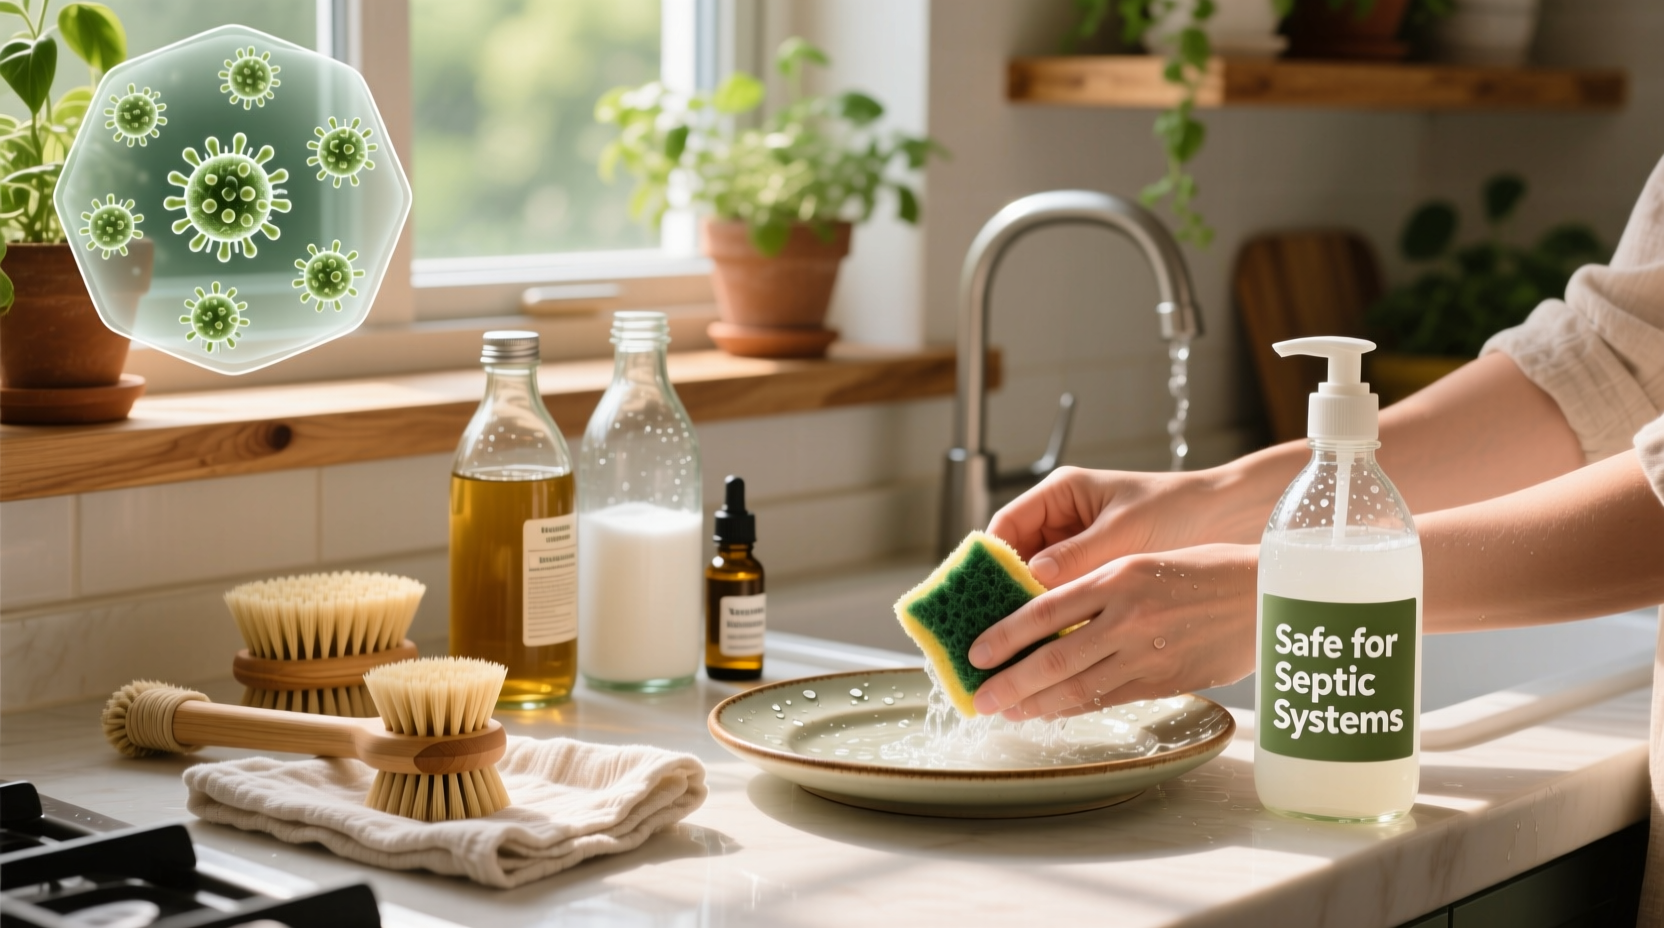
Beyond health, harsh chemicals can degrade the materials of your appliances over time. Abrasive powders scratch stainless steel, and acidic formulas can corrode seals and gaskets in dishwashers and coffee makers. Natural alternatives are gentle enough for daily use but effective enough to cut through the grease and grime that builds up on stovetops and microwaves.
The shift isn't just about safety; it's about simplicity. By focusing on a few versatile, non-toxic cleaning hacks, you can replace a cabinet full of specialized products with just a few basic ingredients. This approach saves money and reduces plastic waste, all while keeping your appliances looking their best.
Polish stainless steel with olive oil
Streaks and fingerprints are the bane of any kitchen, but you don't need harsh chemicals to get a mirror finish on your appliances. A simple mixture of olive oil and white vinegar acts as a powerful, non-toxic cleaner that removes grime while leaving a protective, streak-free shine. This method is one of the most effective cleaning hacks for maintaining the look of stainless steel without leaving behind toxic residues.
Start by mixing two parts olive oil with one part white vinegar in a small bowl or spray bottle. The acidity of the vinegar cuts through grease and disinfects the surface, while the oil conditions the metal and fills in microscopic pores to prevent future smudges. For best results, apply the mixture to a soft microfiber cloth rather than spraying it directly onto the appliance. This gives you better control and prevents pooling in the handles or crevices.
Wipe the stainless steel in the direction of the grain. This is crucial; rubbing against the grain can create circular scratches that trap dirt over time. Once the surface is covered, use a clean, dry part of the cloth to buff the area until it gleams. The oil leaves a subtle, invisible barrier that repels dust and fingerprints for days, keeping your appliances looking fresh between deep cleans.
Combine two parts olive oil with one part white vinegar in a small container. Stir gently to emulsify the mixture slightly.
Dip a soft microfiber cloth into the mixture. Avoid spraying directly on the appliance to prevent drips in electronic components.

Rub the cloth over the stainless steel surface, always moving in the direction of the metal's grain to avoid scratches.
Use a dry section of the cloth to buff the surface until all streaks are gone and a subtle shine remains.
![AIDEA Microfiber Cleaning Cloth-12PK, Soft Microfiber Towels for Cars, Absorbent Cleaning Rags, Lint-Free Streak-Free Wash Cloths for House, Kitchen, Window(12in.x12in), Grey [Amazon-developed Certification] Compact by Design](https://m.media-amazon.com/images/I/81IYJeB--QL._AC_UL960_QL65_.jpg)


As an Amazon Associate, we may earn from qualifying purchases.
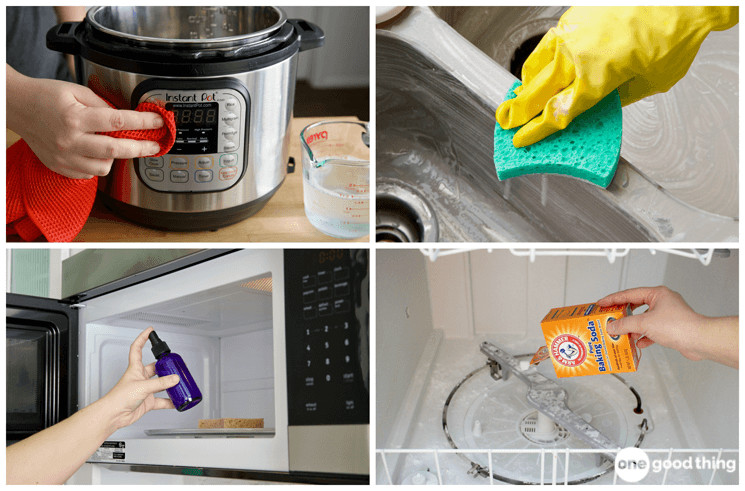
Microwave steam clean with lemons
Turn your microwave into a steam cleaner with this simple hack. Citric acid breaks down baked-on splatters, making the interior easy to wipe without harsh chemicals. This method is one of the most effective cleaning hacks for keeping appliances looking new.
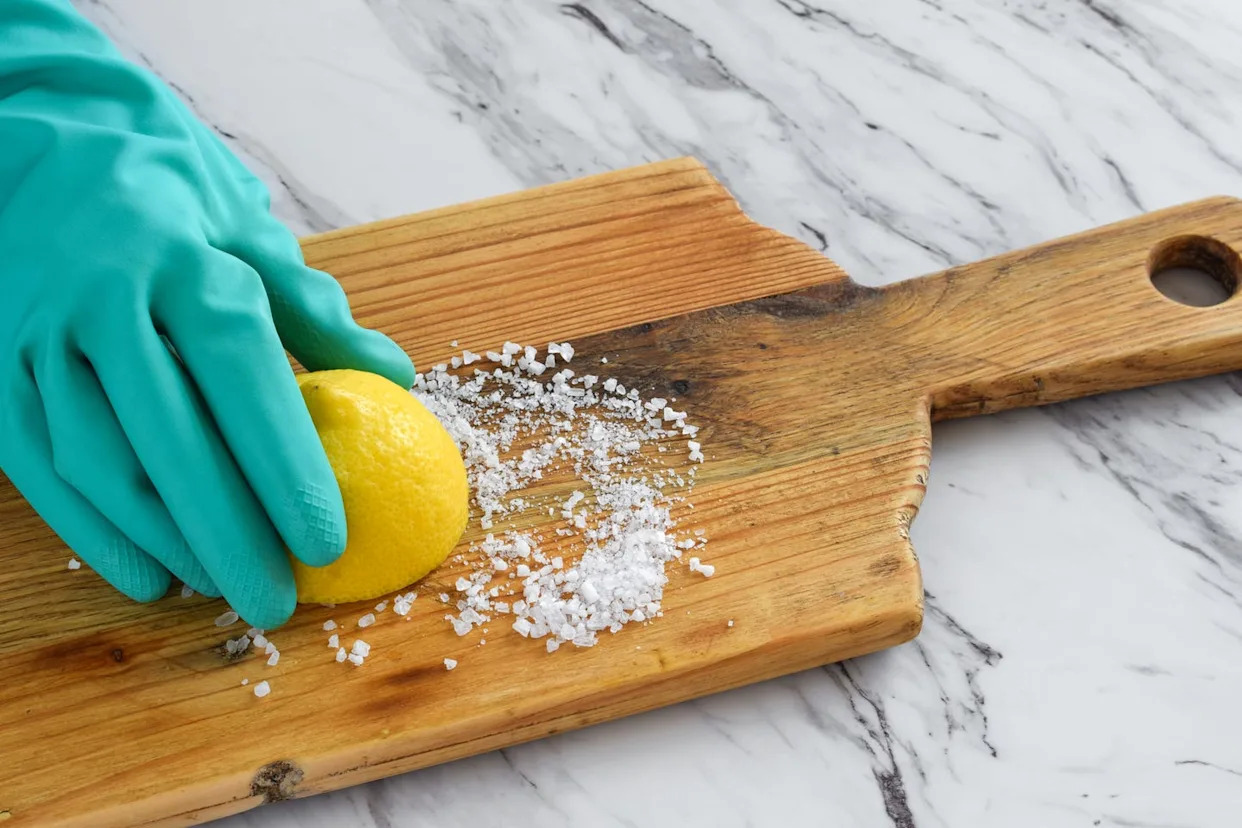
Slice one lemon in half and squeeze the juice into a microwave-safe bowl. Add two cups of water to ensure enough steam is generated. The acid in the lemon juice works best when diluted, helping to loosen grime without damaging the interior coating.
Place the bowl in the microwave and heat on high for three to five minutes. Wait for the water to boil and the windows to fog up completely. The trapped steam softens dried food particles, turning stubborn stains into something that wipes away effortlessly.
Let the microwave sit for another five minutes to allow the heat to do its work. Carefully remove the hot bowl and use a damp microfiber cloth to wipe the walls, ceiling, and turntable. The grime should slide off with minimal effort, leaving your appliance sparkling clean.
This approach relies on basic ingredients you likely already have. It avoids the need for specialized cleaning products while delivering results that rival commercial sprays.
Refrigerator deodorizing with coffee grounds
Used coffee grounds are a surprisingly effective, zero-waste solution for neutralizing stubborn odors in your refrigerator. Rather than tossing spent grounds into the compost bin, you can repurpose them to absorb unwanted smells, keeping your appliance fresh without harsh chemicals. This simple hack aligns with the broader goal of practical cleaning hacks that reduce waste while maintaining hygiene.
To use this method, spread used coffee grounds on a baking sheet and let them dry completely for 24–48 hours. Moisture promotes mold growth inside the fridge, so dry grounds are essential for safe, effective deodorizing. Once dry, place the grounds in a shallow, open container—like a small glass bowl or a perforated tin—and set it on a shelf. The porous nature of the coffee grounds traps odor-causing molecules, acting as a natural air purifier.
Replace the grounds every two weeks or whenever they begin to lose their coffee scent. For best results, keep the container away from strong-smelling foods like onions or garlic, as coffee can sometimes absorb those specific odors too readily. This low-cost, eco-friendly approach turns a daily household byproduct into a functional cleaning tool, supporting a cleaner kitchen environment with minimal effort.
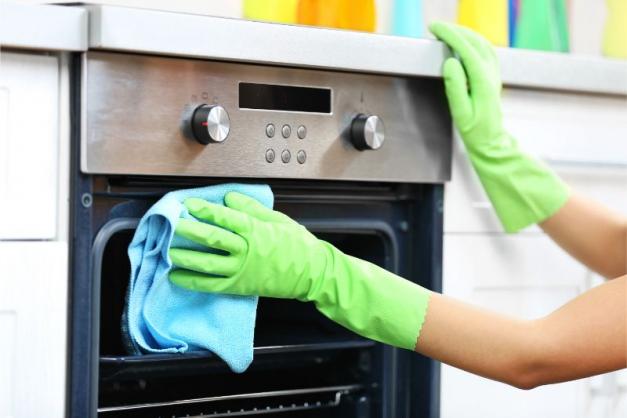
Clean your oven with shaving cream
Oven grease often feels like a permanent fixture, but unscented shaving cream offers a surprising, effective solution for breaking it down without harsh chemicals. The foam acts as a gentle solvent, lifting baked-on grime while the moisturizers help soften the residue. This method turns a daunting scrubbing session into a passive overnight task.
-
Apply the cream: Spray or spread a thick, even layer of plain, unscented shaving cream over the interior surfaces of your cold oven. Focus on areas with heavy grease buildup, ensuring the foam covers the stains completely. Avoid the heating elements.
-
Let it sit: Leave the shaving cream in the oven overnight, or for at least eight hours. The extended contact time allows the formula to penetrate and dissolve the hardened fats and food particles.
-
Wipe and rinse: The next day, use a damp microfiber cloth or sponge to wipe away the cream and loosened grease. For stubborn spots, a gentle scrub with a non-abrasive pad may be needed. Rinse the interior thoroughly with water to remove any remaining residue.
-
Dry and reset: Finish by drying the interior with a clean towel. Your oven should now be free of grease and ready for use, with a fresh, chemical-free scent.

![Amazon Basics Microfiber Cleaning Cloths, Ultra Absorbent, Lint Free, Streak Free, Non-Abrasive, Reusable and Washable, 16" x 12", Blue/White/Yellow, Pack of 24 [Amazon-developed Certification] Compact by Design](https://m.media-amazon.com/images/I/91WjG1lqmLL._AC_UL960_QL65_.jpg)

As an Amazon Associate, we may earn from qualifying purchases.
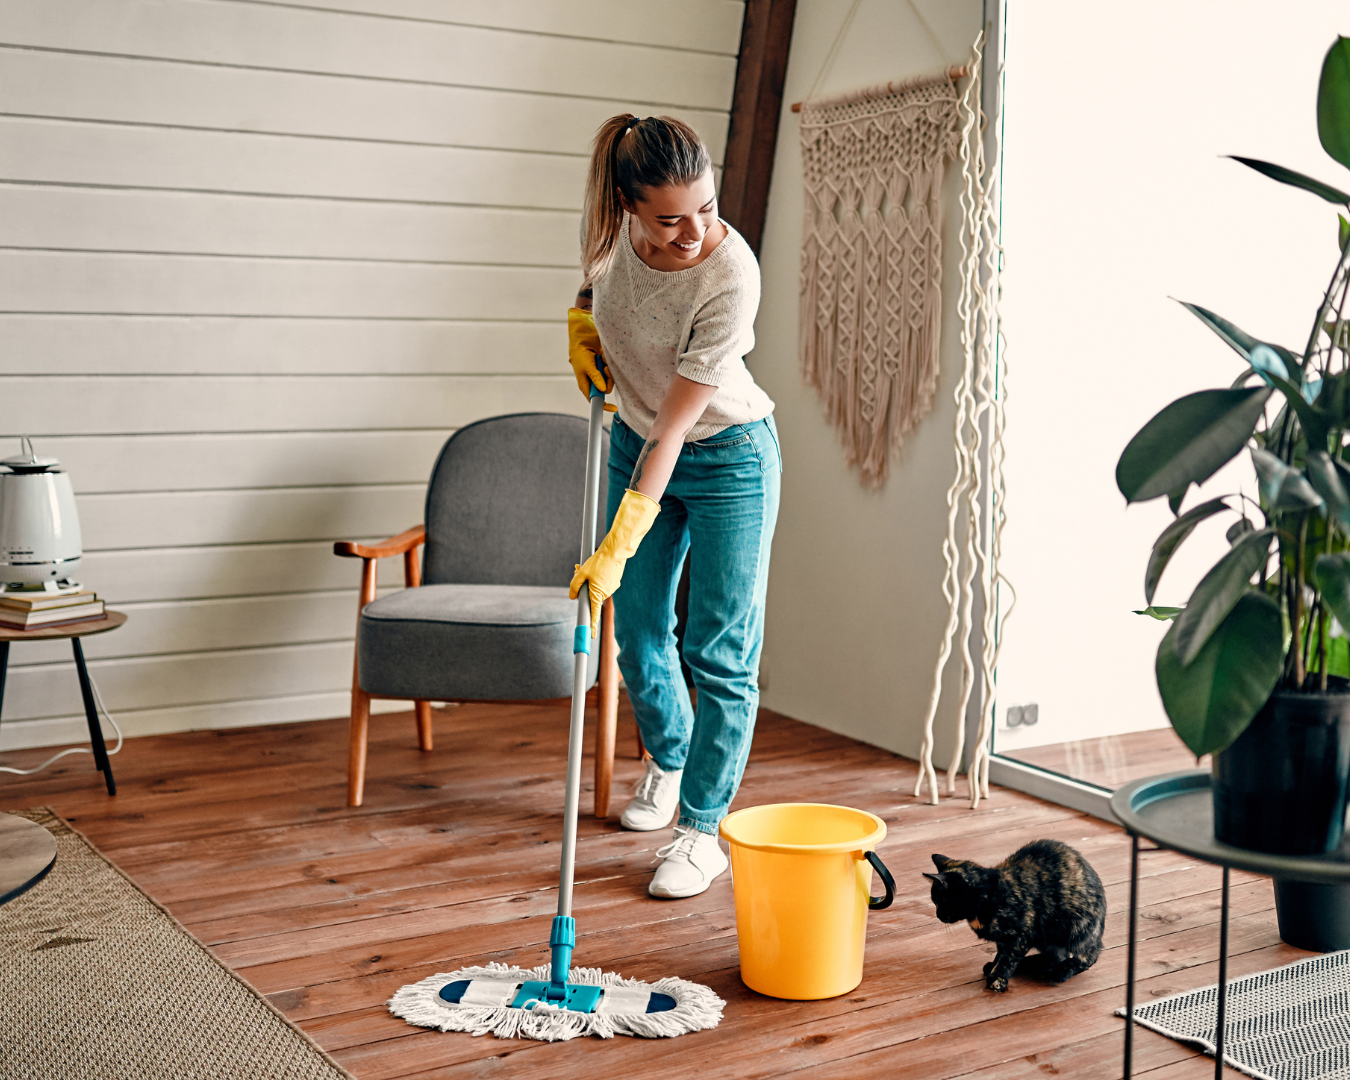
Essential tools for eco-cleaning
You can have the best natural ingredients in the world, but without the right physical tools, those cleaning hacks won’t work as effectively. The goal is to swap out single-use paper towels and harsh chemical sponges for durable, reusable items that handle the heavy lifting. These tools are the backbone of any sustainable kitchen deep-clean.
A good set of scrub brushes makes a huge difference when tackling baked-on grime on toaster slots or stove burners. Look for brushes with sturdy handles and bristles made from plant-based materials rather than plastic. They provide the necessary friction to lift dirt without scratching delicate appliance surfaces or releasing microplastics into your water system.
Microfiber cloths are another non-negotiable for eco-friendly cleaning hacks. Unlike cotton rags that require frequent hot-water washing, microfiber traps dust, grease, and moisture effectively with just water or a mild vinegar solution. Having a dedicated set for kitchen appliances keeps cross-contamination low and ensures you always have a clean cloth ready for polishing stainless steel or wiping down counters.

![AIDEA Microfiber Cleaning Cloth-50PK, Soft Microfiber Towels for Cars, Absorbent Cleaning Rags, Lint-Free Streak-Free Wash Cloths for House, Kitchen, Window(12in.x12in) [Amazon-developed Certification] Compact by Design](https://m.media-amazon.com/images/I/91ay14JdwgL._AC_UL960_QL65_.jpg)

As an Amazon Associate, we may earn from qualifying purchases.
Natural vs. Commercial Cleaners
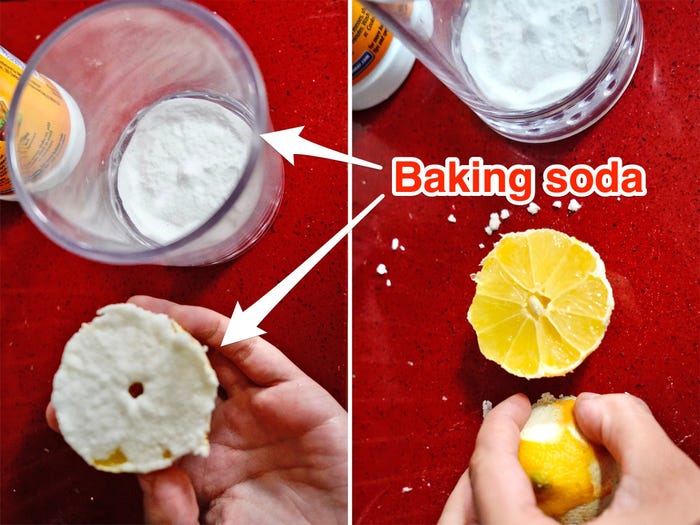
Choosing between DIY cleaning hacks and store-bought products often comes down to a trade-off between cost and specialized power. While homemade solutions like baking soda and vinegar are budget-friendly and non-toxic, they may struggle with heavy grease buildup compared to commercial degreasers.
The table below breaks down the practical differences in performance and expense for common kitchen appliance tasks.
| Cleaner | Cost per Use | Cleaning Power | Toxicity |
|---|---|---|---|
| Baking Soda & Vinegar | <$0.10 | Moderate | Low |
| Dish Soap Paste | <$0.10 | High | Low |
| Citrus Degreaser | ~$0.50 | Very High | Medium |
| Ammonia-Based Spray | ~$0.20 | Extreme | High |
Quick checklist for appliance maintenance
Keep your kitchen appliances running efficiently with these eco-friendly cleaning hacks. A consistent routine prevents buildup and extends the life of your gear.

Place a bowl of water and lemon slices inside. Heat on high for three minutes. The steam loosens dried food, allowing you to wipe the interior clean with a damp cloth.

Place an open box of baking soda on a shelf to absorb odors. Replace the box every three months for optimal freshness.
Apply a small amount of olive oil to a microfiber cloth. Buff the surface in circular motions to remove fingerprints and leave a protective shine.
Sprinkle baking soda over greasy racks and spray with white vinegar. Let the mixture fizz and sit overnight. Scrub with a sponge and rinse thoroughly.
:max_bytes(150000):strip_icc()/clean-small-kitchen-appliances-4153520-05-58415d047a2a49dd87b1e8a1bdb3d6ed.jpg)
Run a cycle with equal parts white vinegar and water. Follow with two cycles of plain water to remove any residual vinegar taste.
No comments yet. Be the first to share your thoughts!