
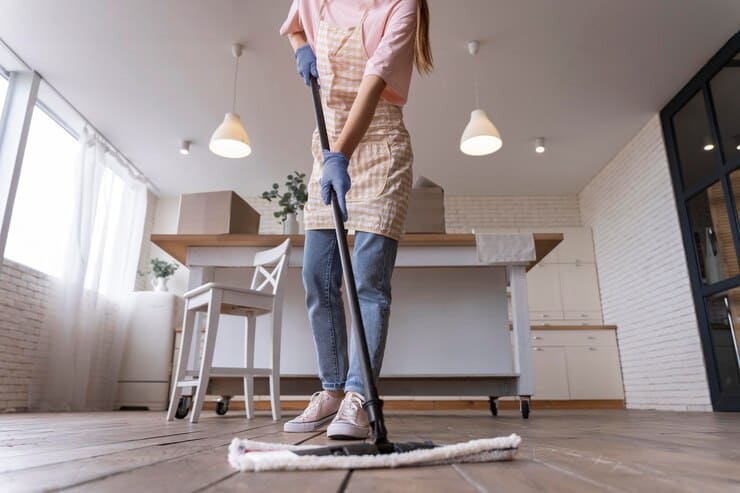
Why most cleaning feels like work
You scrub a countertop until your arms ache, only to have it look streaky and feel sticky within hours. This exhaustion isn’t a sign that you’re lazy; it’s a sign that you’re fighting physics instead of working with it. Most people treat cleaning as a brute-force task, assuming more elbow grease equals a cleaner home. But dirt cares about chemistry and leverage, not effort.
The shift happens when you stop seeing cleaning as a list of chores and start applying systematic cleaning hacks. These aren’t magic tricks; they are small adjustments in technique, timing, and tool selection that multiply your results. By focusing on leverage—using the right solvent, the right pressure, and the right sequence—you can cut your cleaning time in half while getting better results.
Pre-clean surfaces before spraying
Most people spray cleaner directly onto a dirty counter, then wipe. This spreads grime into a muddy paste that sticks to your cloth and the surface. The secret to saving time isn't a stronger chemical; it's removing loose debris first. Chemical cleaners break down bonds between dirt and surfaces, but they struggle when that dirt is a layer of loose dust, crumbs, or hair.
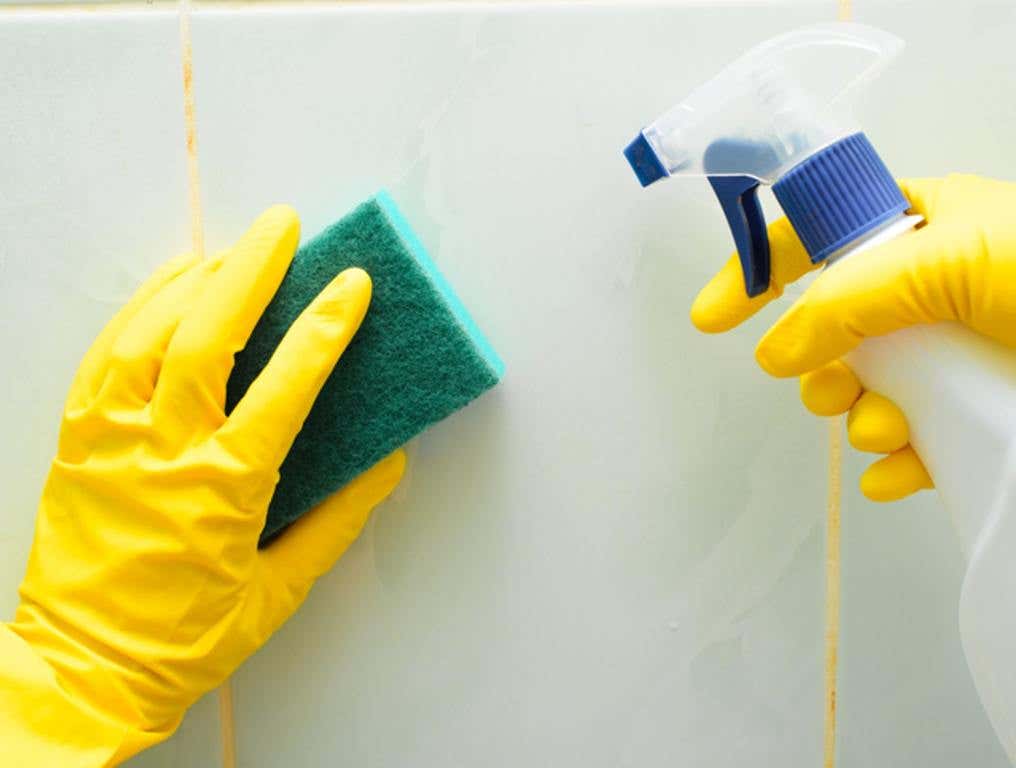
Before you touch a spray bottle, clear the surface entirely. Move dishes, toiletries, or mail to a nearby counter. A cluttered surface forces you to clean around objects, slowing you down and leaving hidden dirt behind.
Use a dry microfiber cloth, a paper towel, or a soft brush to wipe away dust, crumbs, hair, and pet dander. For sinks, scrape out food particles into the trash. Do not use water or spray at this stage. You are physically lifting the top layer of mess so it doesn't get wet and stuck.
Now spray your cleaner on the surface or directly onto your cloth. Because the loose debris is gone, the chemical can penetrate remaining stains immediately. Let it sit for thirty seconds to a minute to break down bonds, then wipe it away.
This shift respects how dirt behaves. Wet dirt sticks; dry dirt lifts. By handling the dry mess first, you prevent your cleaning tools from becoming saturated with garbage. Your cloths stay cleaner longer, and you finish the job in half the time.
Let dwell time do the heavy lifting
When a bathroom mirror is spotted or a sink is grimy, the instinct is to attack it with a cloth and elbow grease. That approach wastes energy and often leaves streaks. The real secret is chemistry. Dwell time is the waiting period you allow a cleaning solution to sit on a surface before you wipe it away. Products need minutes—or even hours—to break down the molecular bonds holding dirt, soap scum, and grease to your surfaces.
When you let a cleaner dwell, you are doing the labor for it. The chemicals soften grime and dissolve mineral deposits. Once that process is complete, the dirt lifts away with a simple wipe. This turns a ten-minute scrubbing session into a two-minute wipe.
Spray your cleaner on the surface and leave it alone. For bathroom tiles and glass, let it sit for five to ten minutes. For tough soap scum or hard water stains, let it sit for thirty minutes or even overnight. Resist the urge to scrub immediately.

Use the waiting time to clean something else. Wipe down countertops, sweep the kitchen floor, or organize a drawer. By the time you return, the dirt has already been broken down by the chemical dwell time.
Use a microfiber cloth to wipe away the loosened grime. Because the dirt has been dissolved, it should lift off easily. For glass surfaces, a final pass with a dry cloth or squeegee will leave a streak-free shine. Rinse with water if the product label requires it.
Use vinegar for hard water spots
Hard water leaves behind mineral deposits that look like stubborn white stains on faucets, showerheads, and glass doors. These spots are resistant to standard glass cleaners because they are bonded to the surface. A simple solution of white vinegar and water breaks down these minerals without damaging finishes.
The acetic acid in vinegar dissolves calcium and magnesium buildup, allowing you to wipe away the residue with minimal scrubbing. It is a safe, inexpensive alternative to harsh chemical descalers.
Combine equal parts white vinegar and warm water in a spray bottle. For heavy buildup, use undiluted vinegar directly on the affected area.
Spray the solution generously onto the hard water spots. For showerheads or faucet aerators, soak a paper towel in vinegar and wrap it around the fixture. Let it sit for at least 15 minutes; longer for severe deposits.
Remove the paper towel or let the spray sit. Use a non-abrasive sponge or soft brush to gently scrub the area. Rinse thoroughly with clean water and buff dry with a microfiber cloth to prevent new spots from forming.
Clean the shower while you shower
The symptom is familiar: stepping out of a hot shower to find the glass doors cloudy with hard water spots and the walls slick with soap scum. The fix isn’t a weekend of scrubbing; it’s a ten-second habit. By addressing the mess the moment it happens, you turn a chore into a non-event.
Keep a squeegee mounted on the shower wall. As you rinse off, give the glass and tiles two quick swipes. This simple action prevents 90% of buildup before it has a chance to bond to the surface. It is one of the most effective cleaning hacks because it relies on momentum rather than effort.
If you don’t have a squeegee, a quick spray with a daily shower cleaner works too. The goal is maintenance, not deep cleaning. By keeping the surfaces clear daily, you eliminate the need for harsh chemicals or elbow grease later.
Watch this quick cleaning demo
Seeing the right motion makes a difference. These techniques turn routine scrubbing into efficient work.
The video below shows how to handle stubborn grime using dwell time and a squeegee. Let the cleaner sit so it breaks down dirt, then wipe with a firm, single pass.

Your weekly cleaning checklist
Start by tackling the symptoms: visible dust, grime, and sticky spots. These hacks turn a daunting chore into a manageable routine. Keep this list handy for a systematic approach that saves time and effort.
-
Dry wipe surfaces: Use a microfiber cloth to remove loose dust before it mixes with moisture.
-
Apply dwell-time cleaners: Spray surfaces and let the product sit for the recommended time to break down grime.
-
Scrub while waiting: Tackle a different zone while cleaners work, maximizing your efficiency.
-
Rinse and squeegee: Remove residue with water and a squeegee for streak-free windows and showers.
-
Wipe dry: Finish with a dry cloth to prevent water spots and new dust accumulation.
Common cleaning mistakes to avoid
You likely have a bottle of vinegar and a box of baking soda in your pantry, but mixing them is a classic error. When combined, these two substances neutralize each other, resulting in nothing more than salty water. You might see fizzing and think you’re creating a powerful reaction, but you are actually wasting time and supplies. Stick to using them separately for their specific strengths—vinegar for mineral deposits and baking soda for gentle abrasion.
Overusing chemicals is another trap. Spraying every surface with heavy-duty cleaners doesn’t make your home cleaner; it leaves behind sticky residues that attract more dust and dirt. This creates a cycle where you have to clean more often. The most effective cleaning hacks rely on less product, not more. A microfiber cloth with a little water or a diluted all-purpose cleaner often removes grime faster than a thick layer of harsh chemicals.
Focus on the tools you already have. A simple sponge, a good scrub brush, and the right amount of elbow grease are often enough to tackle stubborn stains. By stepping back from the chemical aisle, you’ll find your cleaning routine becomes faster and your surfaces actually stay cleaner longer.
No comments yet. Be the first to share your thoughts!