
Why Deep Cleaning Appliances Matters Before the Holiday Rush
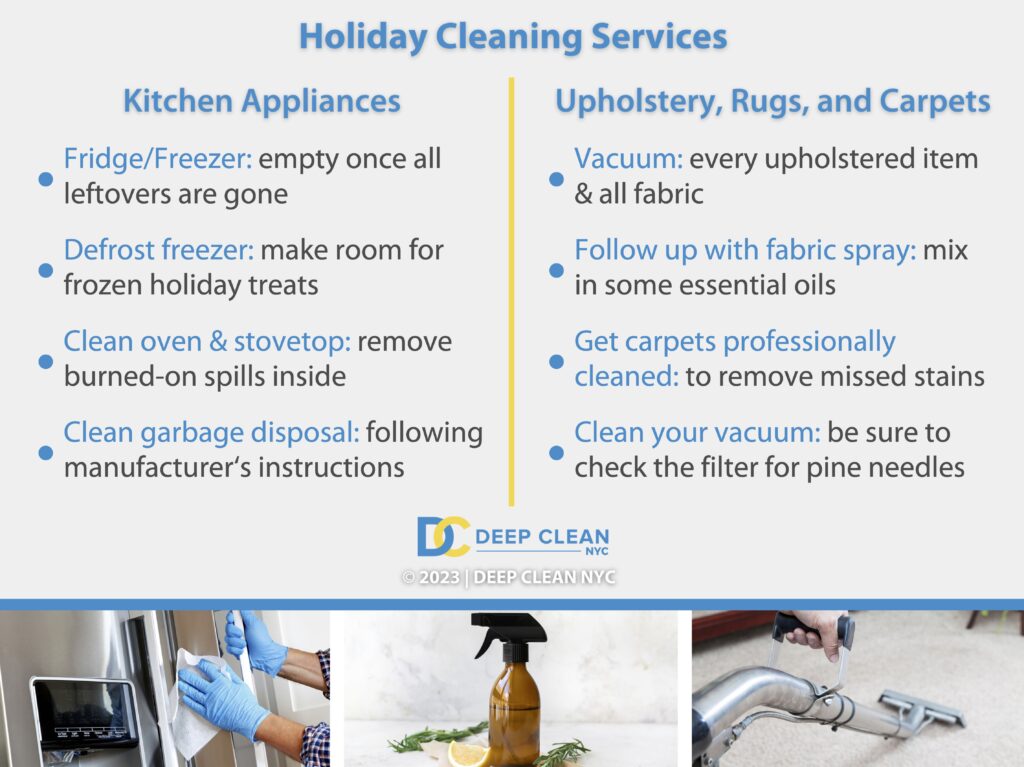
The holidays bring joy, but also stress. Between guest lists, gift shopping, and menu planning, a sparkling kitchen is the last thing anyone wants to worry about. Deep cleaning your kitchen appliances now, before the cooking frenzy begins, is a smart move.
A quick wipe-down isn't enough; deep cleaning goes beyond surface appearances. Grease buildup in your oven is a fire hazard. A clogged dishwasher filter reduces cleaning efficiency. Expired food in the refrigerator is a disaster. Addressing these issues now prevents bigger headaches later.
Clean appliances work better. An oven free of carbon buildup heats more evenly. A clean refrigerator maintains its temperature efficiently, keeping food fresher longer. Thorough cleaning saves energy and potentially extends appliance life. It's an investment in a smoother, safer holiday season.
Holiday cooking is much easier when the kitchen is truly ready. Setting yourself up for success starts with a clean slate. Don't wait until the last minute to scramble; a little effort now pays off when you're trying to pull off a perfect holiday meal.
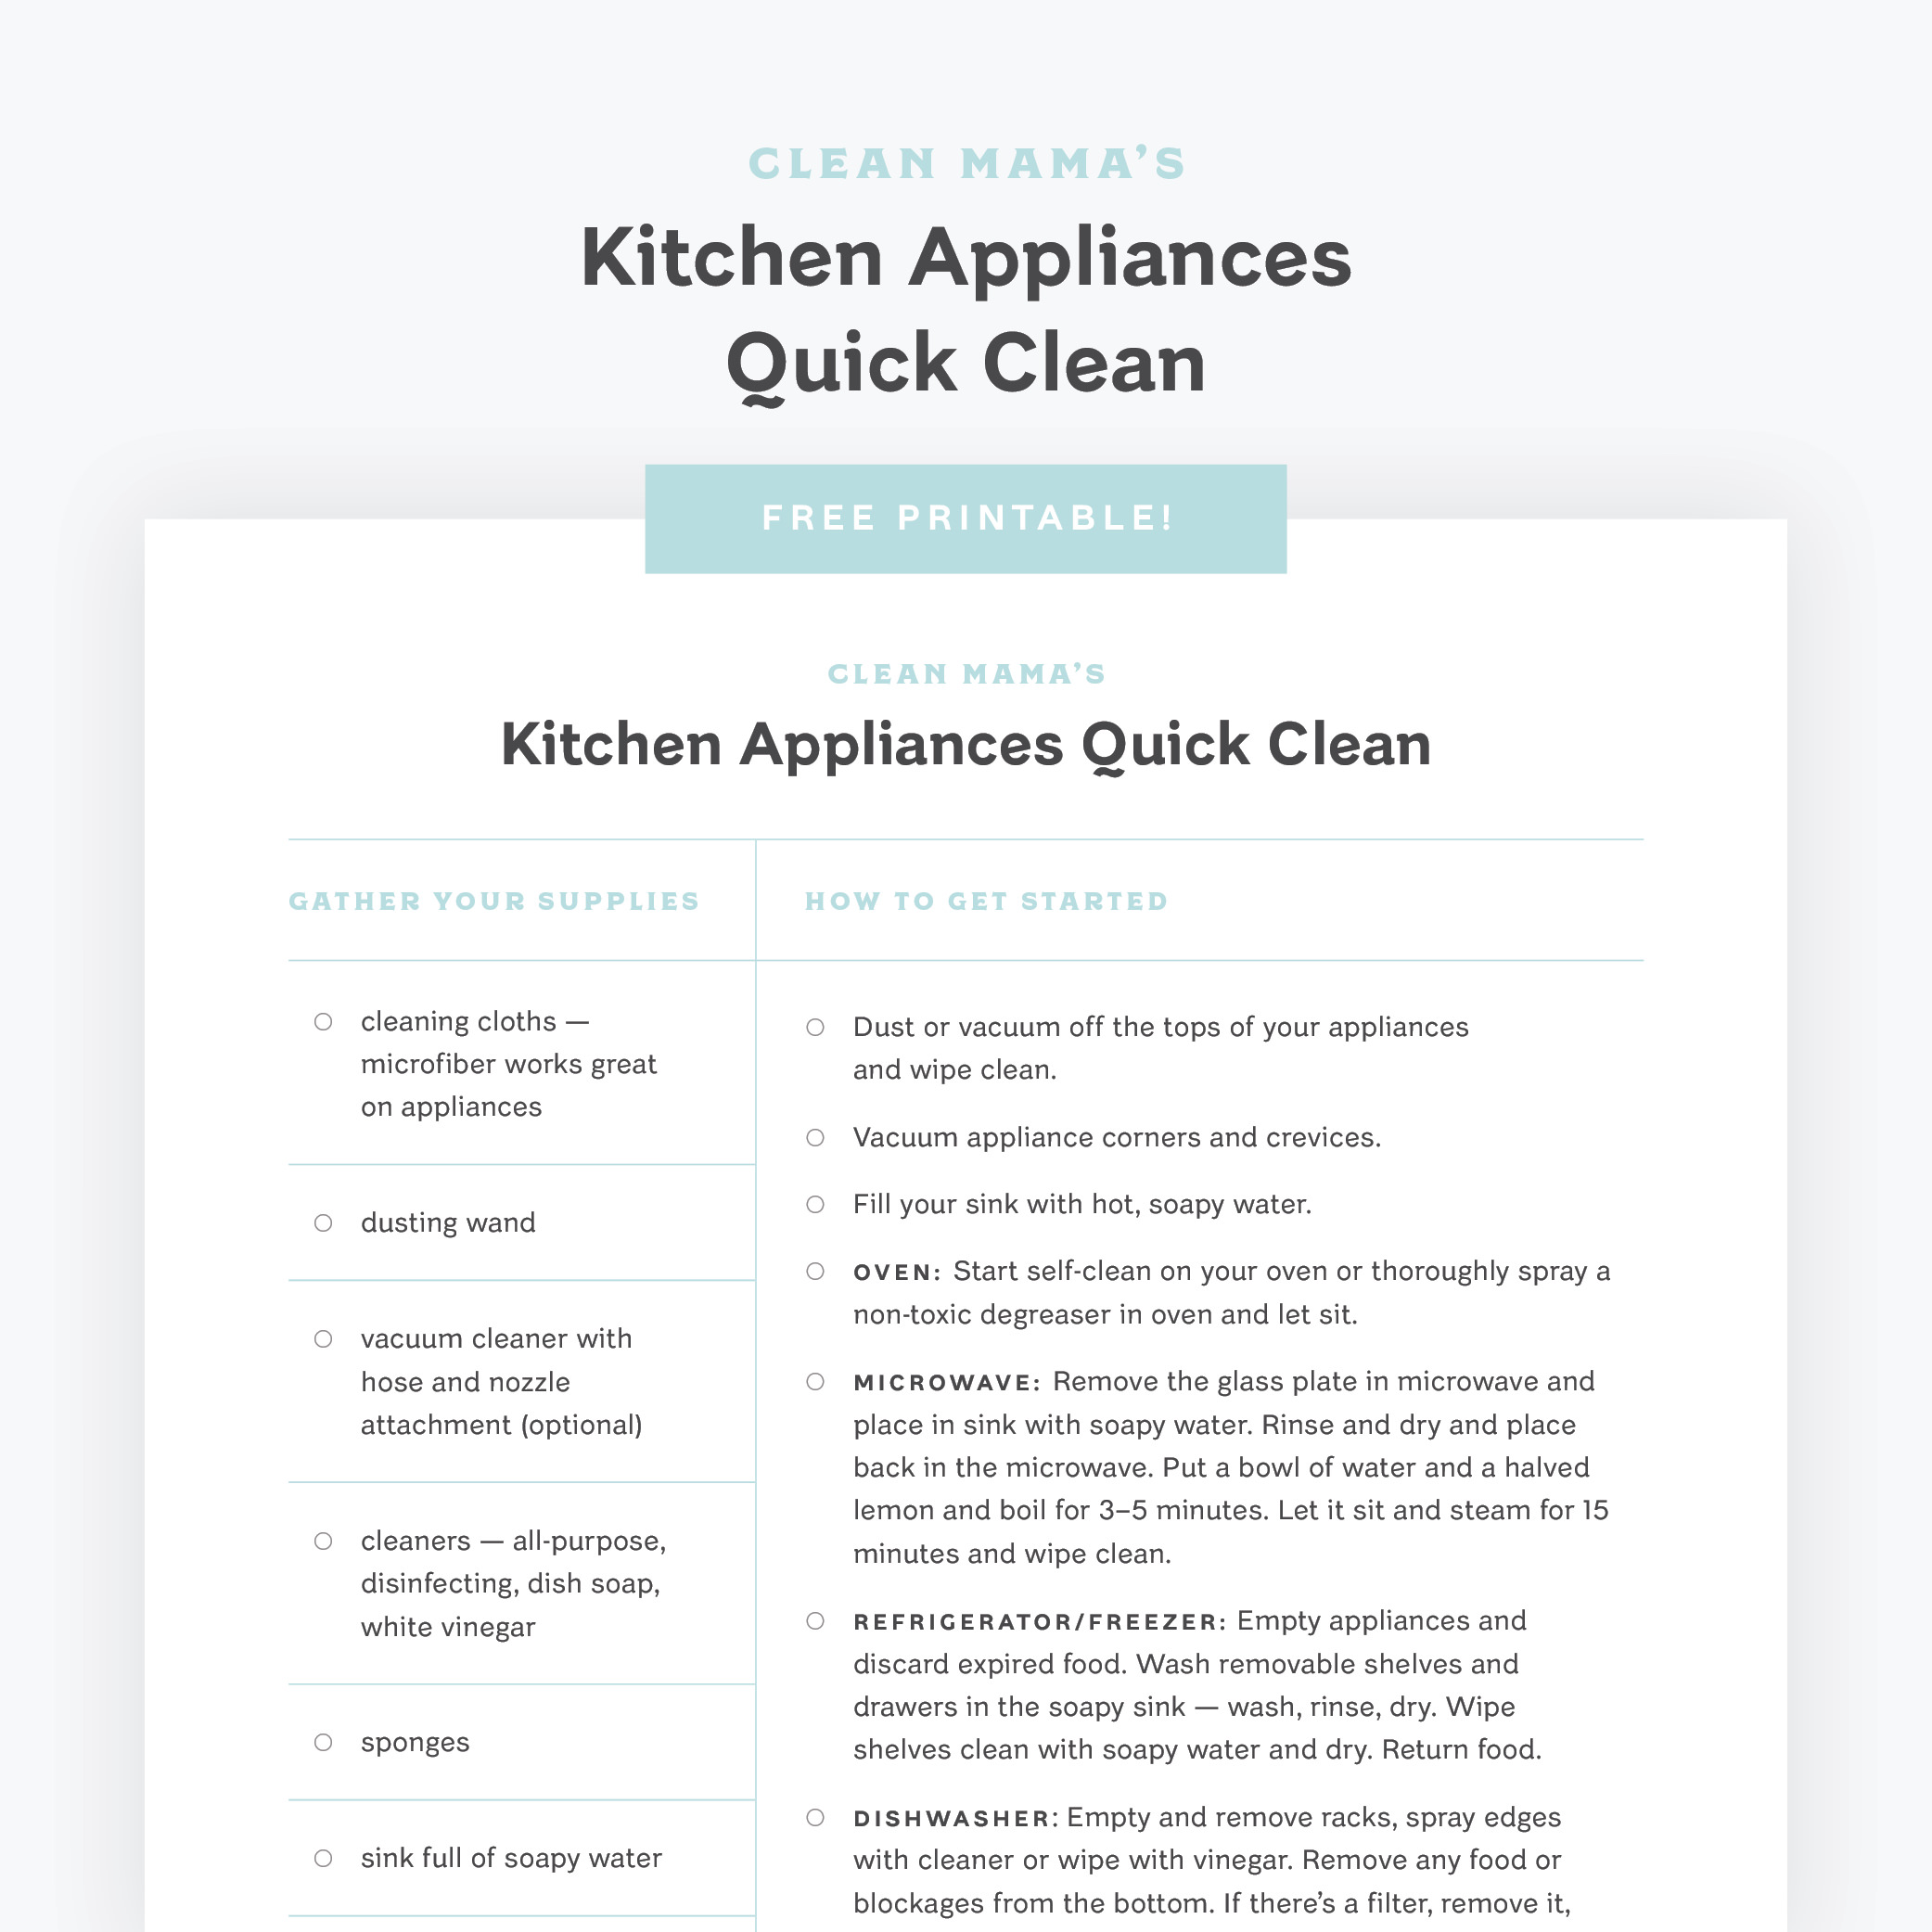
Oven Cleaning: Beyond the Self-Clean Cycle
Many ovens have a self-clean cycle, but it's not a complete solution. High temperatures can damage oven components and fill your house with odor. They often leave behind ash residue requiring manual cleaning. Let's discuss a proper deep clean.
Remove the oven racks and soak them in hot, soapy water. Create a paste of baking soda and water, similar to frosting consistency. Spread this paste over the oven's interior surfaces, avoiding heating elements. Let it sit overnight, or at least 12 hours, to loosen baked-on food and grease.
The next day, scrub with a sponge or scraper. Elbow grease may be needed for stubborn spots. Rinse thoroughly with warm water, removing all baking soda traces. Clean the oven door glass with a baking soda paste or glass cleaner. For tough messes, use a commercial oven cleaner, following manufacturer instructions and ensuring ventilation.
A plastic scraper is kinder to oven surfaces than metal ones, preventing scratches. Patience is important. Don't expect everything to come off in one swipe; reapply the paste and let it sit longer if needed. The results are worth the work.
- Remove oven racks and soak in hot, soapy water.
- Make a baking soda paste (baking soda + water).
- Spread paste over oven interior and let sit overnight.
- Scrub and rinse thoroughly.
- Clean oven door glass.
Refrigerator Reset: From Sticky Shelves to Fresh Starts
A clean refrigerator is essential for food safety. Remove everything. Check expiration dates and toss expired items. Forgotten food often lurks in the back of the fridge.
Once empty, remove and wash shelves and drawers with warm, soapy water. For stubborn stains, let them soak before scrubbing. Wipe down door compartments and interior walls. A baking soda and water solution neutralizes odors.
Baking soda absorbs fridge odors effectively. Place an open box of baking soda in the fridge or use activated charcoal. Wipe down exterior stainless steel surfaces with a cleaner to remove fingerprints and smudges. Clean the handles, as they harbor germs.
Preventative maintenance is important. Wiping spills as they happen saves work later. Regularly checking expiration dates prevents food waste and keeps the fridge smelling fresh. This small effort has a big payoff.
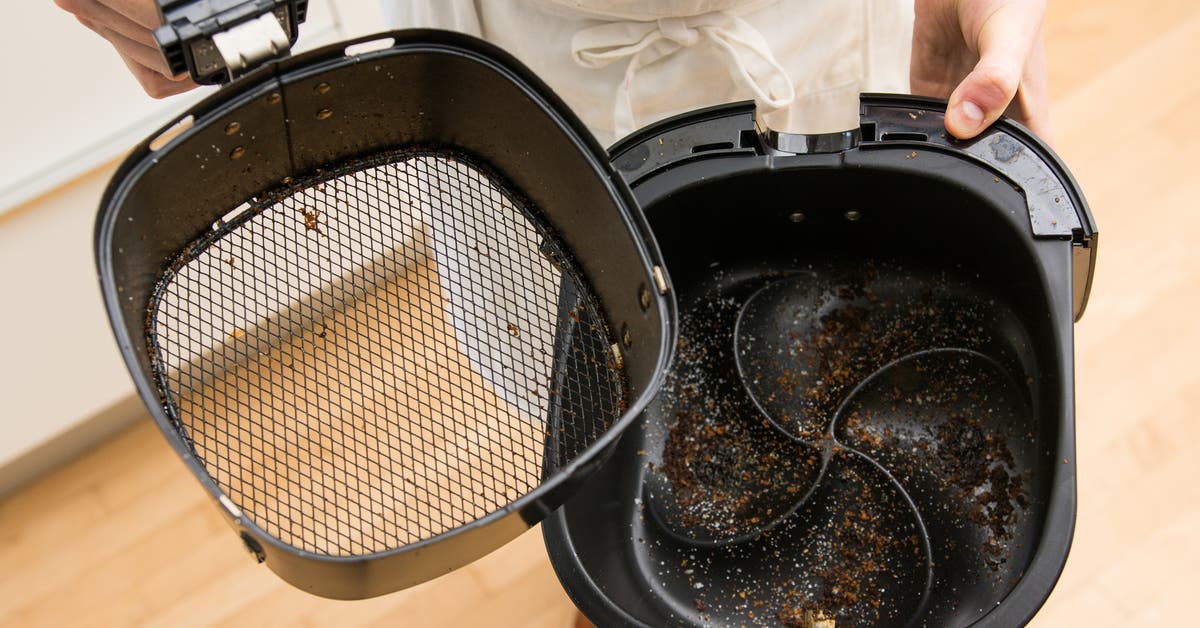
Dishwasher Deep Dive: It Cleans Dishes, But Who Cleans *It*?
Your dishwasher works hard but needs cleaning. Food particles, mineral buildup, and detergent residue accumulate over time, reducing cleaning power and causing odors. Many people forget dishwashers need cleaning.
The most important part of a dishwasher deep clean is the filter. Locate and remove the filter, usually at the bottom. You might be surprised by what you find. Rinse the filter thoroughly under hot water, removing food debris. A toothbrush helps get into tight spaces.
Once the filter is clean, run a dishwasher cleaning cycle. Use a commercial cleaner or add a cup of white vinegar to the top rack. Vinegar dissolves mineral buildup and freshens the dishwasher. Clean the spray arms, removing clogs. Wipe down door seals to prevent leaks.
Dishwasher cleaning is often forgotten because it cleans other things. A clean dishwasher makes a difference in how well dishes come out. Cleaning the filter monthly and running a cleaning cycle quarterly keeps things running smoothly.
Microwave Makeover: Beyond Splatter Screens
Microwaves are notorious for splatter, but cleaning one is easy. Steam cleaning works well: combine equal parts water and white vinegar in a microwave-safe bowl. Microwave on high for 5-10 minutes to loosen food particles.
After microwaving, let the bowl sit inside for a few minutes before carefully removing it (it will be hot!). Wipe down the interior walls and turntable with a damp cloth. For stubborn food, use gentle scrubbing. This method is effective and requires minimal effort.
Remove and wash the turntable separately with warm, soapy water. Wipe down the microwave exterior. This small task makes a big difference in keeping your kitchen clean and hygienic.
Range Hood Revival: Grease is the Enemy
The range hood battles grease and smoke, getting very dirty. Start with the filters. Many range hood filters are dishwasher safe; check your owner’s manual. If not, soak them
Once the filters are clean, wipe down the exterior of the range hood with a degreasing cleaner. Pay attention to any grease splatters or buildup. For stainless steel range hoods, use a stainless steel cleaner to maintain their shine. A clean range hood is crucial for proper ventilation and helps prevent grease fires.
Some range hoods also have charcoal filters that need to be replaced periodically, typically every 6-12 months, depending on usage. Check your owner's manual for specific recommendations. Maintaining a clean range hood isn’t just about aesthetics; it's about safety and ensuring your kitchen remains a healthy cooking environment.
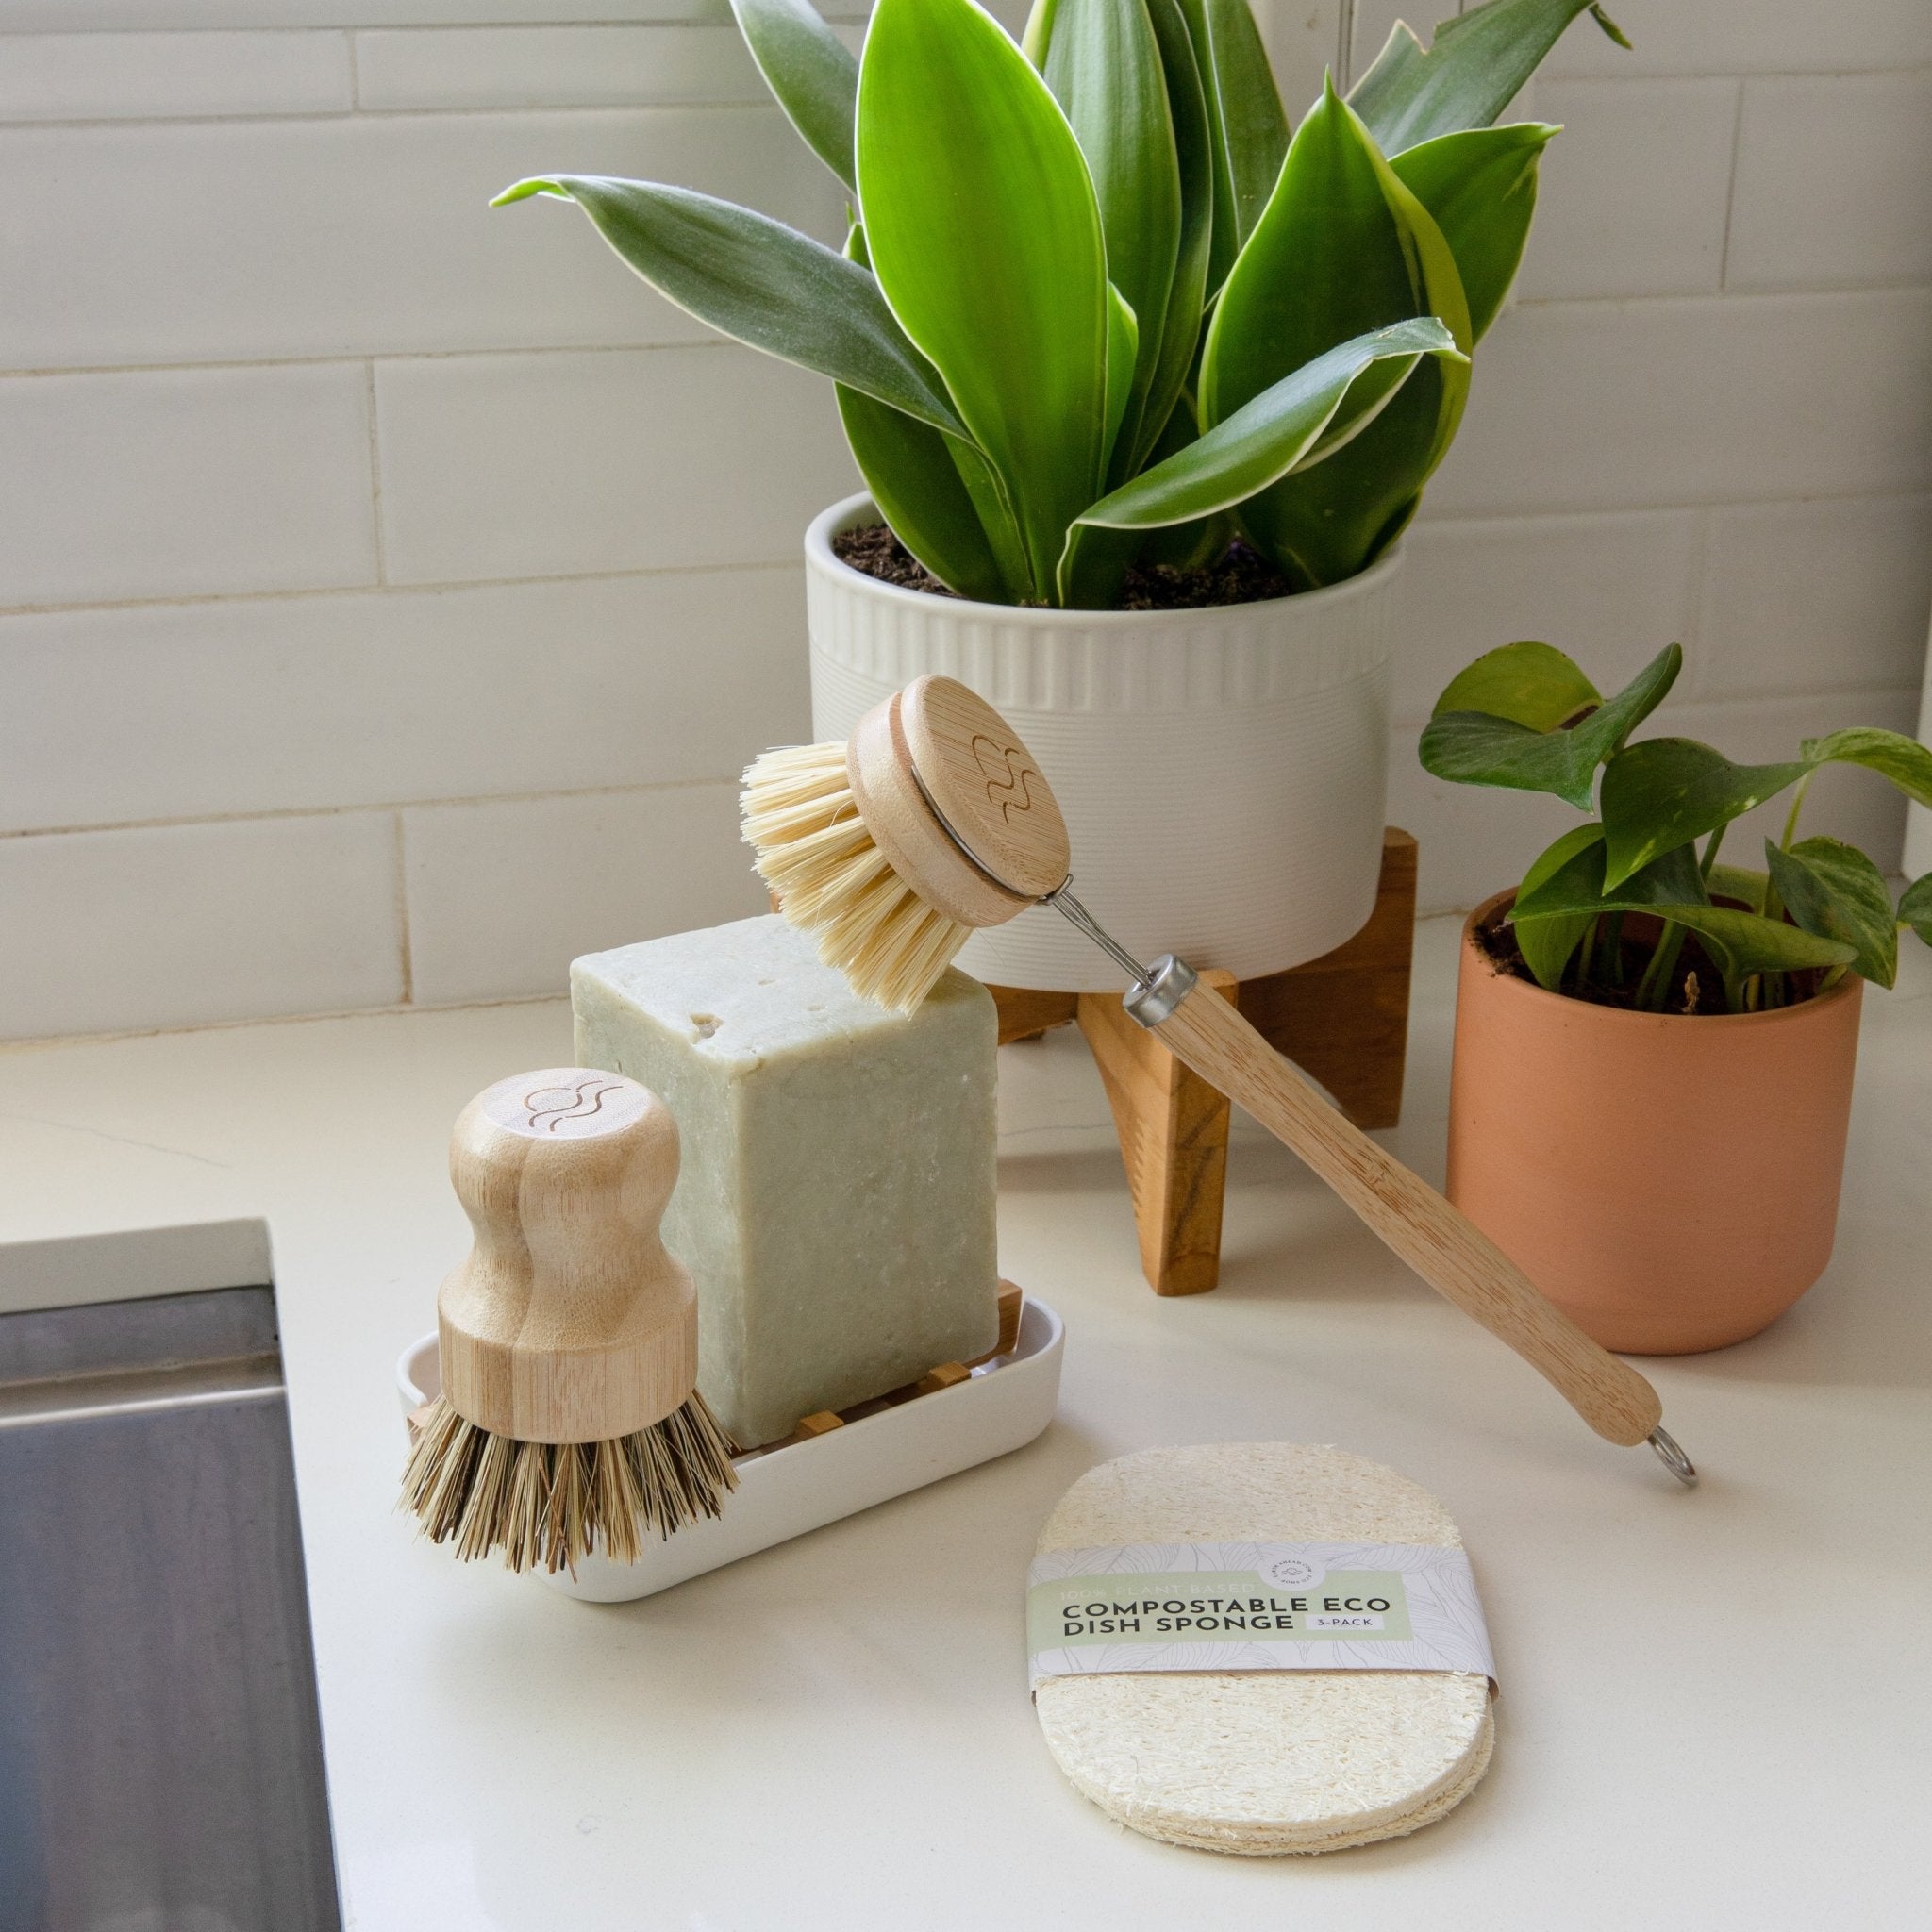
Small Appliance Spotlight: Toasters, Coffee Makers, and Blenders
Don't forget about your smaller kitchen appliances! Toasters tend to accumulate crumbs, so unplug it and shake it out regularly. A small brush can help dislodge stubborn crumbs. Coffee makers benefit from regular descaling – run a cycle with a solution of equal parts water and white vinegar to remove mineral buildup.
Blenders should be disassembled and washed thoroughly after each use. Pay attention to the blades, which can be sharp. A quick rinse and a wipe-down are often enough to keep them in good condition. Regular cleaning prevents buildup and extends the life of these appliances.
These small tasks might seem insignificant, but they contribute to a cleaner, more organized kitchen. And a well-maintained appliance is a happy appliance – and a safer one too.

No comments yet. Be the first to share your thoughts!