
Start with the right tools
Most cleaning fails before they begin because the setup is wrong. People often reach for harsh chemicals or a cluttered cart, assuming that more product equals a cleaner house. This approach leaves sticky residues that attract dust and grime faster than before, creating a cycle of constant scrubbing.
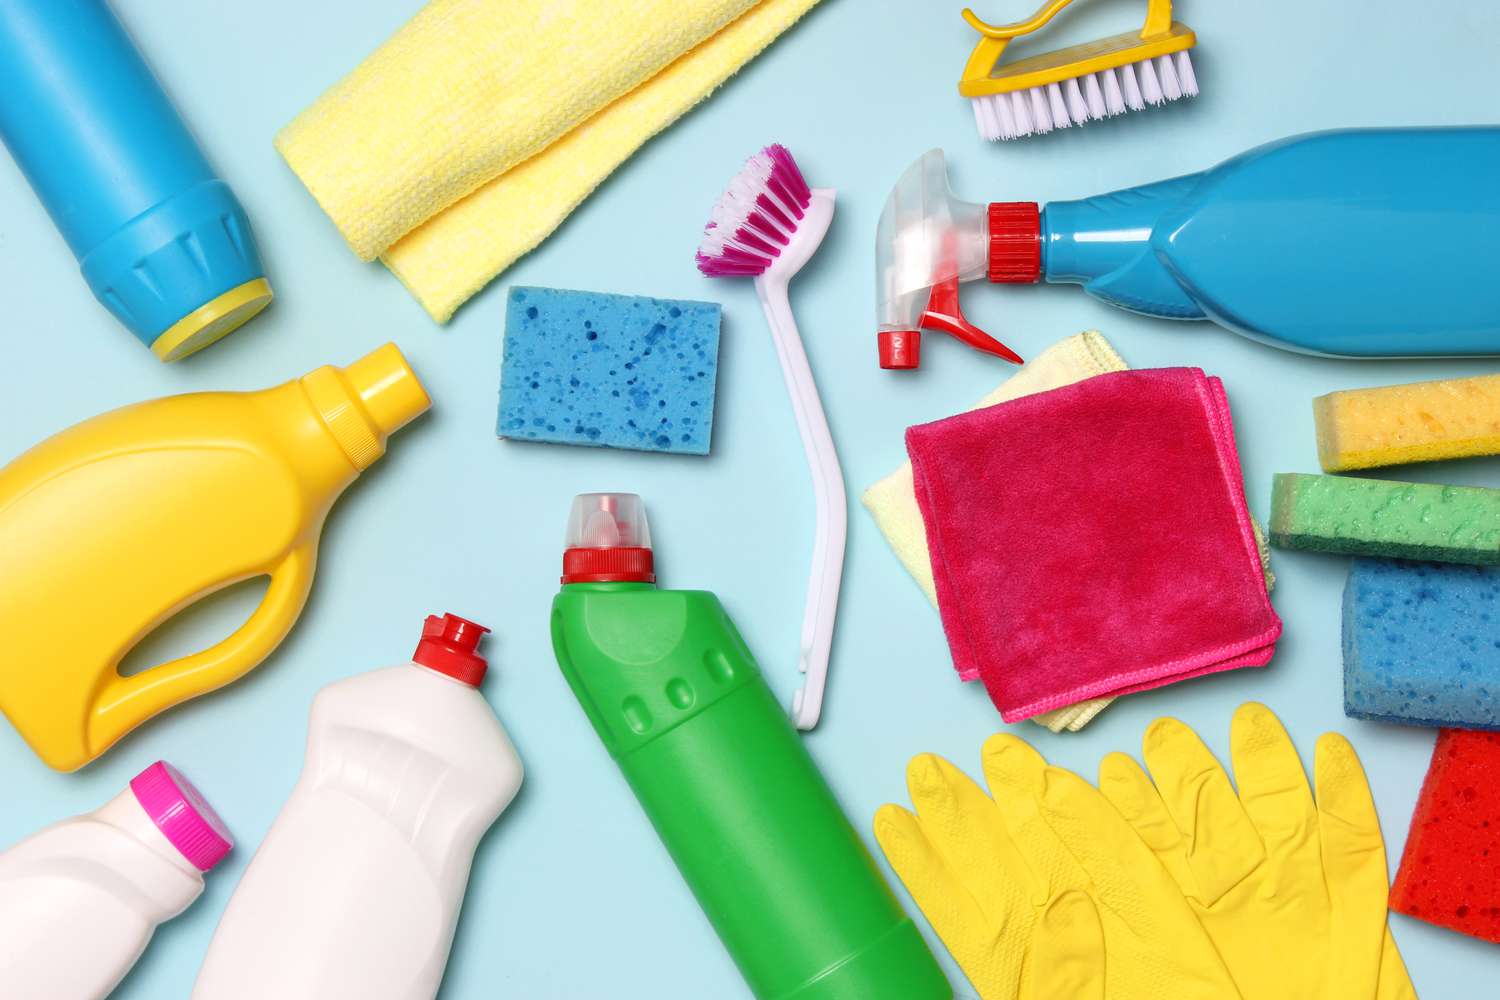
Effective cleaning relies on having the correct, eco-friendly tools and solutions ready before you start. Think of your toolkit as a surgeon’s tray: each item has a specific job, and having them organized saves mental energy and physical time. Start with a simple caddy containing a microfiber cloth, a spray bottle with a diluted eco-friendly solution, and a scrub brush for tough spots.
Avoid the temptation to buy specialized cleaners for every single surface. A versatile, plant-based all-purpose cleaner paired with good mechanical action (scrubbing and wiping) handles 90% of household messes. This reduces the chemical load in your home and simplifies your routine, making it easier to maintain a clean space without the stress of managing a dozen different bottles.
Assemble a simple caddy with microfiber cloths, an eco-friendly spray, and a scrub brush. Keep it in a central location so you can grab it quickly.

Mix your eco-friendly solution according to the label. Use less than you think; a lightly damp cloth cleans effectively without leaving sticky residue.
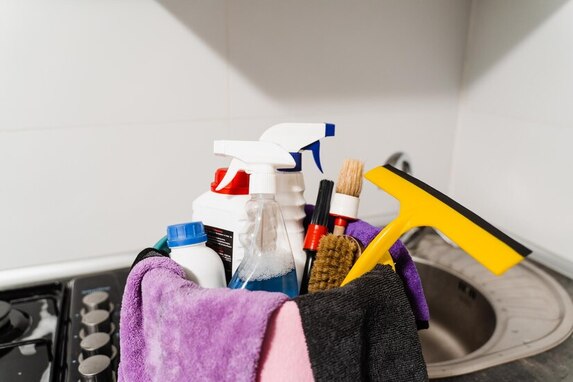
Group your tools by the area you’re cleaning. This prevents cross-contamination and keeps your workflow smooth and efficient.
Clean the kitchen first
The kitchen is the hardest working room in the house. Grease, food spills, and sticky spills accumulate quickly. Tackling this area first sets a clean baseline for the rest of the home. A systematic approach prevents cross-contamination and saves time.
Remove everything from counters and tables. Wipe down all surfaces with an all-purpose cleaner. This clears the workspace and reveals hidden grime on cabinets and walls.
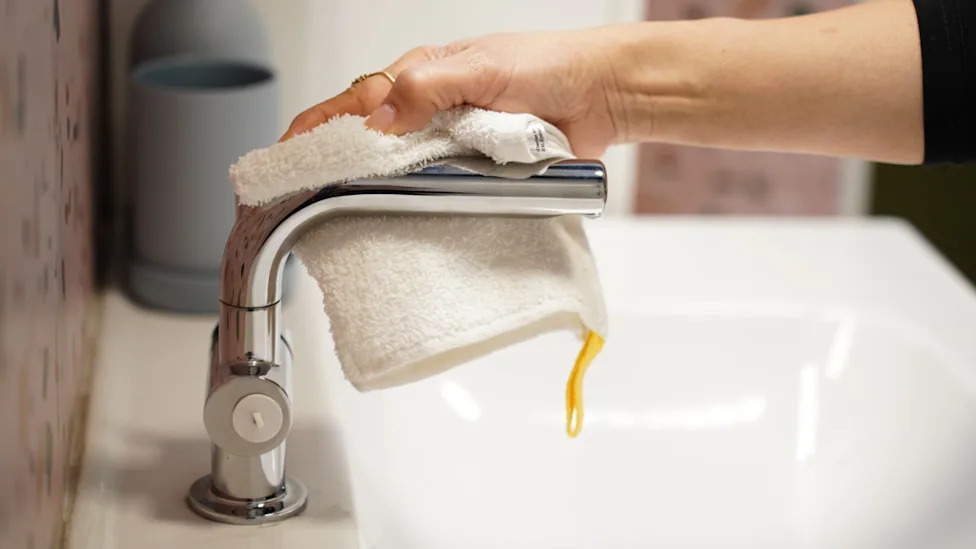
Sprinkle baking soda inside the sink and around the faucet. Let it sit for ten minutes to break down stains and mineral deposits. Scrub with a non-scratch sponge and rinse thoroughly.
Spray a degreaser on the stovetop and range hood filter. Let the chemical do the work for a few minutes. Wipe away the dissolved grease with a microfiber cloth. For heavy buildup, soak removable filters in hot soapy water.
Wipe down the refrigerator, dishwasher, and microwave doors. Use a vinegar solution for stainless steel to prevent streaks. Clean the microwave interior by heating a bowl of water with lemon slices for three minutes.

Sweep or vacuum the floor to remove loose debris. Mop with a suitable cleaner for your flooring type. Work from the back of the kitchen toward the exit to avoid stepping on wet floors.
This sequence ensures you clean from top to bottom and dry to wet. It prevents dirty water from splashing on already cleaned surfaces. The kitchen will look and smell fresh in under an hour.
Tackle bathroom grime
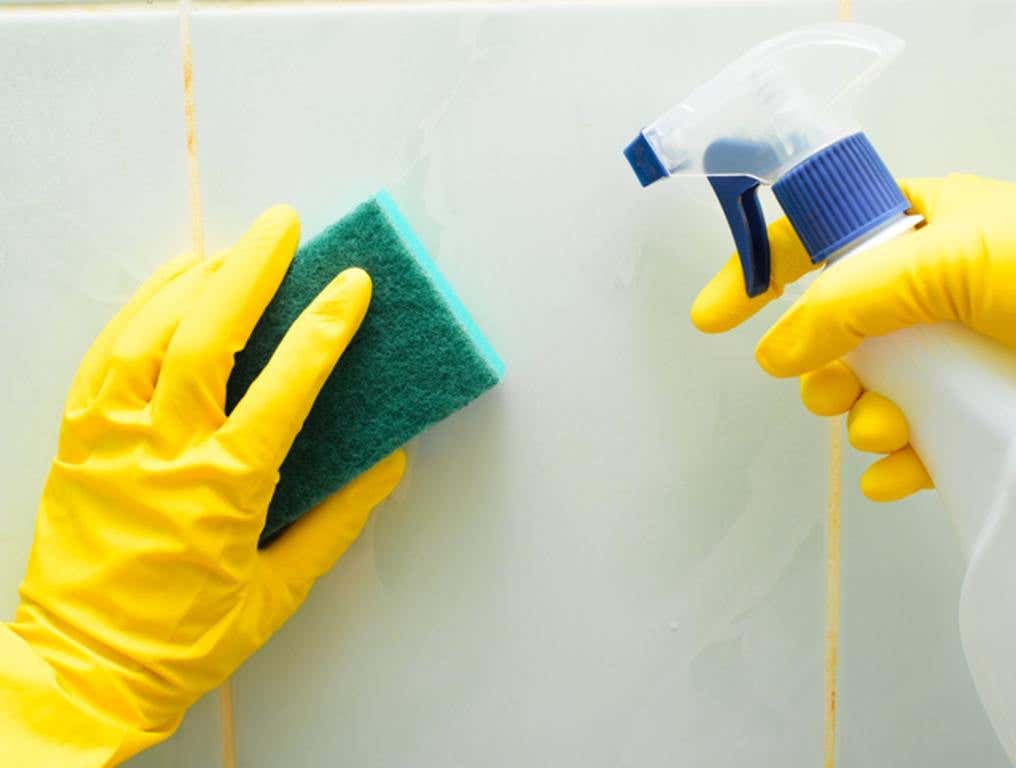
Hard water stains and soap scum turn glossy shower doors and tile into a cloudy, chalky mess. You don’t need harsh chemicals to fix it. A simple mix of citric acid or white vinegar breaks down the mineral deposits and soap residue that daily showers leave behind.
This approach saves money and keeps your bathroom air fresh, avoiding the strong fumes of commercial cleaners. The process is straightforward: apply, wait, and scrub. Here is how to do it effectively.
Mix one part white vinegar with one part warm water in a spray bottle. For tougher, crusty hard water rings, make a thick paste using citric acid powder and a small amount of water. This paste clings to vertical surfaces like shower doors without dripping away immediately.
Spray the vinegar solution generously over the stained areas, or spread the citric acid paste directly onto the grime. Let the solution work for at least 15 minutes. The acid needs time to dissolve the calcium and soap bonds; rushing this step means more scrubbing later.
Use a non-scratch sponge or a soft-bristled brush to scrub the area. The grime should lift away easily. Rinse thoroughly with warm water to remove any remaining acid residue, which can attract dust if left behind.
Wipe the surface dry with a microfiber cloth or use a squeegee. Drying the glass and tile prevents new water spots from forming as the remaining moisture evaporates. This final step ensures a clear, shiny finish that lasts longer.
Quick tip: For persistent stains on grout lines, sprinkle baking soda over the citric acid paste before scrubbing. The mild abrasion helps lift dirt from the porous grout without damaging the tile surface.
Refresh living spaces
Living areas collect dust and grime faster than bedrooms because they are high-traffic zones. You can keep them looking fresh without spending hours scrubbing by focusing on three main areas: dusting, fabric care, and surface streaks.
Dust with the right motion
Dust doesn’t disappear when you wipe it; it just moves to the next surface. Use a microfiber cloth to trap particles rather than scattering them. Start from the top of the room and work down. Wipe in straight lines instead of circles to see the dirt clearly. This prevents you from missing spots or leaving behind a fine haze.
Treat fabric stains immediately
Spills on sofas and armchairs set quickly. Blot liquids with a clean, dry towel immediately. Do not rub, as this pushes the stain deeper into the fibers. For solid stains, scrape off excess gently. Check the manufacturer’s tag for cleaning codes (W, S, or WS) to choose the right solvent. This simple step saves you from calling a professional later.
Remove streaks from glass and wood
Glass tables and coffee tables show every smudge. Use a squeegee or a lint-free cloth with a vinegar-water mix for glass. For wood surfaces, a dedicated polish applied with a circular motion followed by a buff with a dry cloth removes fingerprints. Avoid paper towels, which leave lint and can scratch delicate finishes.
Avoid common cleaning mistakes
Most people waste hours scrubbing surfaces that just need a different approach. The difference between a frustrating chore and a quick tidy-up usually comes down to two things: using too much product or rushing the process. Cleaning isn’t about applying more force; it’s about letting chemistry do the work.
Let cleaners sit
A common error is applying a bathroom spray and immediately wiping it away. Detergents and disinfectants need contact time to break down grime and kill bacteria. If you don’t let the solution sit for at least five to ten minutes, you’re mostly just spreading dirt around. This is one of the most overlooked cleaning hacks pros use to save elbow grease.
Stop mixing chemicals
Never mix bleach with ammonia or vinegar. These combinations create toxic gases that can damage your lungs and eyes. Stick to single-purpose products or pre-mixed solutions designed for specific tasks. If you’re unsure about a combination, check the label or stick to simple tools like microfiber cloths and hot water.
Use the right cloth
Using the same rag for your kitchen counter and your toilet bowl spreads bacteria instead of removing it. Microfiber cloths are effective because they trap dust and moisture, but they only work if you use them correctly. Keep separate cloths for different zones, or use disposable paper towels for high-risk areas to avoid cross-contamination.
Maintain your clean home
Keep your home tidy between deep cleans with a simple weekly routine. This checklist focuses on high-impact tasks that prevent buildup and reduce future scrubbing time.
-
Wipe down kitchen counters and stove after cooking
-
Vacuum high-traffic floors and sweep entryways
-
Clean bathroom mirrors and faucets
-
Quick dust of visible surfaces and shelves
-
Empty trash bins and replace liners
Consistency matters more than intensity. Ten minutes daily beats a four-hour weekend marathon. Stick to this list to keep your home looking fresh with minimal effort.
Frequently asked: what to check next
Cleaning smart means cleaning safely. These answers address the most common concerns about protecting your health while keeping your home spotless.
How do I clean effectively during an RSV outbreak?
During high-illness seasons like RSV, focus on high-touch surfaces such as doorknobs, counters, and light switches. Use an EPA-registered disinfectant and follow the label instructions precisely. The most critical step is allowing the surface to stay wet for the full contact time listed on the product. If you wipe it dry too soon, the disinfectant won’t have enough time to kill the virus.
What cleaning products are safest for COPD or asthma patients?
If you have respiratory conditions, avoid harsh chemical fumes. Opt for natural, lung-safe alternatives like baking soda, isopropyl alcohol, castile soap, or salt. These ingredients clean effectively without releasing volatile organic compounds (VOCs) that can trigger coughing or shortness of breath. Always ensure good ventilation by opening windows when cleaning, even with milder products.
Can I mix vinegar and baking soda for better cleaning power?
No. Mixing vinegar (an acid) and baking soda (a base) creates a neutral solution that loses its cleaning and disinfecting power. The reaction produces water and carbon dioxide gas, which is just fizzing away your potential cleaning strength. Use them separately: apply baking soda for scrubbing abrasion, rinse, then use vinegar for disinfecting and streak-free shine.
No comments yet. Be the first to share your thoughts!