
Start with the hardest mess first
Tackle the most difficult or time-consuming tasks while you have the most energy. Cleaning hacks work best when you let chemistry do the heavy lifting overnight. Apply cleaning agents to stubborn grime before bed, then scrub it away in the morning.
1. Soak the oven
Spray the interior with a degreaser or paste of baking soda and water. Let it sit overnight to break down baked-on grease. Wipe clean in the morning with minimal effort.
2. Scrub the shower
Apply a limescale remover or vinegar solution to tiles and glass doors. The acid dissolves mineral deposits while you sleep. Rinse and buff dry the next day for a streak-free finish.
3. Treat the sink
Sprinkle baking soda down the drain and pour boiling water after. This simple hack clears minor clogs and deodorizes pipes without harsh chemicals.
Apply your chosen cleaning agent directly to the hardest mess. Ensure full coverage on greasy or stained areas.

Allow the solution to work while you sleep. This passive cleaning time breaks down tough grime effectively.
In the morning, wipe away the dissolved grime with a damp cloth. Rinse thoroughly to remove any residue.
Deep clean kitchen appliances
Streaky stainless steel, a fridge that smells like old onions, and a microwave with a burnt-on mess are the three most common signs your kitchen appliances need more than a quick wipe. These issues usually stem from mineral deposits, absorbed odors, or dried-on food particles that standard cleaning misses. Addressing them requires specific household items rather than harsh chemicals.
Fix streaky stainless steel
Streaks on your refrigerator or dishwasher often come from using too much cleaner or wiping in the wrong direction. The grain of the steel runs vertically, so always wipe with the grain to avoid cross-hatching marks. For a streak-free shine, apply a small amount of olive oil to a clean microfiber cloth and buff the surface lightly. This polishes the metal and leaves a protective layer that repels fingerprints for longer.
Remove fridge odors
A smelly fridge is usually caused by absorbed odors in the plastic shelves and drawers. Instead of masking the smell with air fresheners, remove the shelves and soak them in warm water with half a cup of baking soda. For the interior walls, wipe them down with a solution of equal parts white vinegar and water. To keep odors at bay, place an open box of baking soda or a small bowl of coffee grounds on a shelf to naturally absorb smells over time.
Loosen burnt-on microwave food
Scrubbing a caked-on microwave interior is difficult and risky. Instead, use steam to do the work for you. Place a microwave-safe bowl with one cup of water and the juice of one lemon inside. Microwave it on high for three to five minutes until the window is fogged. The steam softens the burnt residue, allowing you to wipe it away easily with a damp sponge without harsh scrubbing.
Fix streaky windows and mirrors
Streaks on glass usually come from two things: using the wrong cloth or using too much cleaner. Paper towels leave lint that catches the residue, and standard microfiber can smear dirt if it isn’t clean. The result is a hazy film that looks worse than the original dirt.
The fix is simple. Use coffee filters or a dedicated glass microfiber cloth. Coffee filters are lint-free and highly absorbent, making them ideal for picking up moisture without leaving fibers behind. Pair this with a simple solution of equal parts white vinegar and water, or a diluted dish soap mix for greasy kitchen windows. Spray the solution onto the cloth, not the glass, to prevent drips.
Follow these steps to get a spotless finish:

Mix equal parts white vinegar and warm water in a spray bottle. For heavy grease on kitchen windows, add a drop of dish soap. Shake gently to combine.
Lightly mist your coffee filter or clean microfiber cloth. Do not spray directly on the glass, as excess liquid can drip into window frames or cause streaks.
Wipe the glass using a continuous S-pattern from top to bottom. This ensures you cover the entire surface without missing spots. Use a fresh filter or cloth section as it gets dirty.
Once the glass is dry, use a dry, clean coffee filter to buff away any remaining haze. This final step removes microscopic residue for a crystal-clear finish.
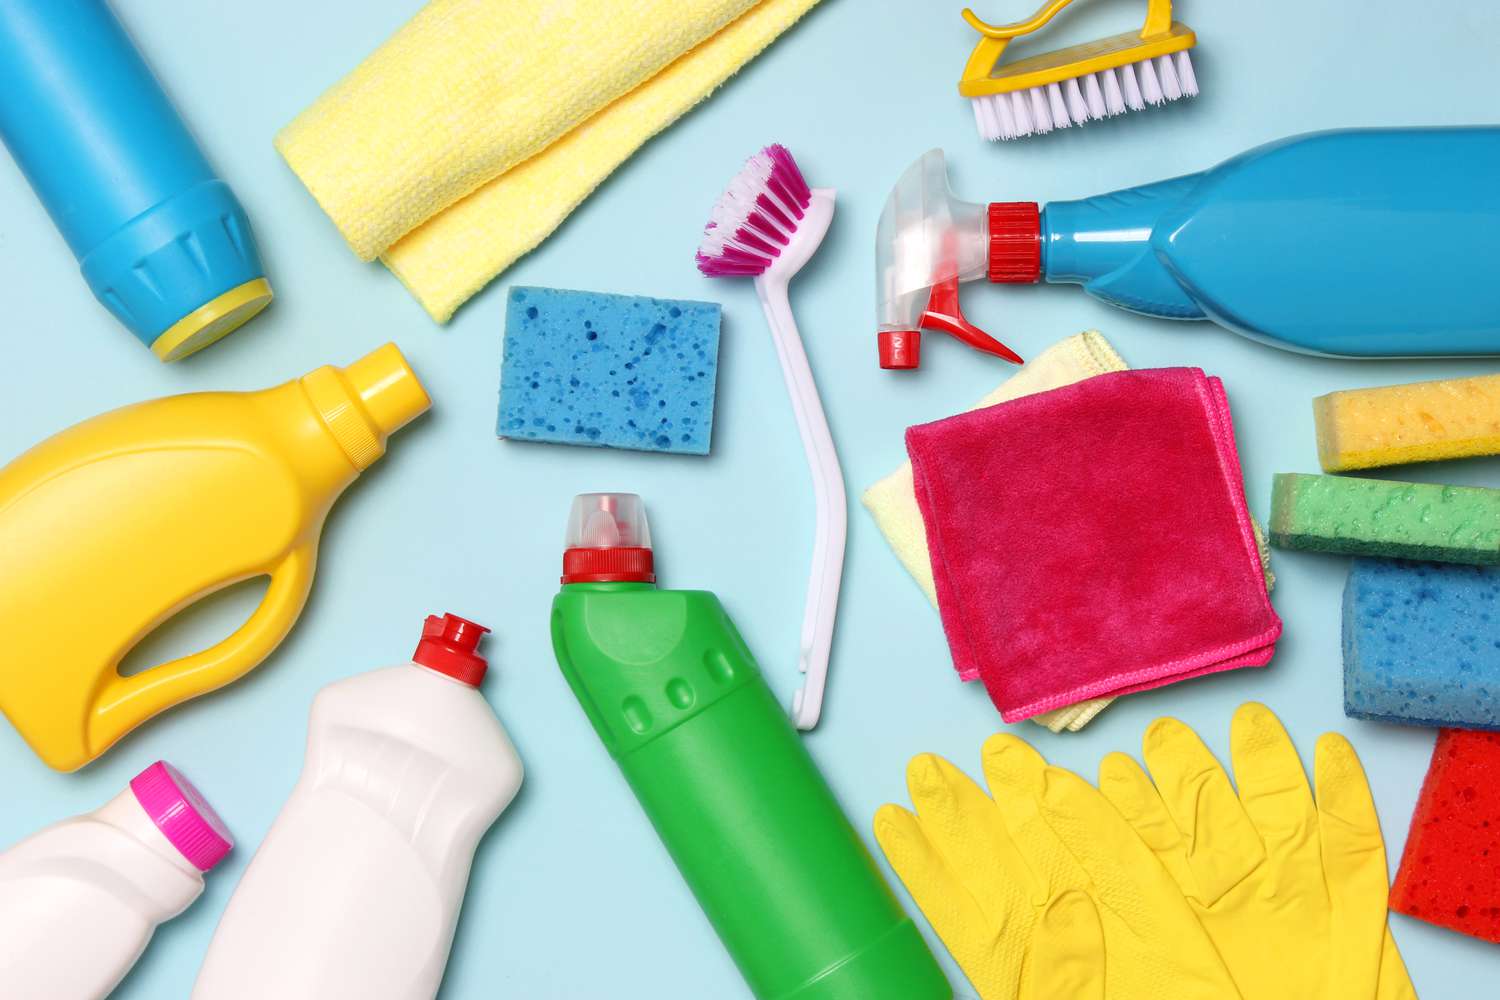
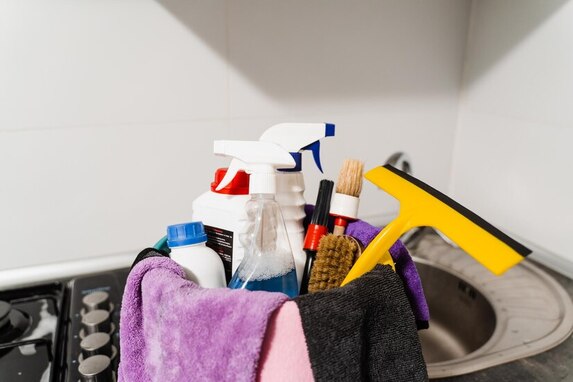
Make your own all-purpose cleaners
Commercial bottles are everywhere, but you can make a versatile DIY cleaning solution that works on most surfaces without the chemical residue. A simple mix of water, white vinegar, and a little dish soap cuts through kitchen grease and bathroom grime effectively. This approach keeps your home spotless while avoiding harsh additives.
The basic recipe
For a standard all-purpose spray, combine one part white vinegar with one part water in a spray bottle. Add a teaspoon of liquid dish soap to help lift dirt. Shake gently before each use to mix the ingredients. This mild solution is safe for sealed countertops, appliances, and glass.
For tougher stains
If vinegar isn't cutting through baked-on grease or hard water spots, switch to a moderate mix. Combine two tablespoons of borax with a quarter cup of vinegar and two cups of hot water. The borax adds scrubbing power and disinfecting properties. Always test this stronger solution on a small, hidden area first to ensure it doesn't damage sensitive surfaces like natural stone.
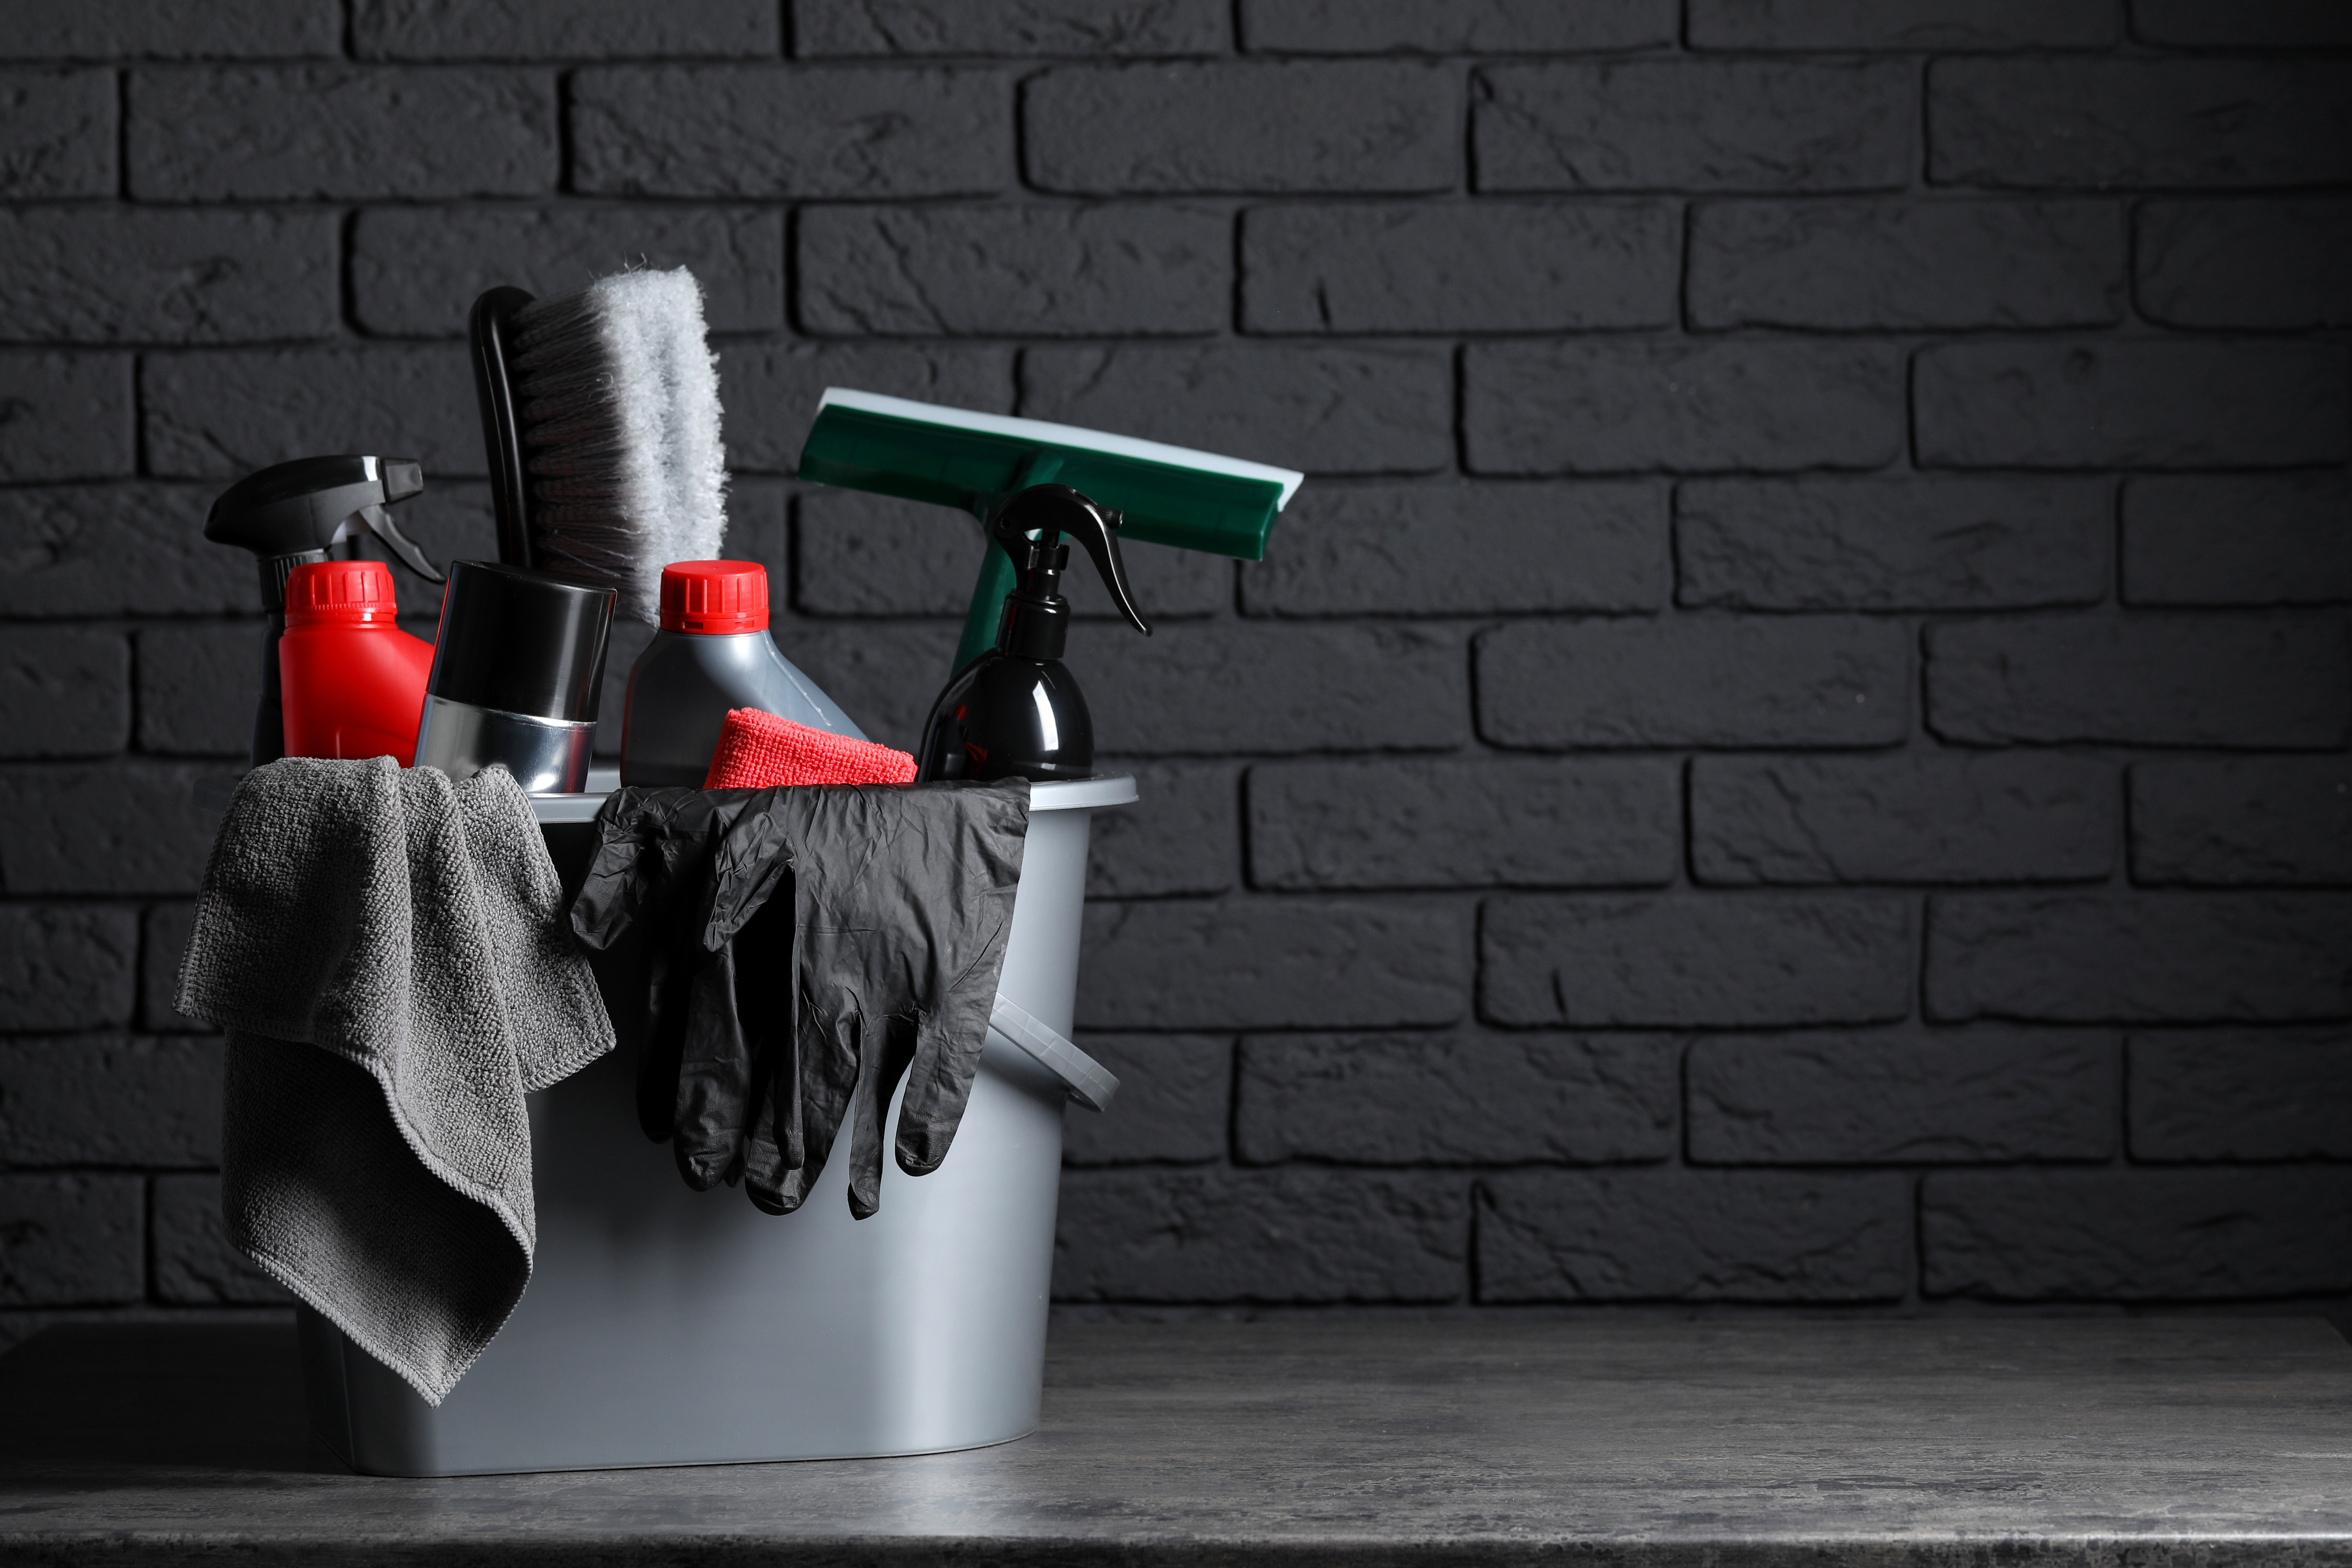
Essential items for your station
Before you start mixing, gather these supplies:
- White distilled vinegar
- Baking soda or borax
- Liquid dish soap
- Spray bottles (glass or HDPE plastic)
- Microfiber cloths

Combine your chosen ingredients in a clean spray bottle. For the mild version, use equal parts vinegar and water with a drop of soap. For heavy grease, use the borax and vinegar mix.
Label your bottle clearly with the contents and date made. Store it in a cool, dry place away from direct sunlight to maintain effectiveness.
Spray the surface generously and let it sit for a minute to break down dirt. Wipe clean with a microfiber cloth for a streak-free finish.
Safety note
Never mix vinegar with bleach. This combination creates toxic chlorine gas. Keep your DIY cleaners separate from commercial bleach products and store them out of reach of children and pets.
Prevent mold and germs in bathrooms
Bathroom mold and germs thrive in damp, high-traffic areas like showerheads and toilet brushes. Addressing these spots early prevents musty odors and keeps your home sanitary.
Start with the showerhead. Hard water deposits trap soap scum and bacteria. Fill a plastic bag with white vinegar, tie it around the showerhead with a rubber band, and let it soak for an hour. Rinse with hot water to clear the nozzles. This simple hack dissolves mineral buildup without harsh chemicals.
Toilet brushes are another germ hotspot. After each use, swirl the brush in the bowl with a small amount of bleach or disinfectant. Let it dry completely in its holder before storing. An open-air holder allows better airflow, reducing moisture that encourages mold growth.
Safety note: Never mix bleach with vinegar or ammonia. Combining these cleaners creates toxic chlorine gas, which can be dangerous to your health.
Regular maintenance prevents heavy mold colonies from forming. Check grout lines and caulk for dark spots. Clean these areas weekly with a baking soda paste or a hydrogen peroxide spray. This routine keeps surfaces bright and reduces the need for deep scrubbing later.
Common cleaning mistakes to avoid
Even the best smart cleaning hacks fail if the basics are wrong. Small errors in technique or product choice often leave behind streaks, residue, or trapped grime. Fixing these habits saves time and keeps surfaces intact.
Overusing cleaning products
More product does not mean cleaner. Excess detergent or chemical spray leaves a sticky film that attracts more dust and dirt. This residue makes surfaces look dull faster and requires extra scrubbing to remove.
Use the amount recommended on the label. Dilute concentrates properly. Rinse surfaces with clean water when the product instructions allow it. A little goes a long way.
Using the wrong cloth
Paper towels shred and leave lint, especially on glass and stainless steel. Rough sponges can scratch delicate finishes. The wrong tool turns a quick wipe into a frustrating job.
Switch to microfiber cloths for most tasks. They trap dust and dirt without scratching. Use a separate cloth for the kitchen and another for the bathroom to avoid cross-contamination.
Ignoring ventilation
Many cleaning chemicals release fumes that linger in enclosed spaces. Without airflow, these fumes concentrate, creating an unhealthy environment and making the room smell worse long after you finish.
Open windows or turn on exhaust fans. Clean in a well-ventilated area to let fresh air circulate. This simple step clears the air quickly and keeps the space safe to breathe.
Frequently asked: what to check next
Quick checklist
-
Match the sizeMake sure the cleaning hacks option fits your household, storage space, and normal batch size.
-
Check the materialChoose a material that handles heat, washing, and regular use without becoming a chore.
-
Plan the cleanupAvoid anything that needs more maintenance than you are likely to give it.
-
Keep one fallbackHave a simple backup option for rushed days.
No comments yet. Be the first to share your thoughts!