
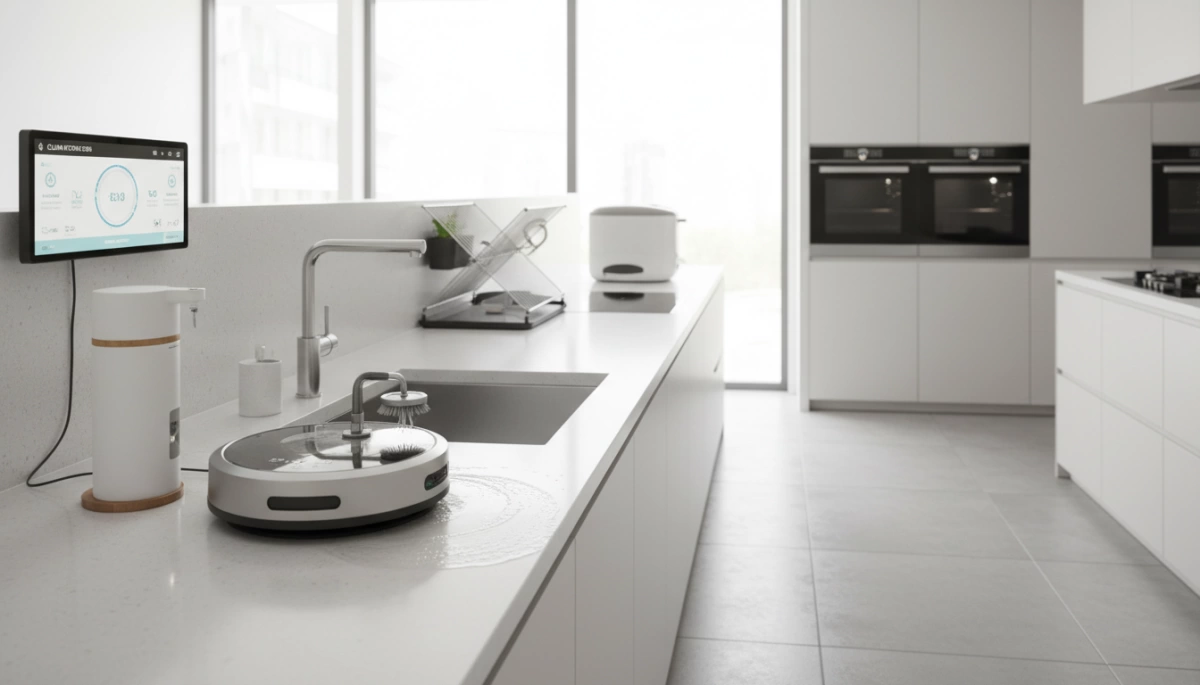
Cleaning smart appliances in 2026
Smart appliances don't just collect dust; they collect fingerprints on touchscreens and grime on sensors. Even with the anti-smudge coatings common on 2026 models, these machines need a specific routine to keep the hardware running without glitches.
It’s a common misconception that "smart’ automatically equates to ‘easy to clean." In many cases, the added technology actually creates more nooks and crannies for dirt and debris to accumulate. A consistent cleaning schedule is more important than ever to maintain performance, extend the lifespan of your appliances, and uphold any warranty agreements. Ignoring these needs can lead to decreased efficiency, malfunctions, and even health hazards.
This guide provides a detailed cleaning schedule for all your modern smart home devices. We’ll cover everything from robot vacuums to smart ovens, offering practical advice and specific product recommendations to help you keep your home sparkling. It's about working with the technology, not against it, to maintain a clean and healthy living space.
Robot vacuums and floor cleaners
Robot vacuums and mops are designed to simplify floor cleaning, but they aren’t self-sufficient. A regular maintenance schedule is essential for optimal performance. Start with the dustbin: empty it after every use. I’ve seen too many robots struggle because of an overflowing bin, losing suction power and spreading dust around.
The brushroll is usually where things go wrong. I pull out tangled hair and threads once a week—more if the dog is shedding. You also need to wipe the cliff and wall sensors with a dry cloth. If they're dusty, the robot starts acting drunk or fails to find its dock. Speaking of the dock, wipe the charging contacts too, or you'll wake up to a dead battery.
Mopping robots require attention to the mopping pads. Wash reusable pads after each use and replace them every few months, depending on usage. Change the filters every two to three months to maintain suction and air quality. A deep clean – disassembling and cleaning all components – should be performed every six months. Town Appliance recommends checking the manufacturer’s instructions for specific cleaning guidelines, as designs vary significantly.
- Empty dustbin: After every use
- Clean the brushroll weekly to remove hair
- Sensor cleaning: Weekly
- Mopping pad washing: After every use
- Filter replacement: Every 2-3 months
- Deep clean: Every 6 months
Smart refrigerators
Smart refrigerators, with their touchscreens and advanced features, require a bit more attention than traditional models. Begin with the interior: remove shelves, drawers, and door bins weekly to wash with warm, soapy water. Pay attention to spills and food residue, as these can attract odors and bacteria. CleaningeNVy emphasizes the importance of a thorough interior clean at least monthly.
The exterior, particularly stainless steel, needs regular care to maintain its appearance. Use a stainless steel cleaner specifically designed for appliances to avoid streaks and damage. Fingerprints are a constant battle; a microfiber cloth can help minimize smudges. Don’t forget the water and air filters – replace these every six months, or as indicated by the refrigerator’s display. A clogged filter impacts water quality and cooling efficiency.
Cleaning the touchscreen is straightforward: use a microfiber cloth dampened with a gentle glass cleaner. Avoid abrasive cleaners or excessive moisture. Many 2026 models feature anti-streak coatings, but a dedicated screen cleaner is still the safest option. I’m keeping an eye out for more widespread adoption of self-cleaning interior features, but for now, manual cleaning remains the standard.
Ovens & Cooktops: Smart Features, Stubborn Grime
Smart ovens, whether convection or steam-powered, often include self-cleaning cycles. While convenient, these cycles don’t eliminate the need for manual cleaning entirely. After a self-clean, wipe away any remaining ash with a damp cloth. For cooktops – induction, gas, or electric – regular cleaning is crucial to prevent burnt-on food and grease buildup.
Clean gas burners and electric elements after each use to remove spills and debris. For induction cooktops, a ceramic cooktop cleaner is essential to avoid scratches. Control panels should be wiped down weekly with a damp cloth and a mild detergent. Don’t forget the vent hood filter; replace or clean this filter every three to six months to maintain proper ventilation. Town Appliance notes that frequent cleaning prevents grease fires and extends the life of your appliances.
Smart temperature probes and sensors are becoming increasingly common in ovens. Be careful when cleaning around these components – avoid harsh chemicals and excessive moisture. Always refer to the manufacturer’s instructions for specific cleaning recommendations. It’s easy to get caught up in the convenience of self-cleaning, but a little manual effort goes a long way in keeping your oven in top condition.
- Self-clean cycle: As needed (follow manufacturer’s instructions)
- Cooktop cleaning: After each use
- Control panel cleaning: Weekly
- Vent hood filter: Replace/clean every 3-6 months
Dishwashers
Smart dishwashers offer convenience, but they still require regular cleaning to maintain optimal performance. The most often-overlooked component? The filter. Clean the dishwasher filter at least monthly to remove food particles and prevent clogs. A clogged filter reduces cleaning efficiency and can cause odors.
Spray arms can also become clogged with debris. Remove them and rinse thoroughly under running water every few months. Clean the door seal with a damp cloth to remove food residue and mildew. Wipe down the interior stainless steel with a stainless steel cleaner to prevent water spots and stains. Run a cleaning cycle with a dishwasher cleaner every month to remove buildup and freshen the interior.
Lingering odors can be addressed by running a cycle with a cup of vinegar or baking soda. Proper ventilation is also important – leave the dishwasher door slightly ajar after each cycle to allow moisture to evaporate. I’ve found that preventative maintenance is key – a little effort regularly prevents bigger problems down the road.
Washers & Dryers: Smart Cycles, Simple Cleaning
Smart washers and dryers often feature specialized cycles, but cleaning the machines themselves is still essential. Clean the washer drum monthly to prevent mold and mildew growth. Run an empty cycle with hot water and a washing machine cleaner. The detergent dispenser should also be cleaned regularly to remove residue buildup.
The dryer lint trap must be cleaned after every load. This is a fire hazard if neglected. Beyond the lint trap, clean the dryer vent annually to remove accumulated lint and improve drying efficiency. Wipe down the exterior of both machines with a damp cloth. Sensor cleaning is also important; gently wipe down any sensors with a dry cloth.
To stop the washer from smelling like a swamp, leave the door open after every load. I'm not sure if every brand has a reliable self-cleaning cycle yet, but air circulation is the best defense against mold.
Small Appliance SOS: Coffee Makers to Air Fryers
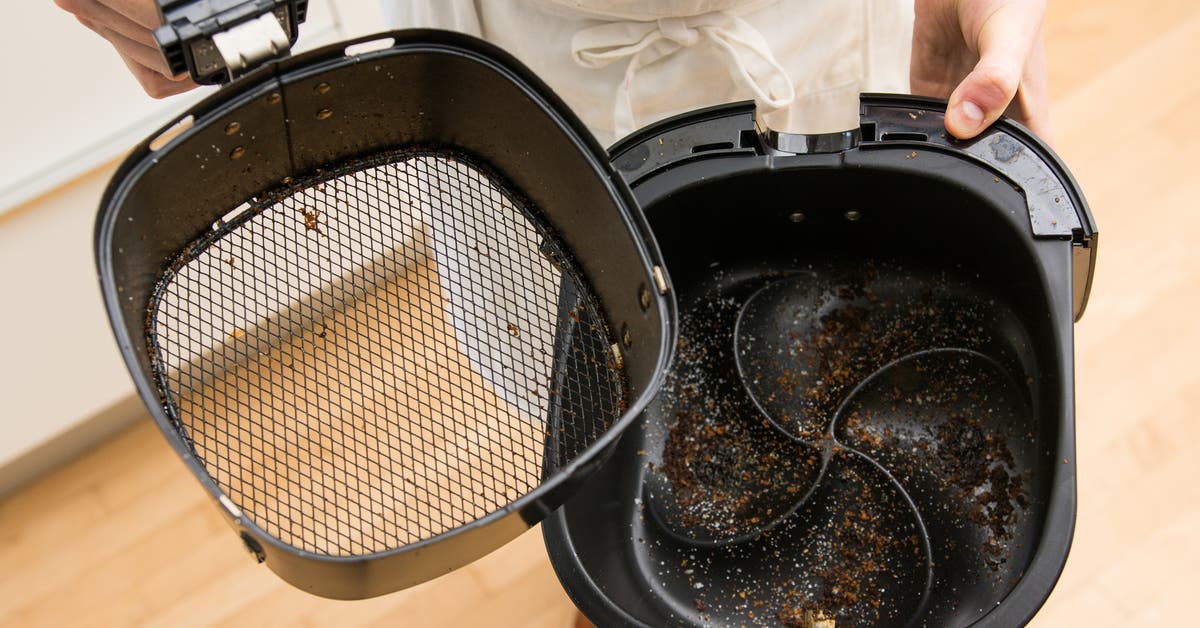
Don't forget about your smaller smart appliances! These often get overlooked, but they require regular cleaning too. Coffee makers need descaling every one to three months, depending on water hardness, to remove mineral buildup. Air fryers require cleaning the basket and heating element after each use to prevent food from sticking and burning.
Instant Pots need attention to the sealing ring and steam release valve – clean these after each use and replace the ring every few months. Smart blenders require careful blade cleaning; never submerge the base in water. Toaster ovens need regular crumb tray cleaning to prevent fire hazards. These appliances, while smaller, can quickly accumulate grime if neglected.
It’s easy to fall into the trap of thinking these appliances don't need as much attention, but they are used frequently and can harbor bacteria and odors. A quick wipe-down after each use and a more thorough cleaning weekly will keep them functioning properly and extend their lifespan. I think it’s a matter of incorporating these tasks into your routine.
- Descale the coffee maker every 1-3 months
- Air fryer: Clean basket & element after each use
- Instant Pot: Clean ring & valve after each use
- Smart blender: Clean blades after each use
- Toaster oven: Clean crumb tray regularly
Small Appliance Cleaning Frequency
| Appliance Type | Daily | Weekly | Monthly | As Needed |
|---|---|---|---|---|
| Coffee Maker | Rinse carafe and brew basket after each use. | Descale with vinegar solution (follow manufacturer instructions). | Deep clean reservoir; check for mineral buildup. | Address any leaks or unusual noises. |
| Air Fryer | Wipe down basket and exterior after each use. | Wash basket and pan with warm, soapy water. | Clean heating element and interior thoroughly. | Check and clean the crumb tray. |
| Instant Pot | Wipe down exterior after each use. | Wash inner pot, lid, and steam release valve. | Inspect and clean the sealing ring; consider replacing annually. | Descale according to manufacturer’s guidelines. |
| Blender | Rinse pitcher and blades immediately after use. | Wash all components with warm, soapy water. | Sanitize blender parts to eliminate odors. | Check blade assembly for wear and tear. |
| Microwave | Wipe down interior after each use to remove splatters. | Clean interior with a damp cloth and mild detergent. | Deep clean with a steam cleaner or vinegar solution. | Check door seal for damage. |
| Toaster | Empty crumb tray after each use. | Wipe down exterior. | Clean heating elements carefully (when cool and unplugged). | Inspect for burnt crumbs and potential fire hazards. |
Illustrative comparison based on the article research brief. Verify current pricing, limits, and product details in the official docs before relying on it.

No comments yet. Be the first to share your thoughts!