
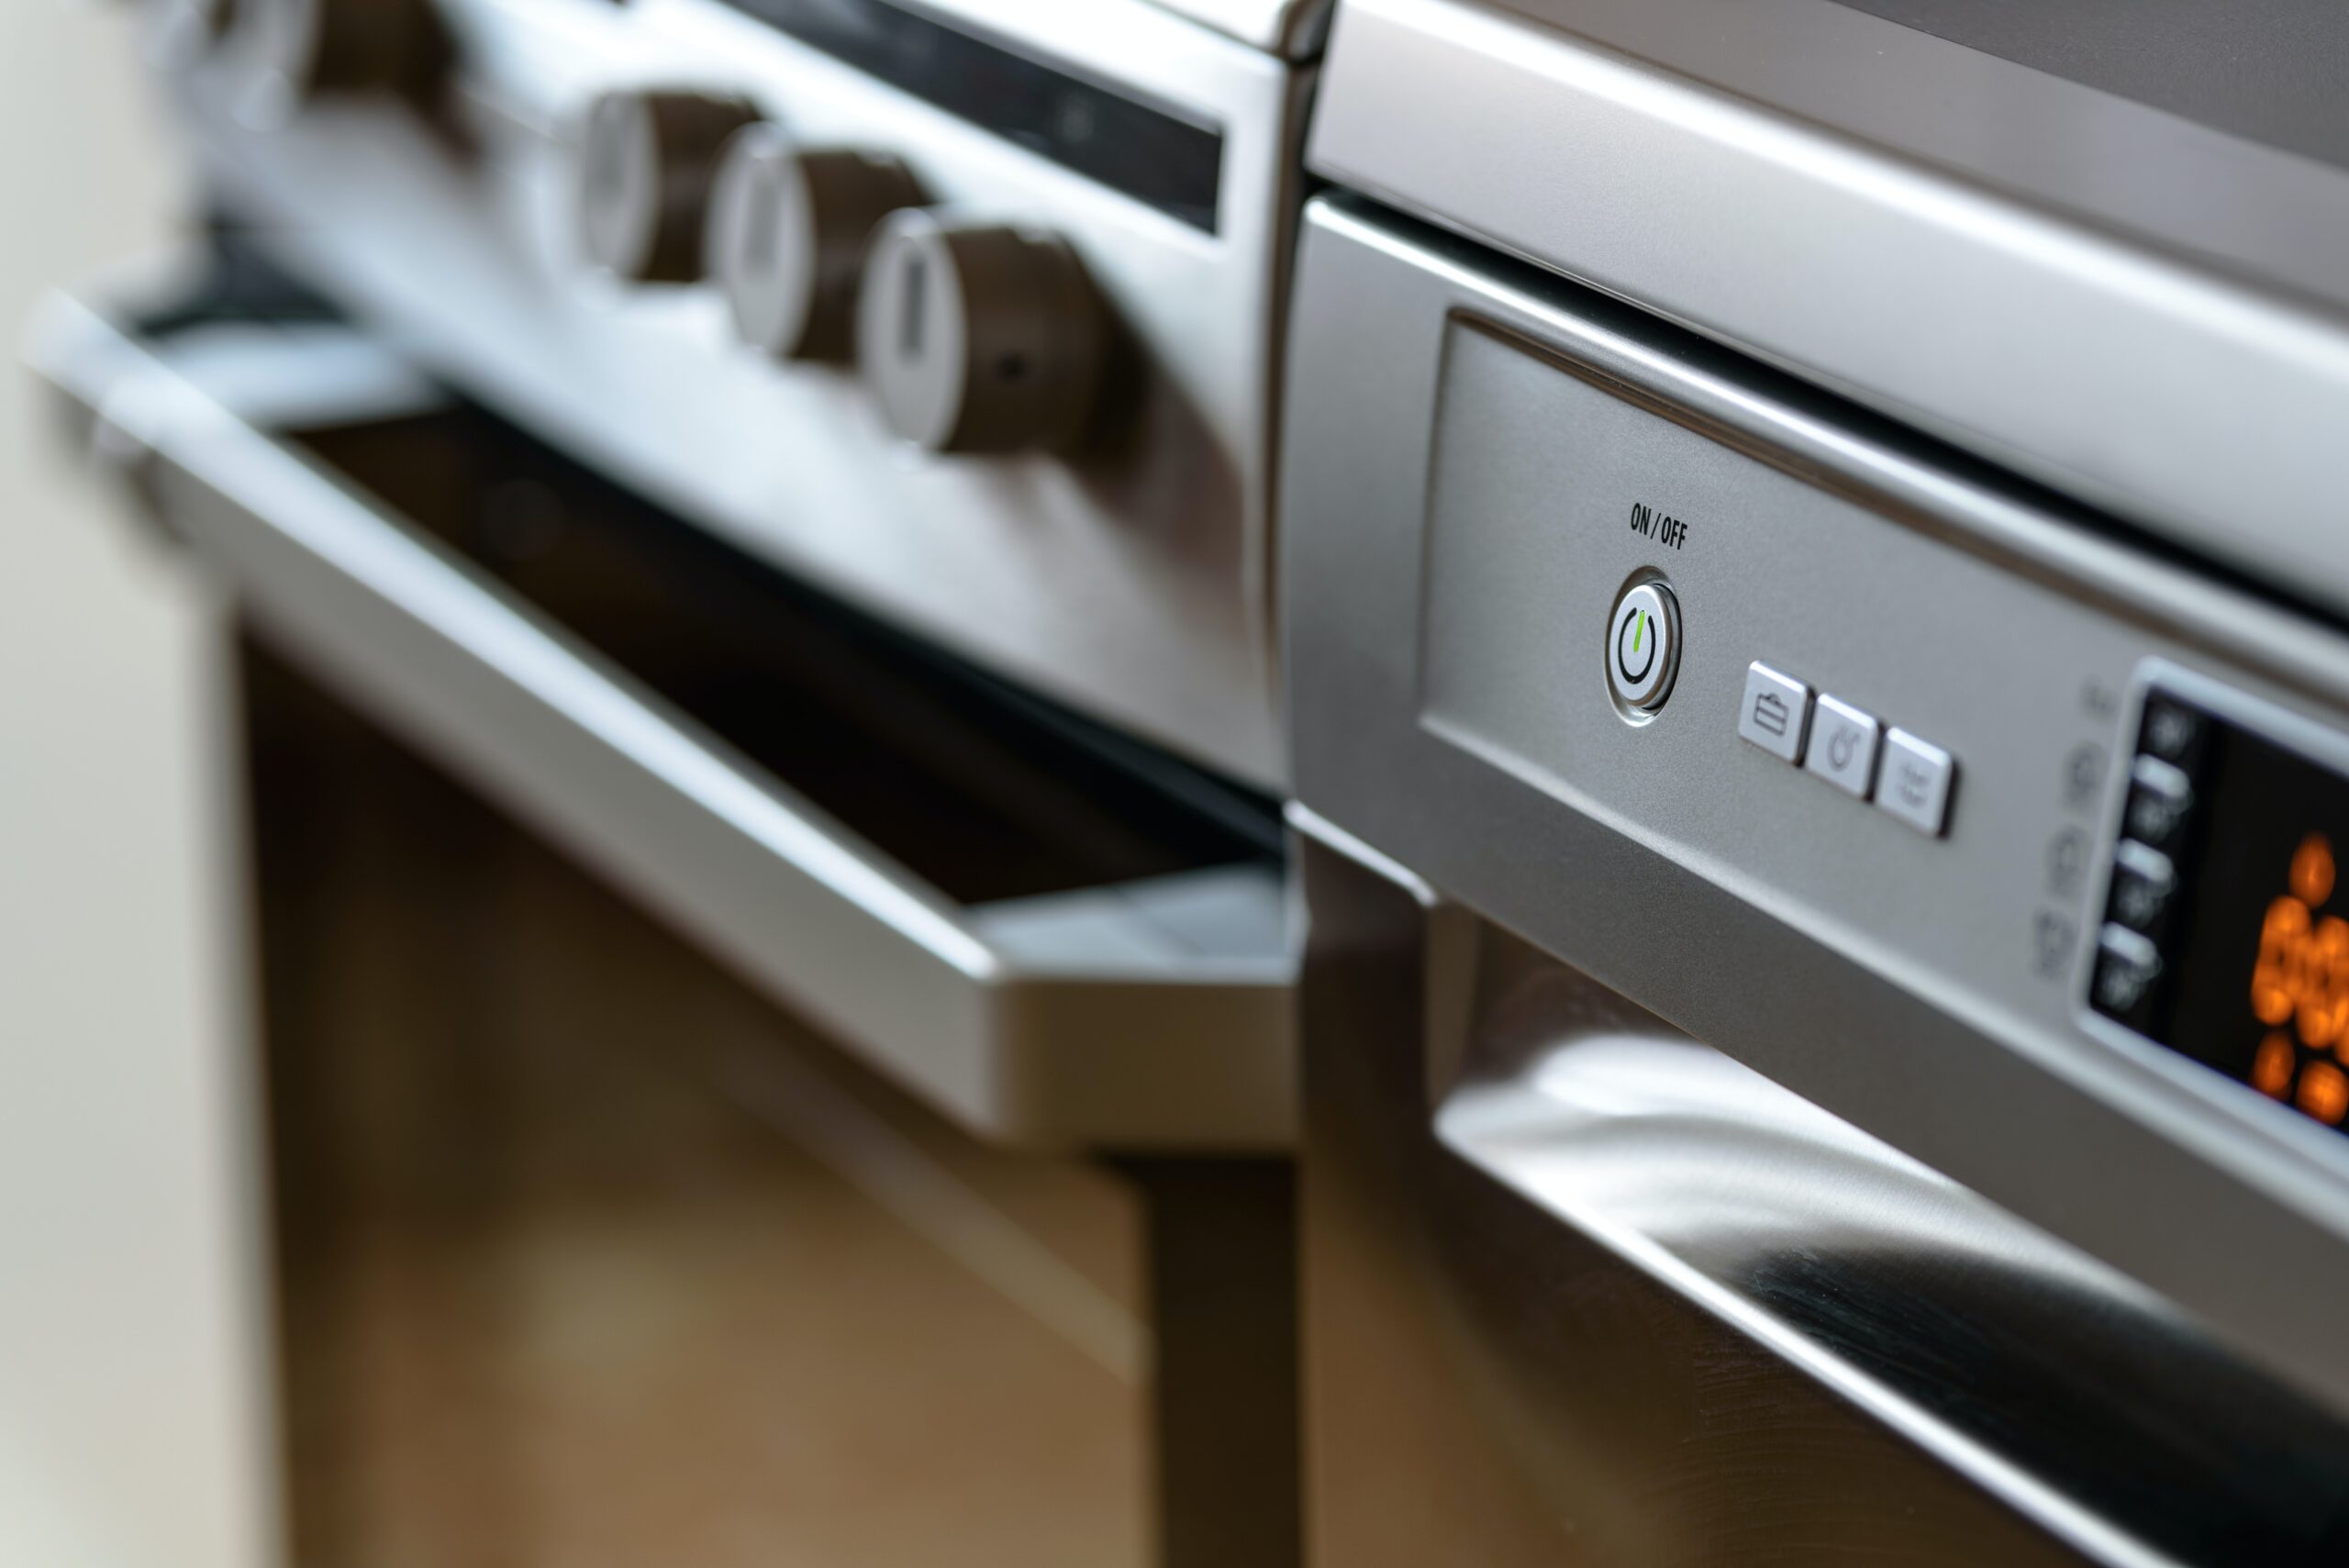

Spot the grime before you start
Appliance cleaning begins long before you scrub. It starts with a systematic inspection of your kitchen. You need to identify which surfaces hold the most buildup and gather the right tools for the job. Skipping this step often leads to wasted effort or damaged finishes.
Start with the appliances that see the most heat and grease. The oven and range hood are prime targets. Look for baked-on splatters on the control panels and heavy carbon deposits on the racks. If your range hood filter is stiff with grease, it’s time for a deep clean. A dirty hood doesn’t just look bad; it reduces airflow and can become a fire hazard.
Next, check the refrigerator. Wipe down the exterior handles and door seals. Inside, look for expired items and sticky spills on the shelves. Dishwashers often accumulate grime around the door gasket and spray arms. If you see residue there, it’s a sign that your machine needs attention.
Gather your supplies based on what you find. You’ll likely need a microfiber cloth, a non-abrasive sponge, and a gentle cleaner. For stainless steel, a dedicated polish works best. For ovens, a heavy-duty degreaser is necessary. Avoid harsh chemicals that can scratch surfaces or leave toxic residues. Having the right tools ready makes the actual cleaning process much faster and more effective.
Clean the oven interior safely
Burnt-on grease and food residue don't just look bad; they create smoke and odors the next time you cook. Before reaching for heavy-duty chemicals, start by removing the oven racks and any loose debris. This clears your workspace and prevents scratching the enamel during the scrubbing phase.
Follow this visual workflow to deep clean your oven interior effectively.
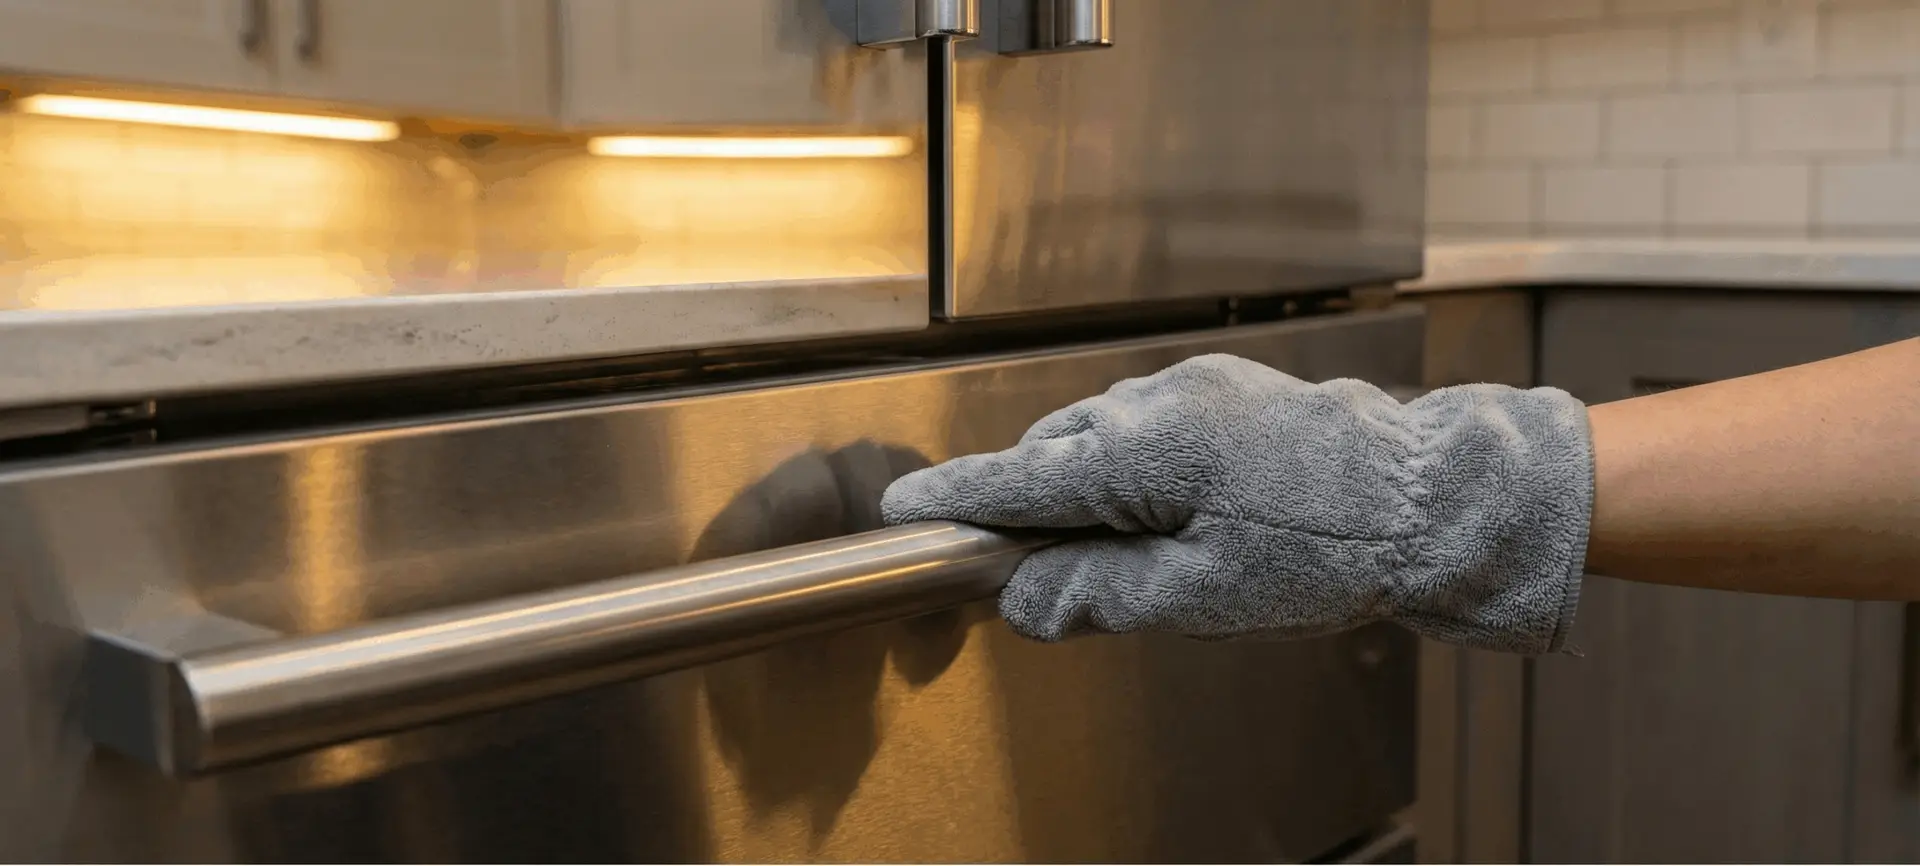
Pull out all oven racks, broil pans, and stone liners. If your racks have removable enamel liners, take those out too. Wipe away loose crumbs with a damp cloth to prevent them from turning into mud when you apply cleaner.
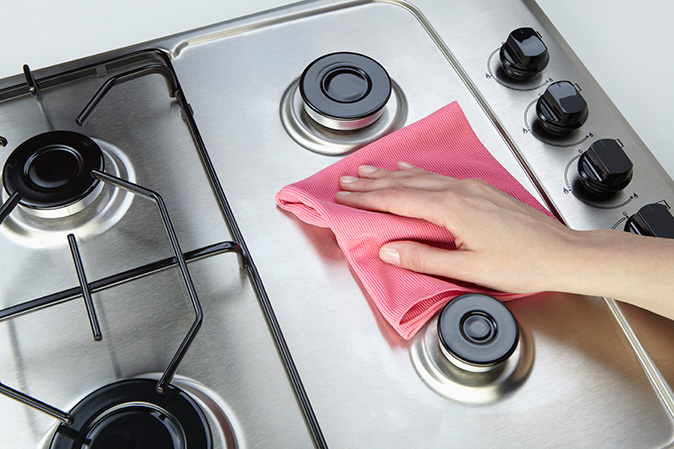
Spray a commercial oven cleaner or apply a baking soda and water paste to the interior walls. Avoid the heating elements and the door gasket. Let the solution sit for 15-20 minutes to break down the carbonized grease. For heavy buildup, you may need to let it sit longer, but never let it dry completely.
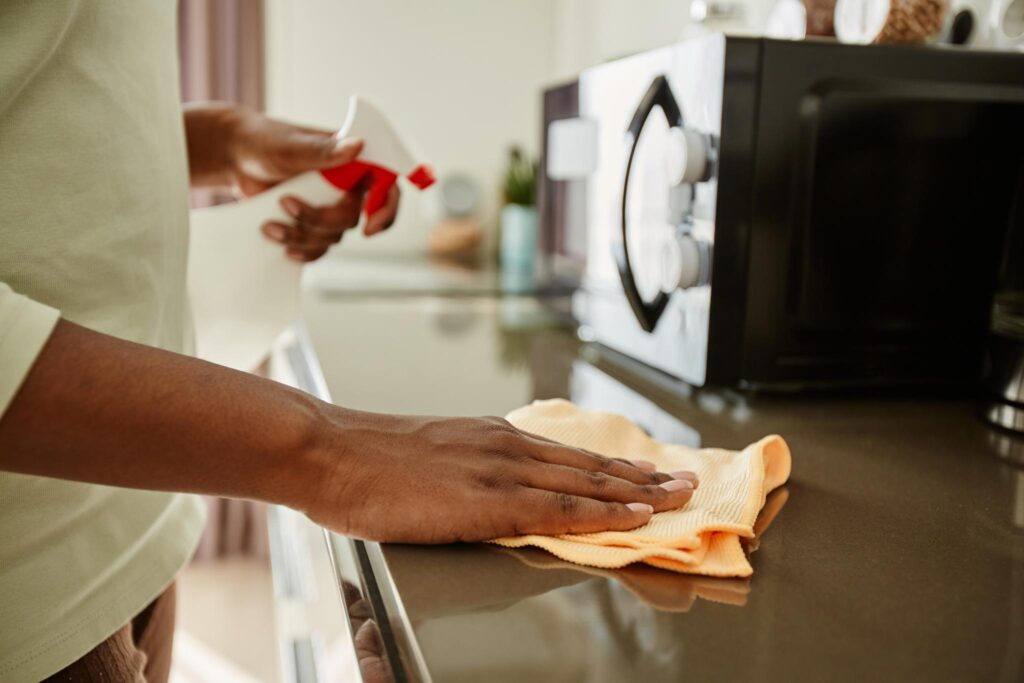
Use a non-abrasive sponge or a plastic scraper to lift the softened grime. Work from the top down to avoid drips on clean surfaces. For stubborn spots, use a nylon brush. Never use steel wool, as it will scratch the enamel and make future cleaning harder.
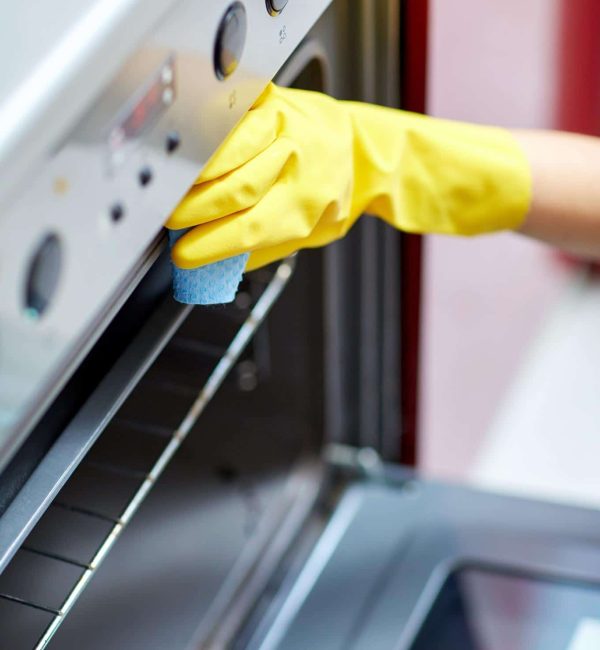
Wipe the interior multiple times with a clean, damp cloth to remove all chemical residues. Any leftover cleaner can smoke or taste bad during your next bake. Dry the interior with a towel, then replace the racks and liners once they are completely dry.
Wipe down the refrigerator exterior
A smudged fridge door or sticky handles are the first signs that appliance cleaning has slipped. These marks come from hand oils, cooking splatter, and humidity. A quick wipe-down restores the finish and keeps bacteria from building up on high-touch surfaces.
Choose the right cleaner
Skip abrasive powders and bleach-based sprays. They scratch stainless steel and degrade rubber seals. Mix warm water with a few drops of mild dish soap. For stainless steel, apply the solution with a soft microfiber cloth, wiping in the direction of the grain. For glass or plastic doors, a simple vinegar-water mix cuts through grease without leaving streaks.
Clean the handles and control panel
Handles collect the most grime. Use a cotton swab dipped in soapy water to get into the crevices where fingerprints accumulate. Wipe the control panel gently with a damp cloth. Avoid spraying liquid directly onto electronics; mist your cloth first. Dry immediately to prevent water spots or seepage into buttons.
Inspect and wipe the door seals
Gummy or sticky seals trap food particles and cause cooling issues. Pull the rubber gasket open slightly. Wipe the visible edges with your soapy cloth. Use a soft-bristled brush or a cotton swab to clean deep inside the folds. Rinse with a water-dampened cloth and dry thoroughly. This simple check maintains the seal’s integrity and prevents energy waste.
Dampen a microfiber cloth with your soapy solution. Wipe the entire exterior, including the sides and top, following the grain for stainless steel. Rinse the cloth frequently to avoid spreading grime.
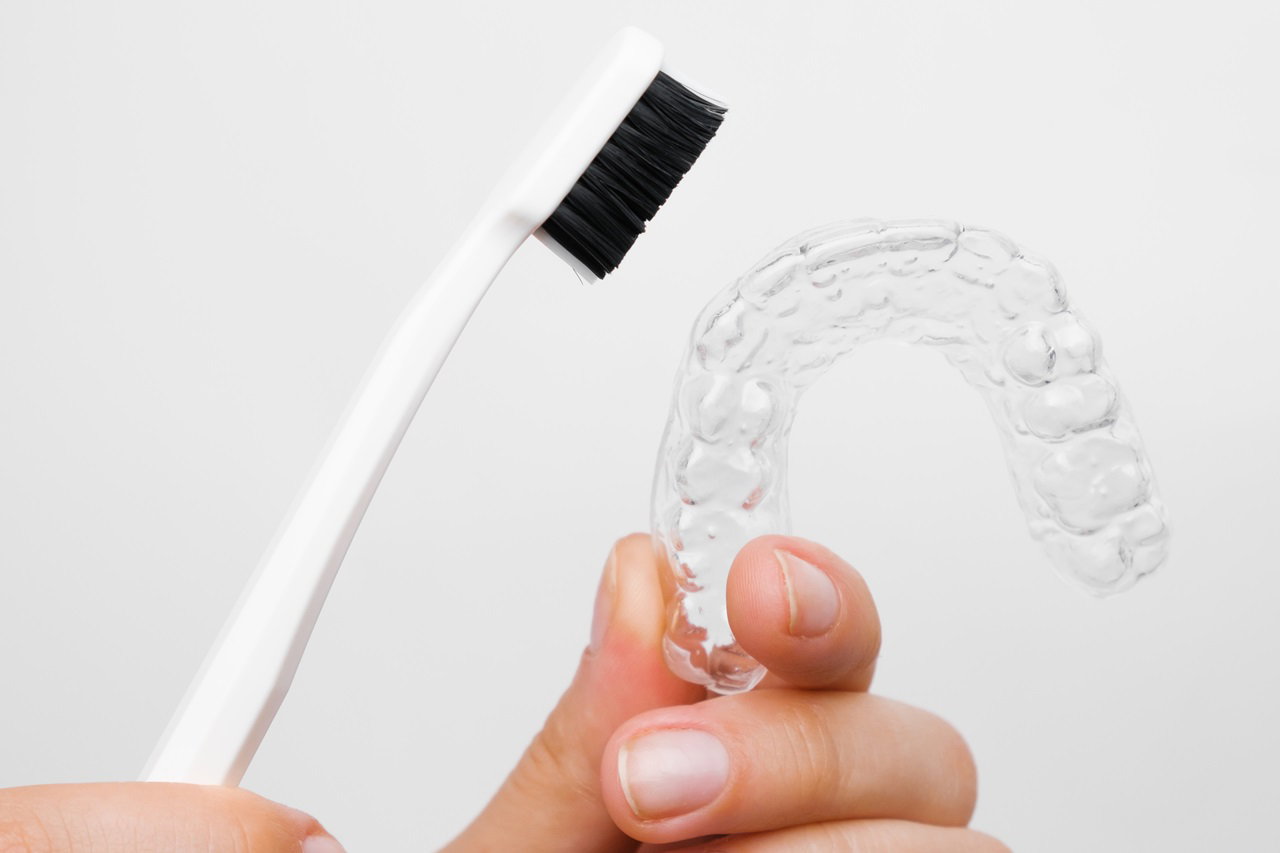
Focus on high-touch areas. Use a cotton swab for crevices in handles. Wipe the control panel with a lightly dampened cloth, then dry immediately to protect electronics.
Pull back the rubber gasket. Use a soft brush or swab to remove debris from the folds. Wipe with a damp cloth and dry thoroughly to maintain the seal.
Keep the dishwasher filter clean
A dishwasher that leaves spots on your glassware or leaves a slimy film on your plates usually points to a clogged filter. This component catches food debris to protect the pump, but when it gets blocked, dirty water recirculates through the spray arms. You can fix this common appliance cleaning issue in under five minutes.
Open the dishwasher door and remove the bottom rack. Look at the base of the tub where the spray arm meets the floor. Most models use a cylindrical filter assembly that sits directly beneath the water outlet.
Twist the main filter component counter-clockwise to unlock it. Pull it straight up and out. If your model has a secondary flat mesh screen underneath, lift that out as well. Place both parts on a towel to catch loose debris.
Use an old toothbrush and warm soapy water to scrub the mesh and plastic components. Focus on the tiny holes in the mesh screen; these are easy to miss but critical for proper drainage. Rinse thoroughly until the water runs clear.
While the filter is out, reach into the empty housing at the bottom of the tub. Use a damp cloth to wipe away any sludge or food particles stuck to the sides. This prevents debris from falling back into the filter immediately after you reassemble it.
Place the flat mesh screen back into its slot, then insert the cylindrical filter. Twist it clockwise until it clicks into place. Run a short cycle to ensure water drains properly and no unusual noises occur.
Check your filter every two weeks if you have a garbage disposal, or monthly if you do not. Regular maintenance is the most effective form of appliance cleaning for preventing costly pump repairs.
Choose the right cleaning products
Using the wrong chemicals can damage stainless steel finishes or leave toxic residues on surfaces where you prepare food. The goal of appliance cleaning is to remove grease and grime without compromising the integrity of your kitchen tools or your family's health. Opt for eco-safe degreasers that break down built-up oil effectively while remaining safe around food preparation areas.
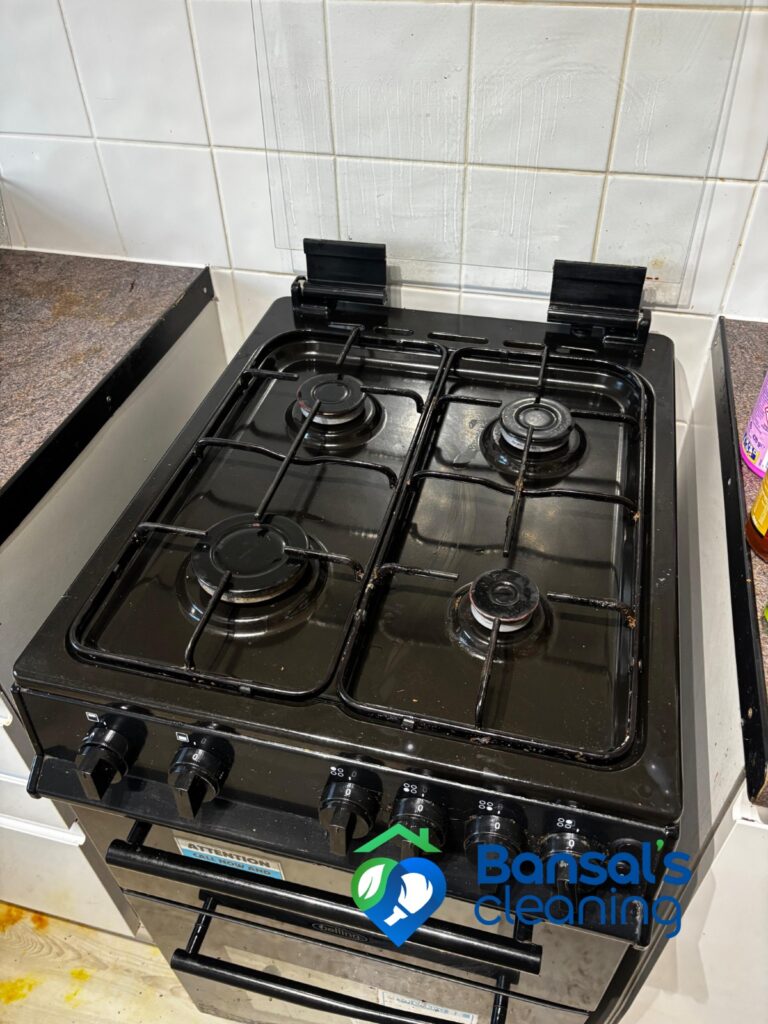
Stick to simple, non-abrasive solutions. A mixture of warm water and mild dish soap works for most daily wipe-downs. For tougher stains on ovens or refrigerator seals, look for plant-based cleaners labeled as non-toxic. Avoid harsh abrasives like steel wool or bleach-based sprays, which can scratch surfaces and emit harmful fumes. Microfiber cloths are essential for lifting dirt without scratching, and a soft-bristled brush helps dislodge debris from crevices without damaging seals.

![FIXSMITH Microfiber Cleaning Cloth - Pack of 8, Size: 12 x 16 in, Multi-Functional Cleaning Towels, Highly Absorbent Cleaning Rags, Lint-Free, Streak-Free Cleaning Cloths for Car Kitchen Home [Amazon-developed Certification] Compact by Design](https://m.media-amazon.com/images/I/91Prbpc+IvL._AC_UL960_QL65_.jpg)

As an Amazon Associate, we may earn from qualifying purchases.
Avoid common cleaning mistakes
You can ruin a good appliance cleaning job with one wrong move. Using the wrong tool or mixing chemicals doesn’t just fail to clean; it damages the surfaces you’re trying to protect. Here is how to stop before you start.
Never mix bleach and ammonia
This is the most dangerous error in appliance cleaning. Mixing household bleach with ammonia, vinegar, or many toilet bowl cleaners releases chlorine gas. Even small amounts in a poorly ventilated kitchen can cause immediate respiratory distress. Always read labels. If a product contains either ingredient, do not combine it with anything else.
Skip the abrasive pads
Steel wool and rough scouring pads look effective on burnt-on grease, but they leave micro-scratches that trap dirt later. These scratches dull stainless steel and ruin nonstick coatings on air fryers and baking sheets. Switch to a soft sponge or a nylon brush. They remove grime without marking the finish.
Test cleaners in hidden spots
Before spraying a new cleaner on your fridge door or oven window, test it on a small, inconspicuous area. Some acids etch glass, and strong solvents melt plastic handles. A quick patch test saves you from permanent damage and costly repairs.
Appliance Cleaning Checklist
Use this list to ensure no surface is missed during your appliance cleaning routine. The goal is to remove hidden grease and food residue that accumulate in hard-to-reach spots.
-
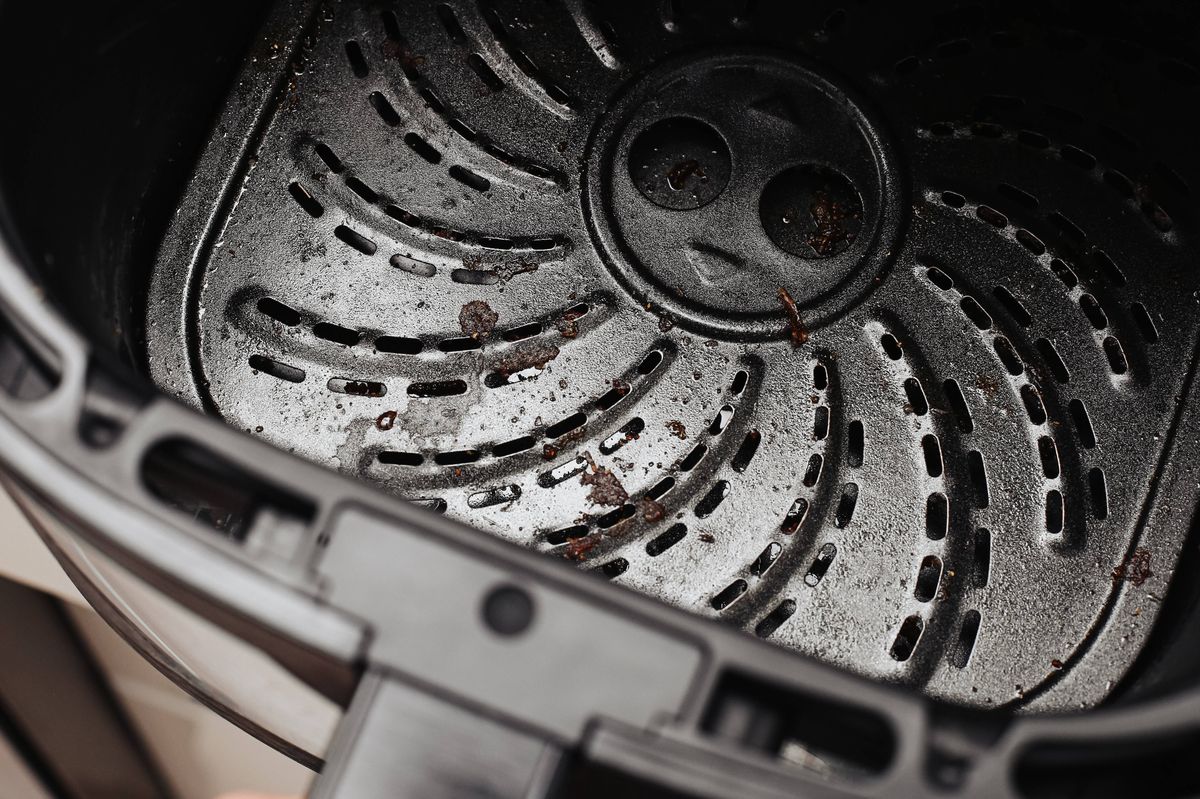
Air Fryer & Toaster Oven: Remove crumbs from the tray and wipe the interior with a damp cloth. Check the heating elements for stuck-on debris.
-
Refrigerator Interior: Discard expired items and wipe shelves with a baking soda solution. Clean the door gaskets to ensure a proper seal.
-
Dishwasher: Run an empty cycle with vinegar to remove mineral buildup. Wipe the filter and spray arms to restore water pressure.
-
Microwave: Place a bowl of water and lemon juice inside and heat for three minutes. Wipe away the loosened splatters.
-
Stovetop & Range Hood: Degrease the hood filter and wipe down the burner caps. Polish stainless steel surfaces to remove fingerprints.
-
Sink & Garbage Disposal: Flush the disposal with cold water and ice cubes to sharpen the blades. Scrub the sink basin and drain stopper.
Completing these steps restores your appliances to their original performance levels and extends their lifespan.
Frequently Asked Questions About Appliance Cleaning
Appliance cleaning is more than just a visual refresh; it’s about safety, efficiency, and extending the life of your kitchen tools. Below are answers to the most common questions we get from homeowners looking to tackle deep cleaning projects.
Quick checklist
-
Match the sizeMake sure the appliance cleaning option fits your household, storage space, and normal batch size.
-
Check the materialChoose a material that handles heat, washing, and regular use without becoming a chore.
-
Plan the cleanupAvoid anything that needs more maintenance than you are likely to give it.
-
Keep one fallbackHave a simple backup option for rushed days.
No comments yet. Be the first to share your thoughts!