
Spring Cleaning Isn't About Perfection, It's About Resetting
Spring cleaning often conjures up images of endless scrubbing, aching muscles, and a general sense of dread. It's a tradition many of us feel obligated to tackle, but rarely enjoy. This year, I propose a different approach: shifting our focus from obsessive deep-cleaning to a more realistic and restorative reset.
A clean home isn’t just about appearances; it profoundly impacts our mental wellbeing. Clutter and grime can contribute to stress and anxiety, while a tidy space fosters a sense of calm and control. Striving for magazine-perfect cleanliness is a recipe for burnout. We’re aiming for better, not immaculate.
These 15 cleaning hacks are designed to streamline your spring cleaning routine, save you time and money, and ultimately make the process less overwhelming. The focus is on working smarter, not harder, with an emphasis on efficiency and cost-effectiveness.
Forget spending a fortune on specialized cleaning products or dedicating entire weekends to scrubbing. These hacks utilize everyday items, clever techniques, and a dose of practicality to help you reclaim your space and start the season feeling refreshed – not exhausted. Ditch the pressure and embrace a spring cleaning routine that actually feels good.
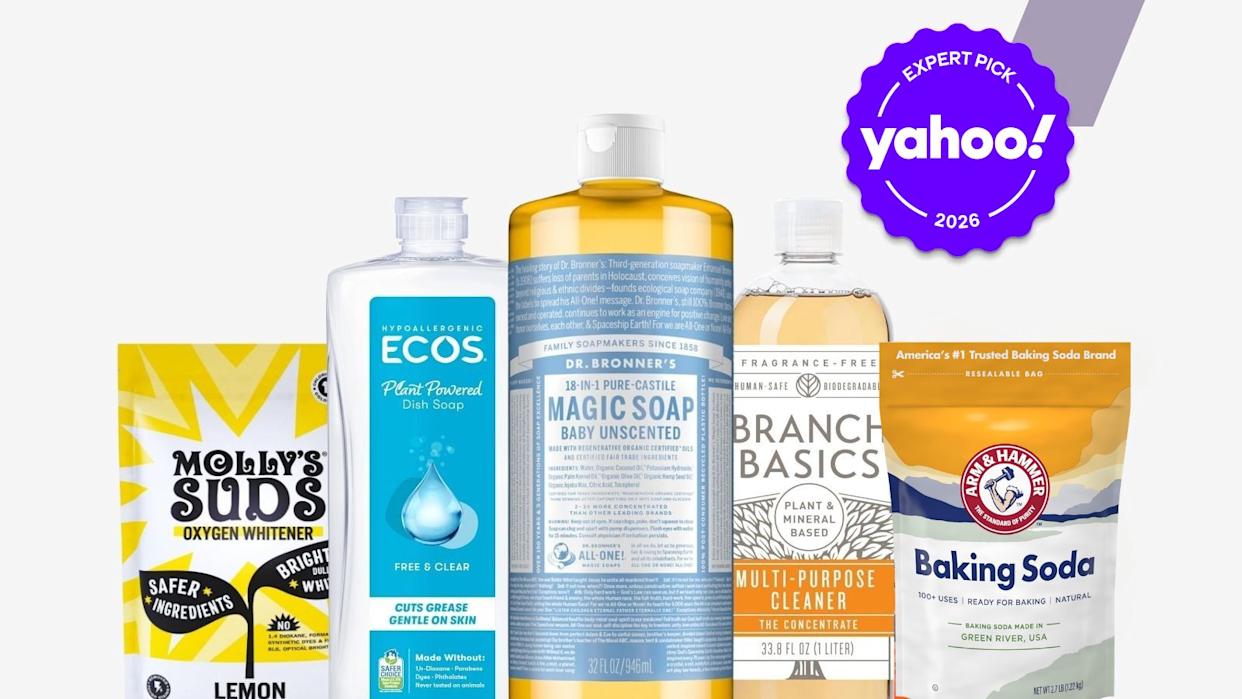
Ditch the Expensive Sprays: DIY Cleaning Solutions That Actually Work
Save money and reduce your environmental impact by ditching store-bought cleaning sprays and embracing DIY solutions. Simple ingredients can be surprisingly effective. A classic all-purpose cleaner is a 50/50 mix of white vinegar and water – it cuts through grease, disinfects surfaces, and leaves a streak-free shine.
For sparkling windows and glass, combine a cup of water, a tablespoon of white vinegar, and a teaspoon of cornstarch in a spray bottle. The cornstarch helps prevent streaks. To give your laundry detergent a boost and brighten whites, add half a cup of baking soda to your wash. It’s a natural deodorizer and helps soften water. These are all ingredients you likely already have on hand!
You can even infuse your cleaners with pleasant scents using citrus peels. Let lemon, orange, or grapefruit peels steep in white vinegar for a few weeks to create a naturally fragrant cleaning solution. This repurposes kitchen waste and adds a fresh, uplifting aroma to your home.
Important safety note: never mix vinegar with bleach, as this creates toxic chlorine gas. Always test any DIY cleaner in an inconspicuous area first to ensure it doesn’t damage the surface. Switching to DIY cleaners isn’t just good for your wallet and the planet; it’s also a step towards a healthier home.
- All-Purpose Cleaner: 1 cup white vinegar + 1 cup water
- Glass Cleaner: 1 cup water + 1 tbsp white vinegar + 1 tsp cornstarch
- Laundry Booster: 1/2 cup baking soda per load
Spring Cleaning SOS: Messes & Fixes
- Grease Buildup (Stovetop, Oven) - Combine equal parts baking soda and water to form a paste. Apply, let sit for 15-20 minutes, then scrub. For tougher grease, add a few drops of dish soap (like Dawn).
- Hard Water Stains (Showerhead, Faucets) - Soak a cloth in white vinegar and wrap it around the affected area for at least an hour, or overnight for stubborn stains. Rinse thoroughly. Consider using a plastic bag secured with a rubber band for showerheads.
- Mildew on Shower Curtains/Doors - Mix 1 part bleach with 10 parts water. Spray onto mildewed areas, let sit for 10-15 minutes, then rinse thoroughly. Caution: Ensure adequate ventilation and avoid contact with skin and clothing.
- Grime on Kitchen Backsplash - Create a solution of warm water and a squirt of dish soap. Add 1/2 cup of baking soda for extra scrubbing power. Apply with a sponge and rinse well. A Magic Eraser can also be effective for stubborn spots.
- Soap Scum (Tile, Tub) - Combine baking soda and hydrogen peroxide into a paste. Apply to soap scum, let sit for 30 minutes, then scrub and rinse. This is a gentler alternative to harsh chemicals.
- Dingy Grout - Make a paste of baking soda and water. Apply to grout lines, let sit for 10-15 minutes, then scrub with an old toothbrush. For heavily stained grout, consider a grout brush.
- Dust Buildup on Blinds - Use a microfiber cloth dampened with a solution of water and a small amount of dish soap. Alternatively, a Swiffer Duster is excellent for quick dust removal.
The Rubber Broom Shower Trick: Seriously, It's a Game Changer
Using a rubber broom to clean your shower is a game-changer. Forget endlessly scrubbing with sponges and brushes – the rubber bristles attract hair and grime like a magnet, making cleanup incredibly fast and easy.
Simply spray your shower walls and door with water, then use the rubber broom in sweeping motions. The rubber conforms to the shape of the surfaces, lifting away soap scum, mildew, and loose debris. It picks up a surprising amount!
This technique works wonders on all types of shower surfaces – tile, glass, and even acrylic. It’s particularly effective at removing hair, which can be a nightmare to get rid of with traditional methods. This method has significantly reduced my shower cleaning time. It’s a simple switch with a big impact.
You can find rubber brooms at most hardware stores or online retailers for around $10-$20. It’s a small investment for a cleaning tool that will save you time and effort for years to come. Check out this video for a demonstration: https://m.youtube.com/watch?v=21R8oT-H9zE.
Rubber Broom SHOWER HACK! ✨ Sparkling Clean in SECONDS! (Before & After)
Sparkle & Shine Home
Watch on YouTube →Washing Machine Deep Clean: Dishwasher Tablets to the Rescue
Your washing machine works hard to keep your clothes clean, but it often gets overlooked when it comes to cleaning itself. Over time, detergent residue, fabric softener buildup, and mineral deposits can accumulate inside the drum, leading to odors and reduced performance. A dishwasher tablet can help with this!
To deep clean your washing machine, simply drop one dishwasher tablet (like Cascade or Finish) into the empty drum, and run a hot water cycle. The tablet’s cleaning agents will dissolve and break down the buildup, leaving your washing machine fresh and clean. It's a surprisingly effective and inexpensive cleaning method.
However, it’s important to note that this method shouldn’t be used with every wash. I recommend doing this every 3-6 months, depending on how frequently you use your washing machine. Also, be sure to clean the detergent dispenser regularly to prevent buildup. A quick wipe-down with a damp cloth after each wash can make a big difference.
This method is best for standard top-load or front-load washing machines. Consult your washing machine’s manual before using this method, especially if you have a high-efficiency (HE) machine.
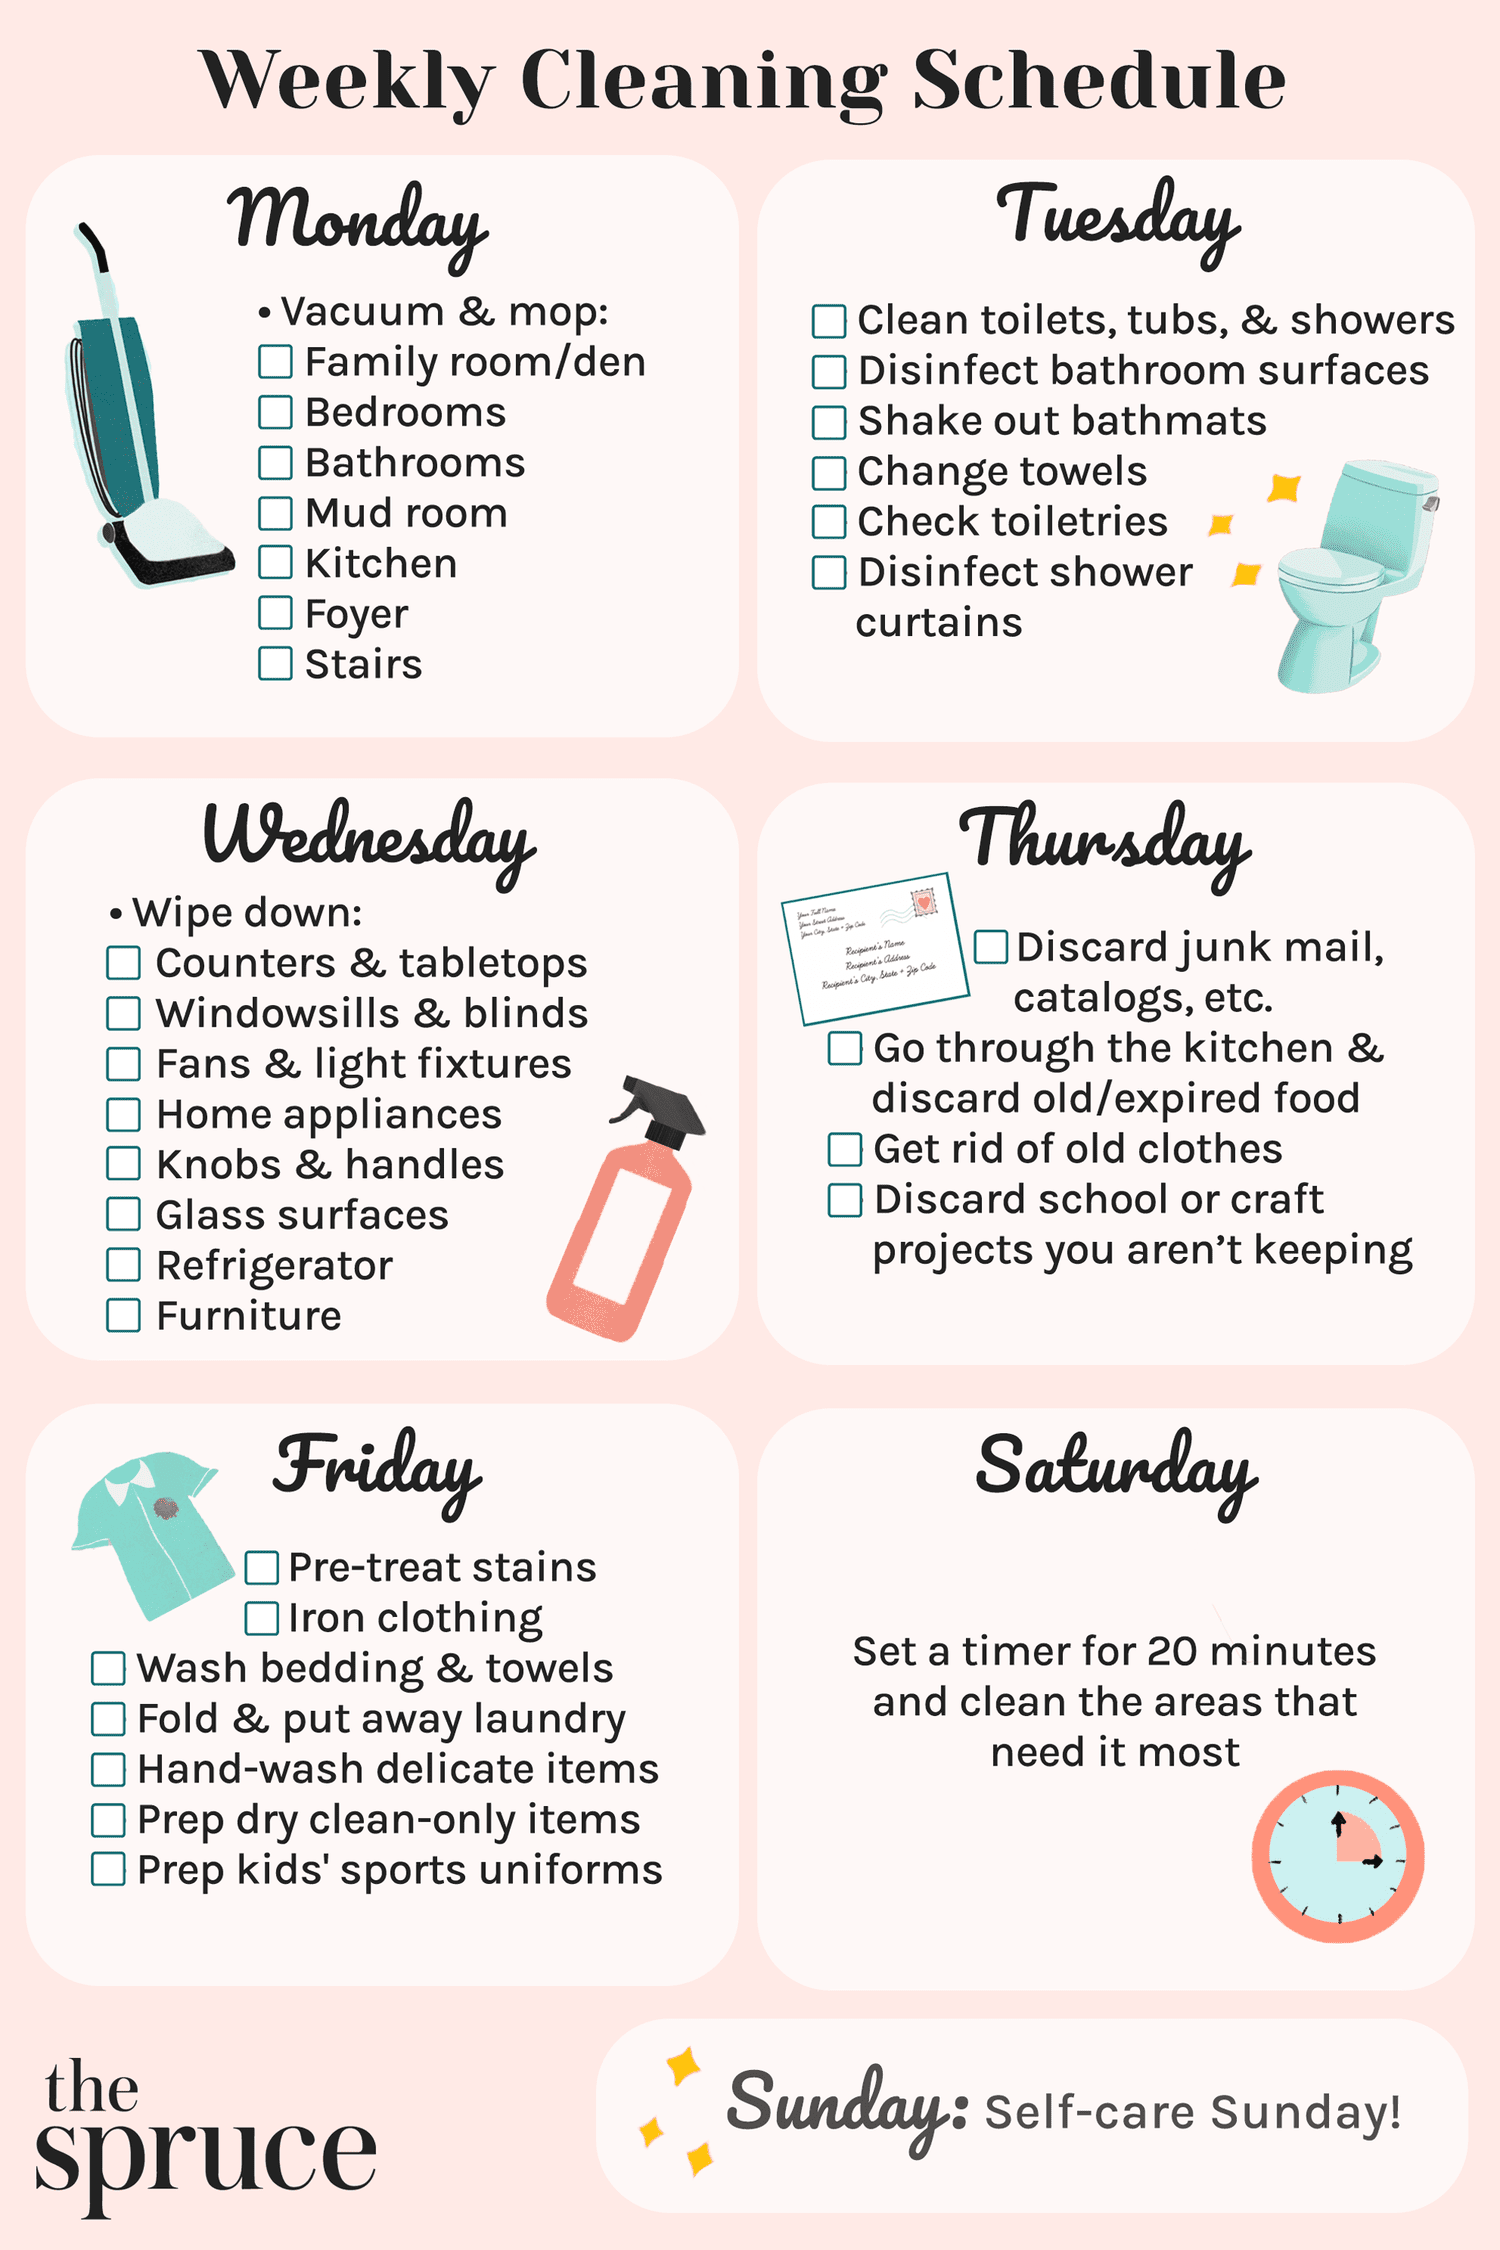
Speed Cleaning Strategies: The 20-Minute Blitz and Beyond
Feeling overwhelmed by the thought of a full-day cleaning marathon? Break it down into manageable chunks with speed cleaning strategies. The 20-minute rule is a fantastic starting point: set a timer for 20 minutes and focus intensely on cleaning one specific area, like the kitchen counters or the bathroom sink. When the timer goes off, stop – even if you’re not finished.
The key is to maintain focus and avoid getting sidetracked. Put on some upbeat music to stay motivated and tackle the task with energy. You’ll be surprised at how much you can accomplish in just 20 minutes. Then, take a short break before tackling another area.
I’ve also heard people recommend the 5x5 method: clean for 5 minutes, then take a 5-minute break. Or the 3:30 rule: 3 minutes of cleaning, 30 seconds of break. These are strategies people have found helpful, though their origins are a bit murky. The underlying principle is to work in short bursts with frequent breaks to prevent burnout.
The goal is to make cleaning less daunting and more sustainable. By breaking it down into smaller, time-bound tasks, you can maintain a consistently clean home without feeling overwhelmed. Don’t strive for perfection; strive for progress.
Unconventional Cleaning Tools: Think Outside the Box
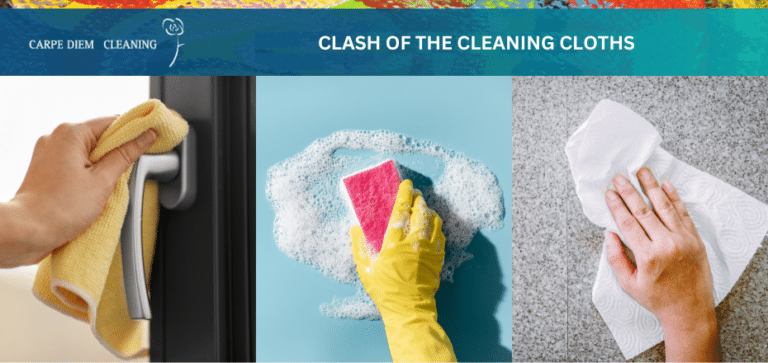
Sometimes, the best cleaning tools aren't the ones marketed specifically for cleaning. Get creative and look around your home for items you can repurpose. Microfiber cloths, for example, are amazing for streak-free windows and mirrors – they’re far more effective than paper towels.
Old toothbrushes are perfect for scrubbing grout, reaching tight corners, and cleaning around faucets. Coffee filters are surprisingly effective for dusting electronics, as they won’t leave behind lint or residue. A squeegee isn’t just for windows; it’s great for wiping down shower doors and walls.
Don't underestimate the power of a simple rubber glove. Run it over upholstery to easily collect pet hair and dust. A lint roller is another essential for removing pet hair from furniture and clothing. These are all inexpensive, readily available items that can make your cleaning routine much easier.
The key is to think outside the box and experiment. You might be surprised at what you discover. A little creativity can go a long way in making your cleaning routine more efficient and enjoyable.
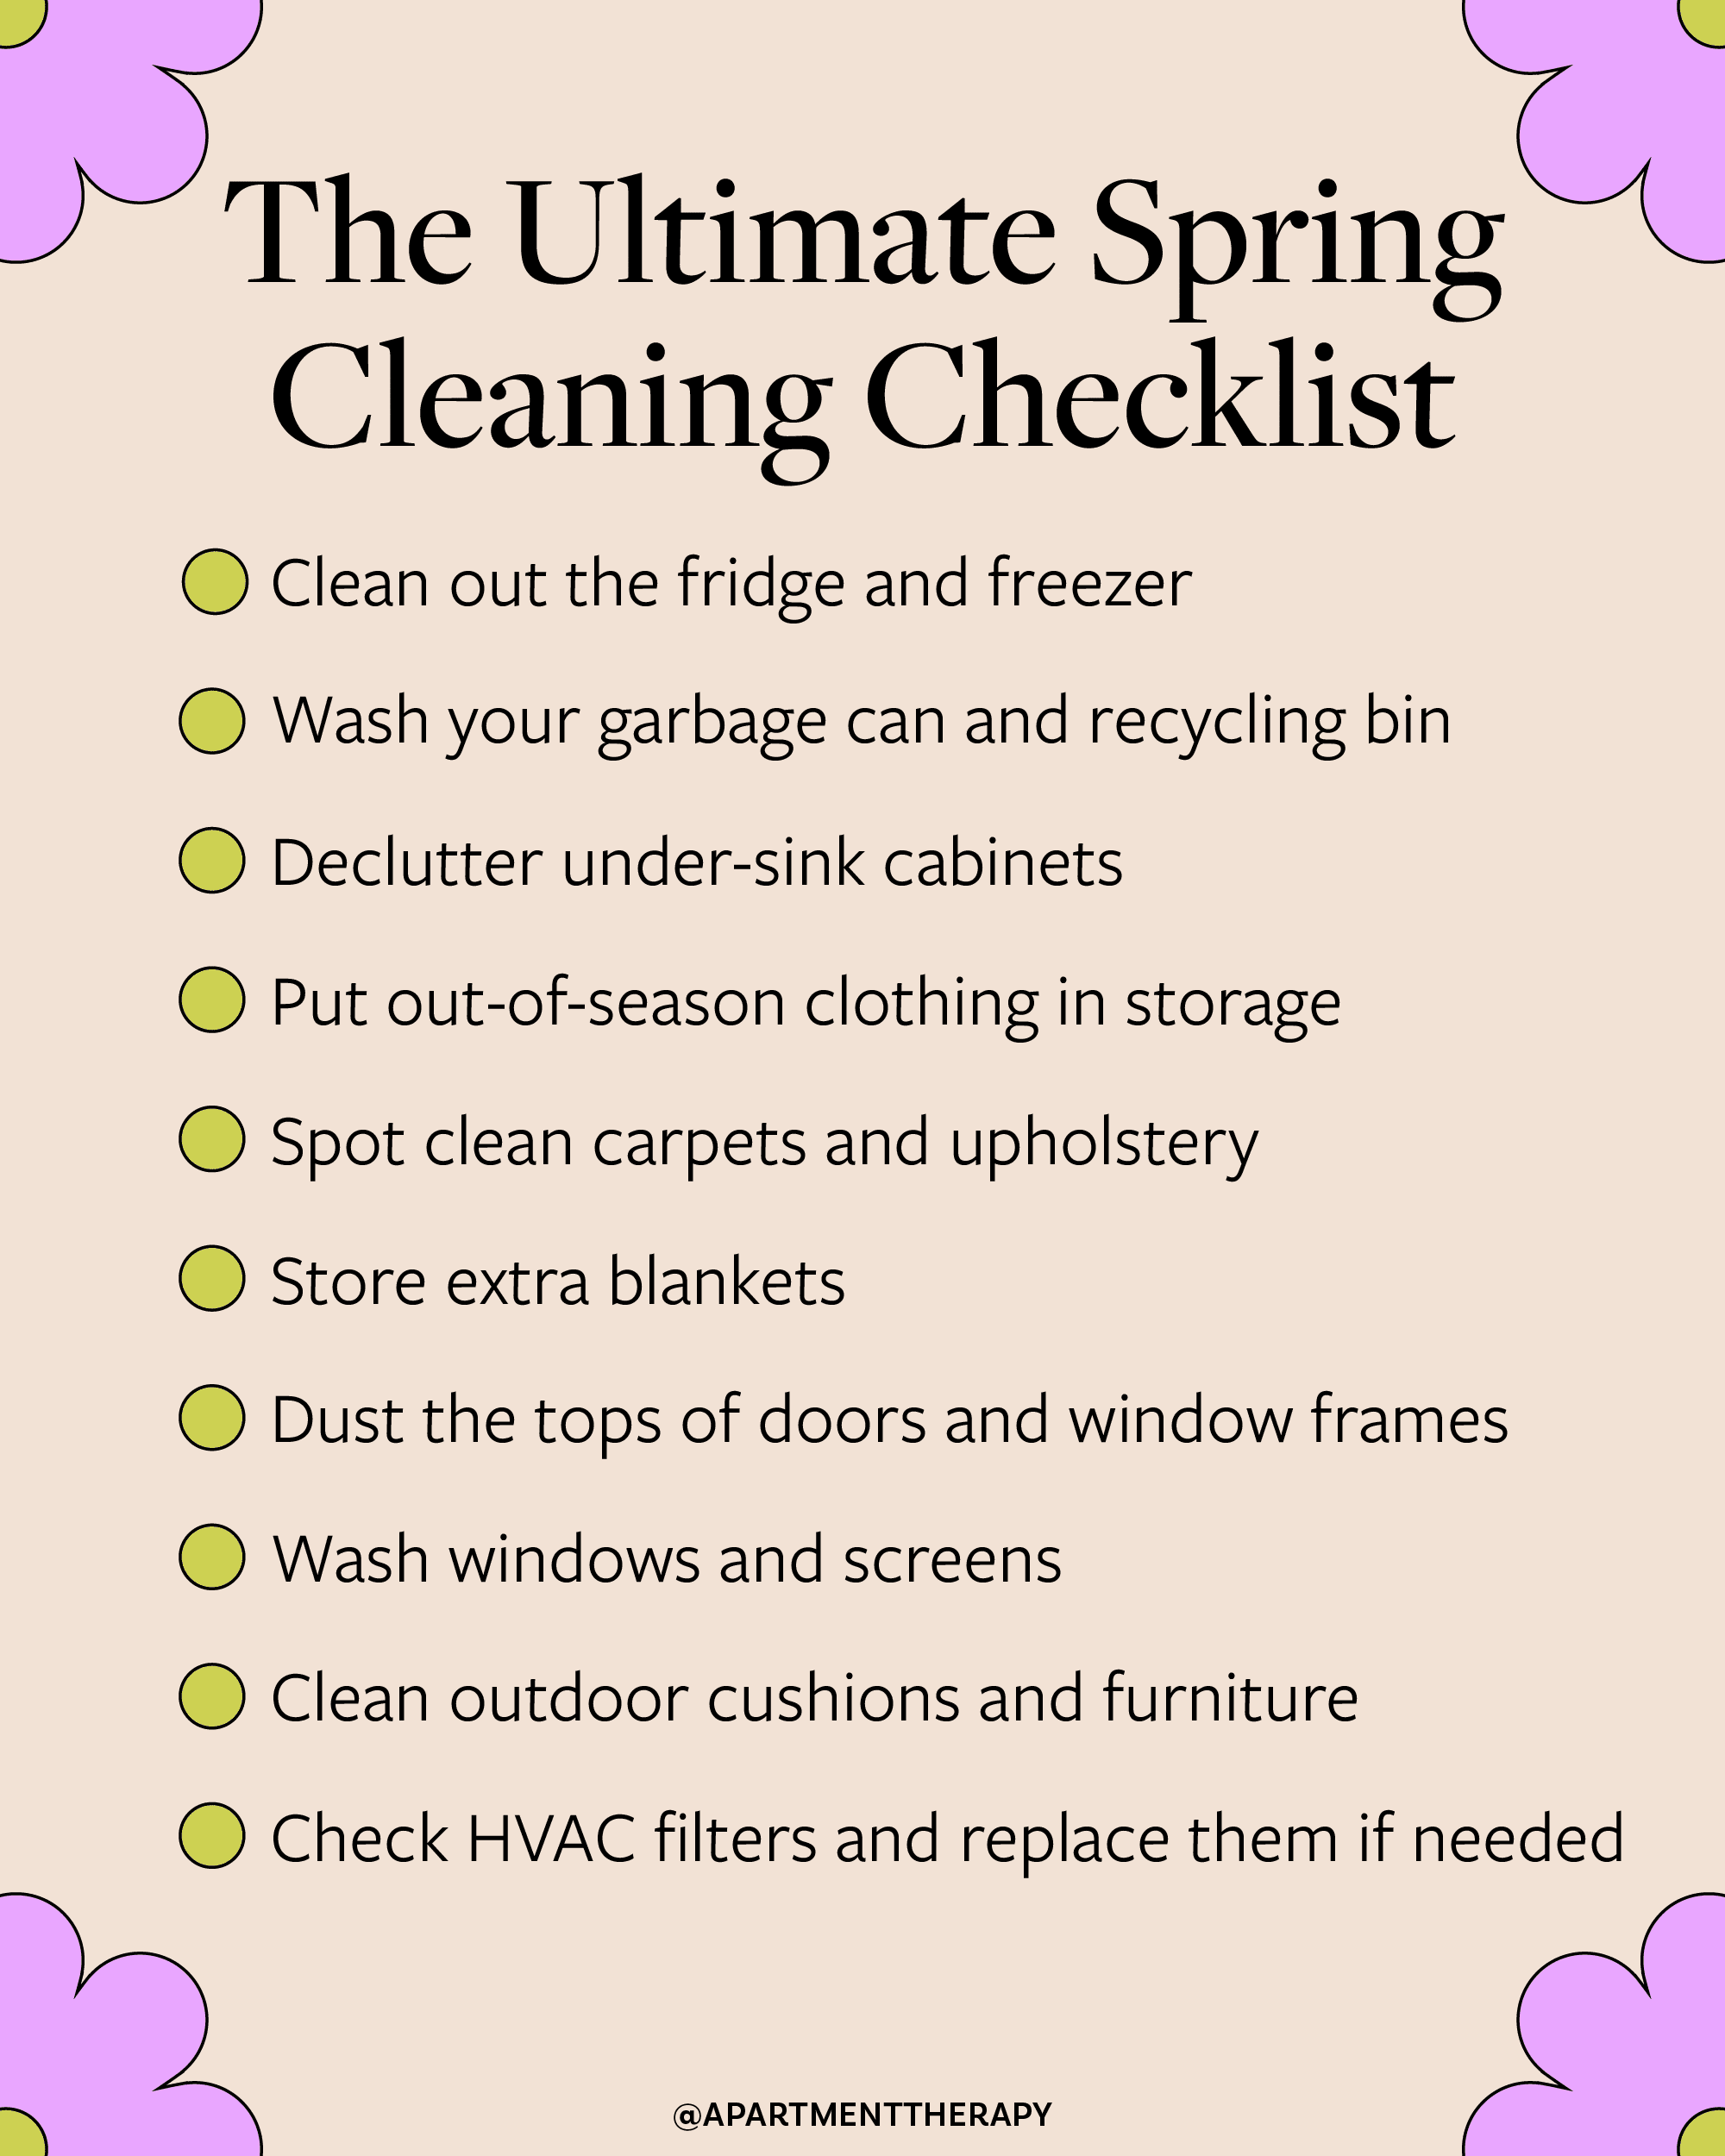
Decluttering as Cleaning: The First Step to a Sparkling Home
Before you even think about scrubbing and polishing, take the time to declutter. It’s easy to skip this step, but it’s absolutely essential for a truly clean and organized space. Getting rid of unnecessary items makes cleaning easier, faster, and more effective.
A great starting point is the four-box method: label four boxes "keep,’ ‘donate,’ ‘trash,’ and ‘relocate." Go through each room and sort your belongings into these boxes. Be honest with yourself about what you actually use and need. The one-in-one-out rule is also helpful: for every new item you bring into your home, get rid of one old item.
Focus on one area at a time to avoid feeling overwhelmed. Start with a single drawer, a shelf, or a corner of a room. Once you’ve decluttered, you’ll be amazed at how much easier it is to clean and maintain the space. A clutter-free home is a calmer, more peaceful home.
Decluttering isn’t just about physical space; it’s also about mental space. Letting go of things you no longer need or use can be incredibly liberating. It’s a crucial step towards creating a home that feels truly comfortable and inviting.
What's the biggest clutter challenge in your home?
Spring cleaning season is here, and tackling clutter is often the first hurdle. We want to know what area gives you the most trouble so we can share targeted tips and hacks to help you conquer it. Vote below!
Pet-Proofing Your Spring Cleaning Routine
If you share your home with furry friends, spring cleaning presents a unique set of challenges. Pet hair, odors, and potential hazards require extra attention. Luckily, there are plenty of ways to keep your home clean and your pets safe.
Lint rollers are your best friend when it comes to pet hair removal. Keep several on hand for quick cleanups of furniture, clothing, and carpets. Rubber gloves are also surprisingly effective at lifting pet hair off upholstery. For odor control, baking soda is a natural and safe deodorizer. Sprinkle it on carpets and upholstery, let it sit for 15-30 minutes, then vacuum it up.
When cleaning, it’s crucial to use pet-friendly cleaning products. Avoid harsh chemicals that could be harmful to your pets. Enzymatic cleaners are particularly effective at breaking down pet messes and eliminating odors. And always keep your pets out of the cleaning area until the surfaces are dry.
Consider investing in a good pet hair vacuum with strong suction and specialized attachments. Regular grooming will also help reduce shedding and keep your home cleaner. A little extra effort can go a long way in maintaining a clean and healthy home for both you and your beloved pets.
No comments yet. Be the first to share your thoughts!