

Start with the dishwasher filter
If your dishes come out with gritty residue or a faint, sour smell, the dishwasher filter is usually to blame. This component sits at the bottom of the tub and catches food particles, grease, and starch before they recirculate. Over time, it becomes a breeding ground for bacteria and mold. Cleaning it takes less than five minutes but makes a noticeable difference in how your kitchen smells and how clean your plates come out.
Remove and inspect the filter
Most dishwashers use a twist-and-lift mechanism. Locate the cylindrical filter assembly under the spray arm. Twist the outer cage counter-clockwise and lift it out. You will likely see a layer of sludge or trapped debris. If the filter is cracked or the mesh is torn, it needs replacement rather than cleaning.
Rinse and scrub
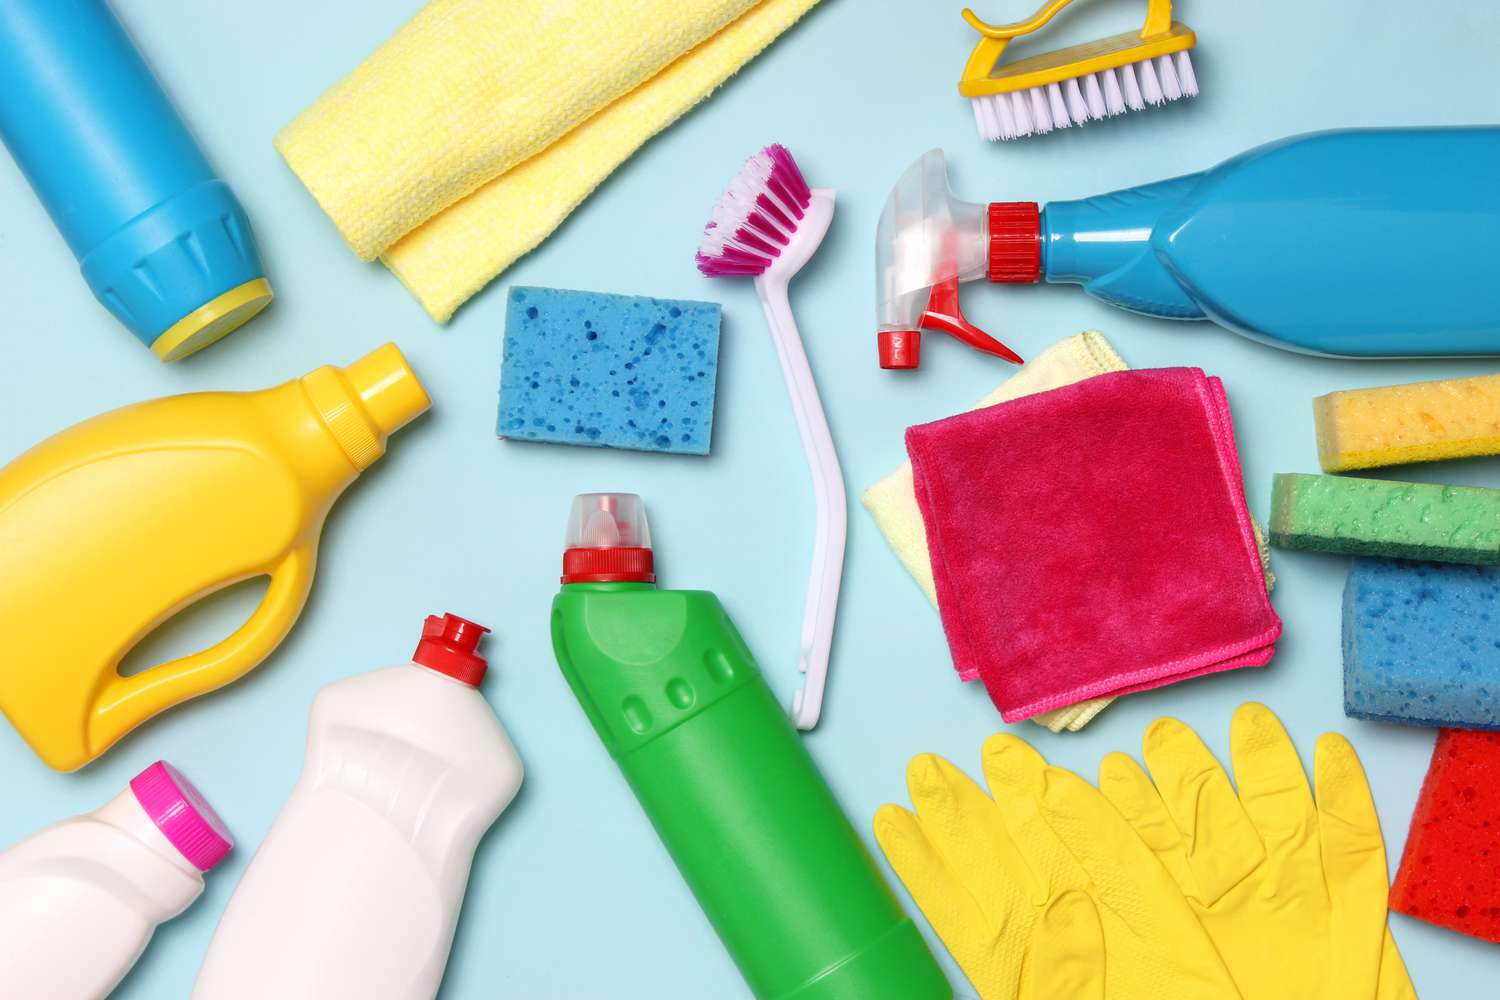
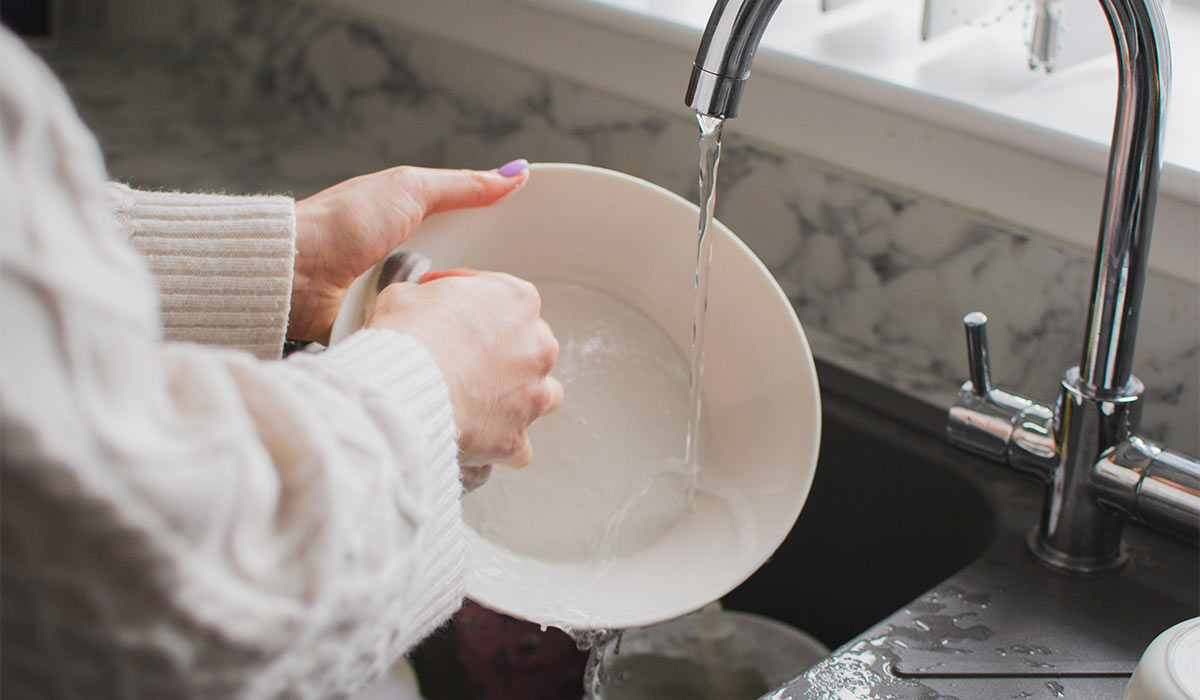
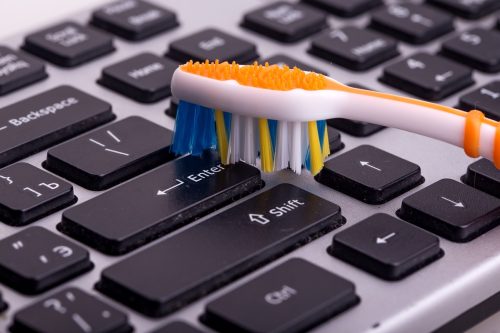
Take the filter to the sink and rinse it under warm water. Use an old toothbrush or a soft brush to scrub away stuck-on food. For stubborn grease, a drop of dish soap works well. Avoid harsh abrasives that could damage the mesh. If the filter is heavily soiled, soak it in warm, soapy water for ten minutes before scrubbing.
Wipe the housing
While the filter dries, wipe out the empty slot in the dishwasher with a damp cloth. This removes any loose particles that fell out during removal. A clean housing ensures the filter seats properly, preventing leaks or poor filtration. Reinsert the filter, align the tabs, and twist clockwise until it locks into place.
Polish stainless steel with olive oil
Streaks and fingerprints are the enemy of a clean kitchen, but standard glass cleaners often leave behind a hazy film or worse, introduce harsh chemicals to surfaces you cook on. When your appliances look dull despite regular wiping, the issue is usually a buildup of oils and residue that water-based sprays can't fully lift.
Applying a small amount of olive oil to a microfiber cloth offers a simple, eco-friendly solution. The oil acts as a natural polish, filling in microscopic pores in the steel and creating a barrier that repels future fingerprints. This method restores shine without the risk of toxic fumes or chemical residue.
Start with a clean, dry surface. Apply just a few drops of olive oil to a soft microfiber cloth—using too much will leave a greasy mess. Buff the stainless steel in the direction of the grain using gentle, circular motions. For stubborn smudges, let the oil sit for a minute before buffing it out.
Finish by wiping the surface with a clean, dry part of the cloth to remove any excess oil. This leaves your appliances gleaming and protected. As noted in cleaning guides like The Kitchn, this technique is a staple for maintaining stainless steel without harsh chemicals [src-serp-3].
Deodorize fridge with coffee grounds
The smell of stale leftovers and forgotten produce can linger in your refrigerator long after you’ve tossed the trash. Instead of reaching for synthetic sprays or expensive charcoal bags, start by checking your coffee stash. Used coffee grounds are a powerful, natural absorbent that neutralizes odors without leaving a chemical residue or artificial scent behind.
The process is simple and requires almost no effort. Begin by drying the grounds thoroughly to prevent mold; you can spread them on a baking sheet or let them air-dry for a day. Once dry, place them in a shallow, open container like a bowl or a mason jar. Position this container on a middle shelf in your fridge, away from strong-smelling foods like onions or garlic.
The porous structure of the coffee grounds traps odor-causing molecules effectively. Check the container weekly and replace the grounds every two to three weeks, or whenever you notice the scent fading. This method not only keeps your fridge smelling fresh but also recycles household waste, turning a daily ritual into a practical cleaning hack. For more unconventional cleaning solutions, The Kitchn highlights coffee grounds as one of the most effective natural deodorizers available.
Clean oven with shaving cream
Oven grime often looks like a lost cause. Burnt-on grease and sticky spills build up over time, turning the interior into a matte black mess that standard sprays can’t touch. Scrubbing it by hand is exhausting and usually ineffective.
Shaving cream offers a surprising solution. Most brands contain surfactants and mild abrasives designed to lift dirt without scratching surfaces. When applied to an oven, these ingredients work to break down the bond between the grease and the metal.
The real benefit is the wait time. This method relies on letting the cream sit overnight. During those hours, the formula softens the hardened grime so it wipes away easily the next morning. You skip the heavy elbow grease and the harsh fumes of commercial oven cleaners.
Step-by-step application
Make sure the oven is completely cool and remove all racks and trays. Wipe out any loose crumbs or debris from the bottom so the shaving cream can adhere directly to the baked-on stains.
Squeeze a generous amount of standard white shaving cream onto the interior surfaces. Focus on the areas with the heaviest buildup. You don’t need to scrub it in; just spread it evenly like frosting on a cake.
Leave the oven door closed and let the shaving cream sit for at least eight hours. This dwell time allows the chemicals to penetrate the grime, making it much easier to remove later.
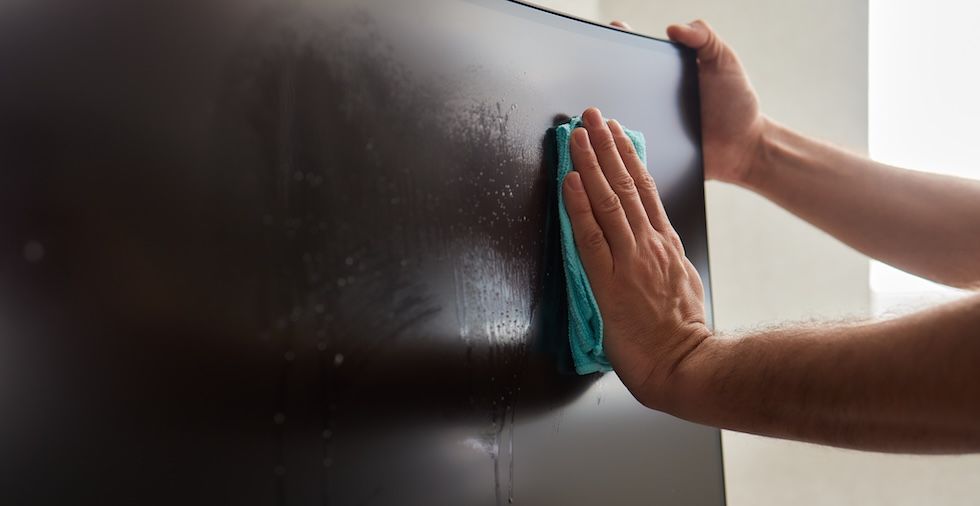
The next morning, use a damp microfiber cloth or sponge to wipe away the cream and dissolved grease. For stubborn spots, a gentle scrub with a non-abrasive pad should do the trick. Rinse thoroughly and dry with a clean towel.
Defog mirrors with shaving cream
Bathroom mirrors turn into opaque fog banks the moment you turn on the hot water. Wiping them down with a towel only pushes the moisture around, and the glass steams up again within seconds of stepping out of the shower. The solution is simpler than buying anti-fog sprays: use plain white shaving cream.
The lather in shaving cream contains surfactants that disrupt the surface tension of water. Instead of forming light-blocking droplets, moisture spreads into a thin, transparent film that doesn't obscure your reflection. It is a cheap, effective barrier that lasts through multiple showers.
Apply a thin layer of shaving cream to the mirror surface using a sponge or your hand. Let it sit for a minute to bond with the glass, then buff it off with a clean, dry microfiber cloth. The mirror will come out streak-free and resistant to fogging for several days.
Verify surface compatibility
You’ve picked out a bottle of degreaser and a new scrub brush, but before you spend the money, run a quick surface compatibility check. The biggest waste of time isn’t the cleaning itself—it’s buying a product that strips finishes or leaves permanent rings on your counters. Kitchen surfaces are surprisingly sensitive to pH levels, and what works on a stove top can ruin a marble island.
Start with the manufacturer’s care label or website. Most appliance brands and stone suppliers publish specific chemical restrictions. For example, acidic cleaners like vinegar or lemon juice can etch natural stone, while ammonia-based sprays can cloud glass cooktops. If the label is missing, test any new solution in a hidden corner. Wait ten minutes and look for discoloration or dulling.
Also, verify that your tools match the dirt type. Dry dusting or vacuuming before wet cleaning prevents sludge, which is a common reason DIY cleaners seem ineffective. If you’re buying a specialized tool, like a microfiber mop, ensure the pads are machine washable. Cheap, non-washable pads become a recurring expense that negates the initial savings.
Quick checklist
-
Match the sizeMake sure the cleaning hacks option fits your household, storage space, and normal batch size.
-
Check the materialChoose a material that handles heat, washing, and regular use without becoming a chore.
-
Plan the cleanupAvoid anything that needs more maintenance than you are likely to give it.
-
Keep one fallbackHave a simple backup option for rushed days.
No comments yet. Be the first to share your thoughts!