
Grease Traps 101: Your Kitchen's Unsung Hero
Ever wondered about the unsung hero of your kitchen, quietly working behind the scenes? Meet the grease trap, a critical component in both home and commercial kitchens. This silent sentinel diligently intercepts fats, oils, and grease, preventing them from wreaking havoc on your plumbing system. Keeping your kitchen sink drain gleaming is one thing, but how about the unseen grease trap?
Just like other home cleaning tasks, grease traps require regular maintenance to function optimally. Ignoring them can lead to unpleasant odors, clogged drains, and even health hazards. Whether you're a DIY enthusiast or prefer professional services, our comprehensive grease trap cleaning guide will equip you with essential knowledge. So, are you ready to dive into the world of grease trap maintenance and care?
Ever walked into a kitchen and been assaulted by a foul stench, so pungent it could only be the result of neglect? That, my friends, is the telltale sign of a grease trap screaming for attention. Ignoring your grease trap can lead to a host of issues, from clogging to a malodorous kitchen, and even potential health hazards. Imagine your kitchen appliances, the ones you use daily, being affected by this unattended grease trap. Not a pretty picture, is it?
Just as you wouldn't ignore a smelly oven or a dirty microwave, it's crucial to give your grease trap the care it needs. And while DIY methods can be effective, knowing when to call in professional grease trap services is key to maintaining a clean, efficient kitchen. So, ready to delve into the world of grease trap maintenance?
Be Your Own Hero: DIY Grease Trap Cleaning Guide
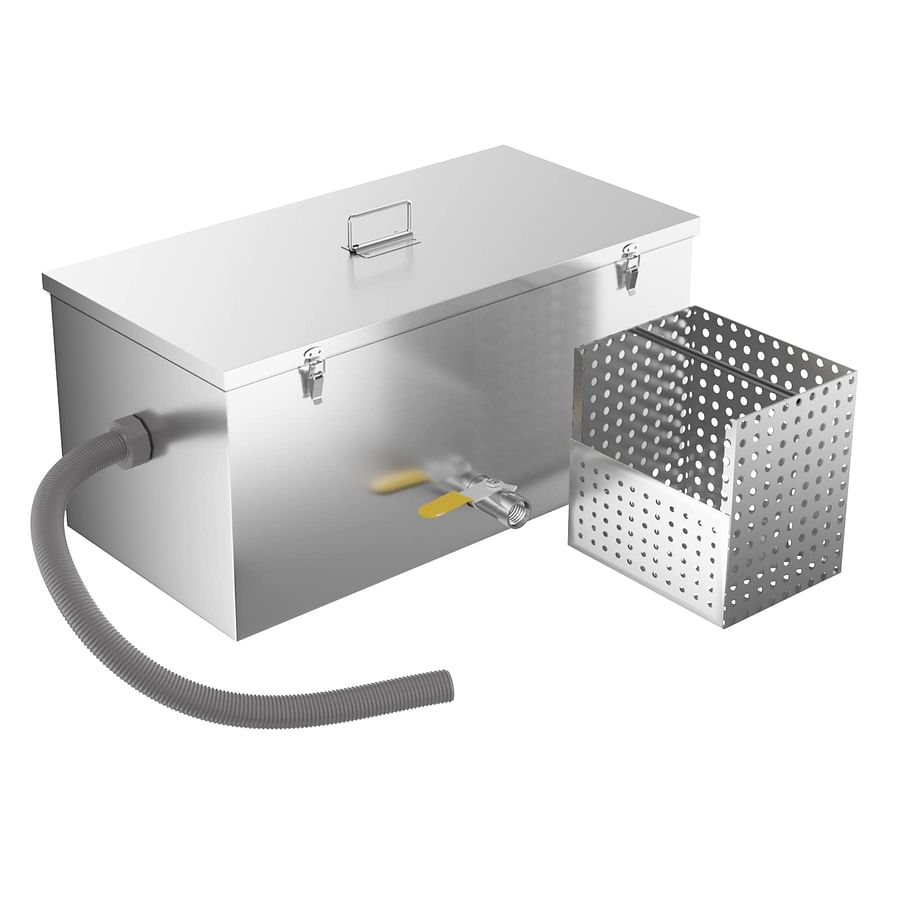
Now that you understand the importance of keeping your grease trap clean, let's dive into the step-by-step process of doing it yourself. Remember, this task requires patience and a bit of elbow grease, but it's completely doable with the right guidance.
Your Step-by-Step Guide to DIY Grease Trap Cleaning

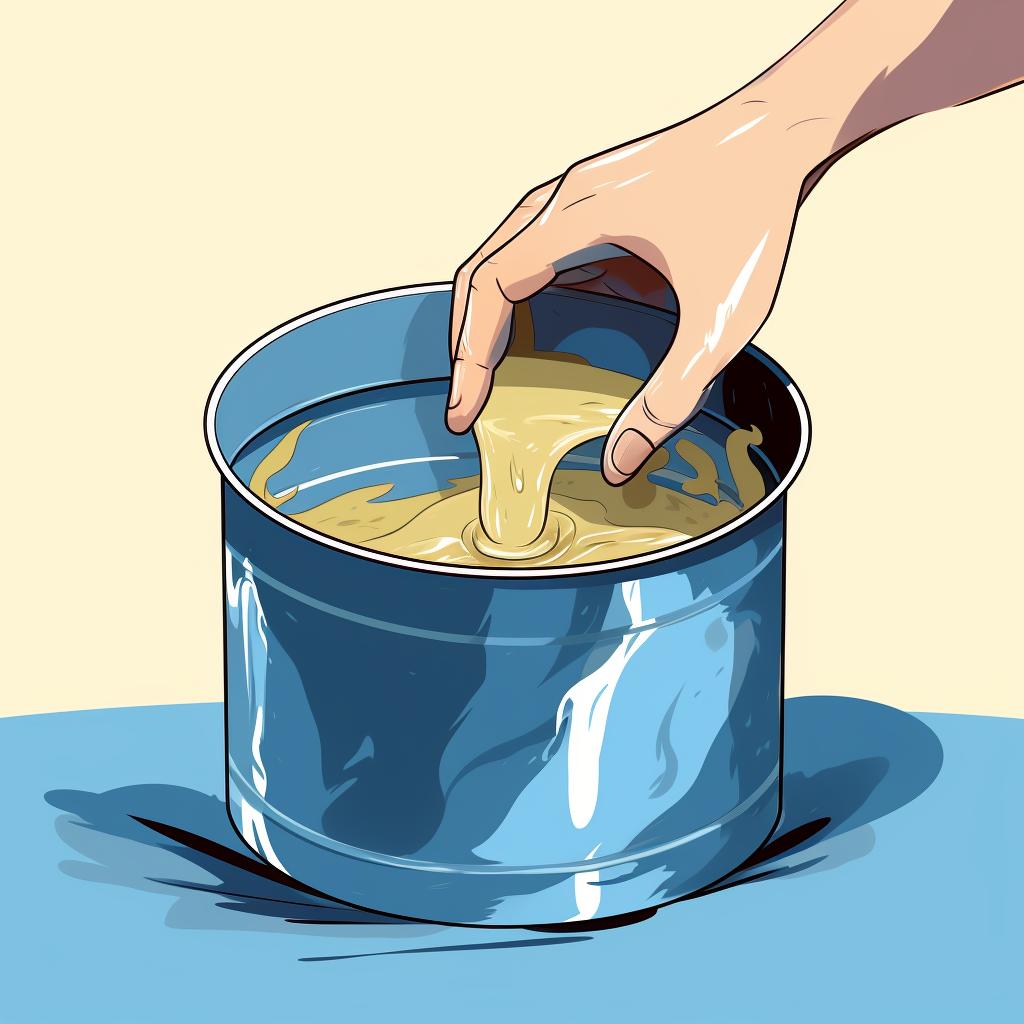

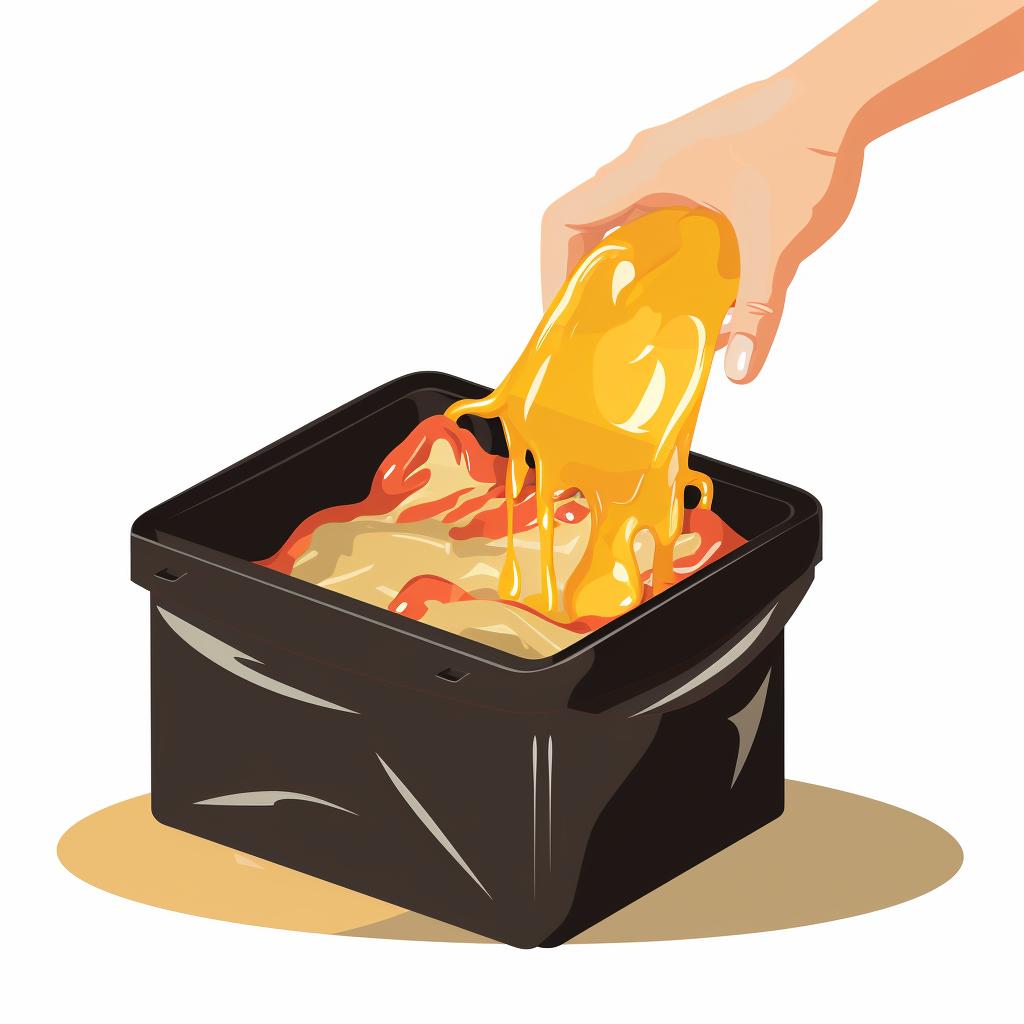
Learn more about 🔧 Your Step-by-Step Guide to DIY Grease Trap Cleaning or discover other Clean Envy guides.
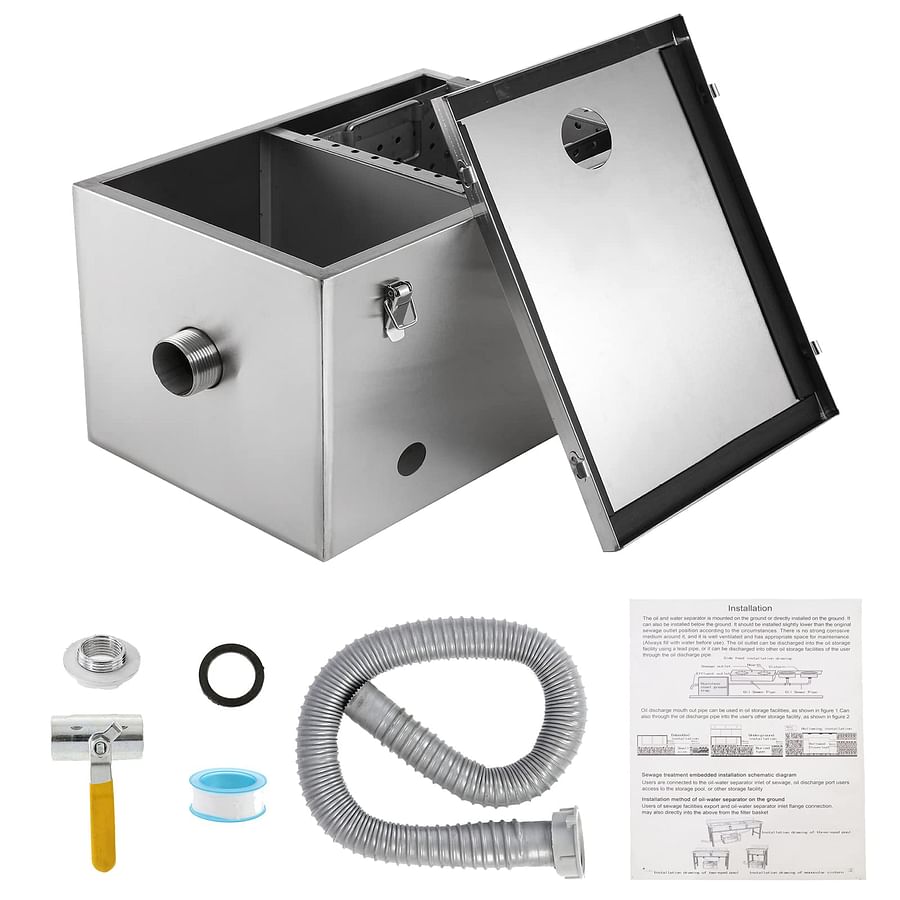
With these steps, you should be able to effectively clean your grease trap. However, remember that this is a dirty job, and it's important to clean up thoroughly afterwards. Up next, we'll look at the essential tools you'll need for this task.
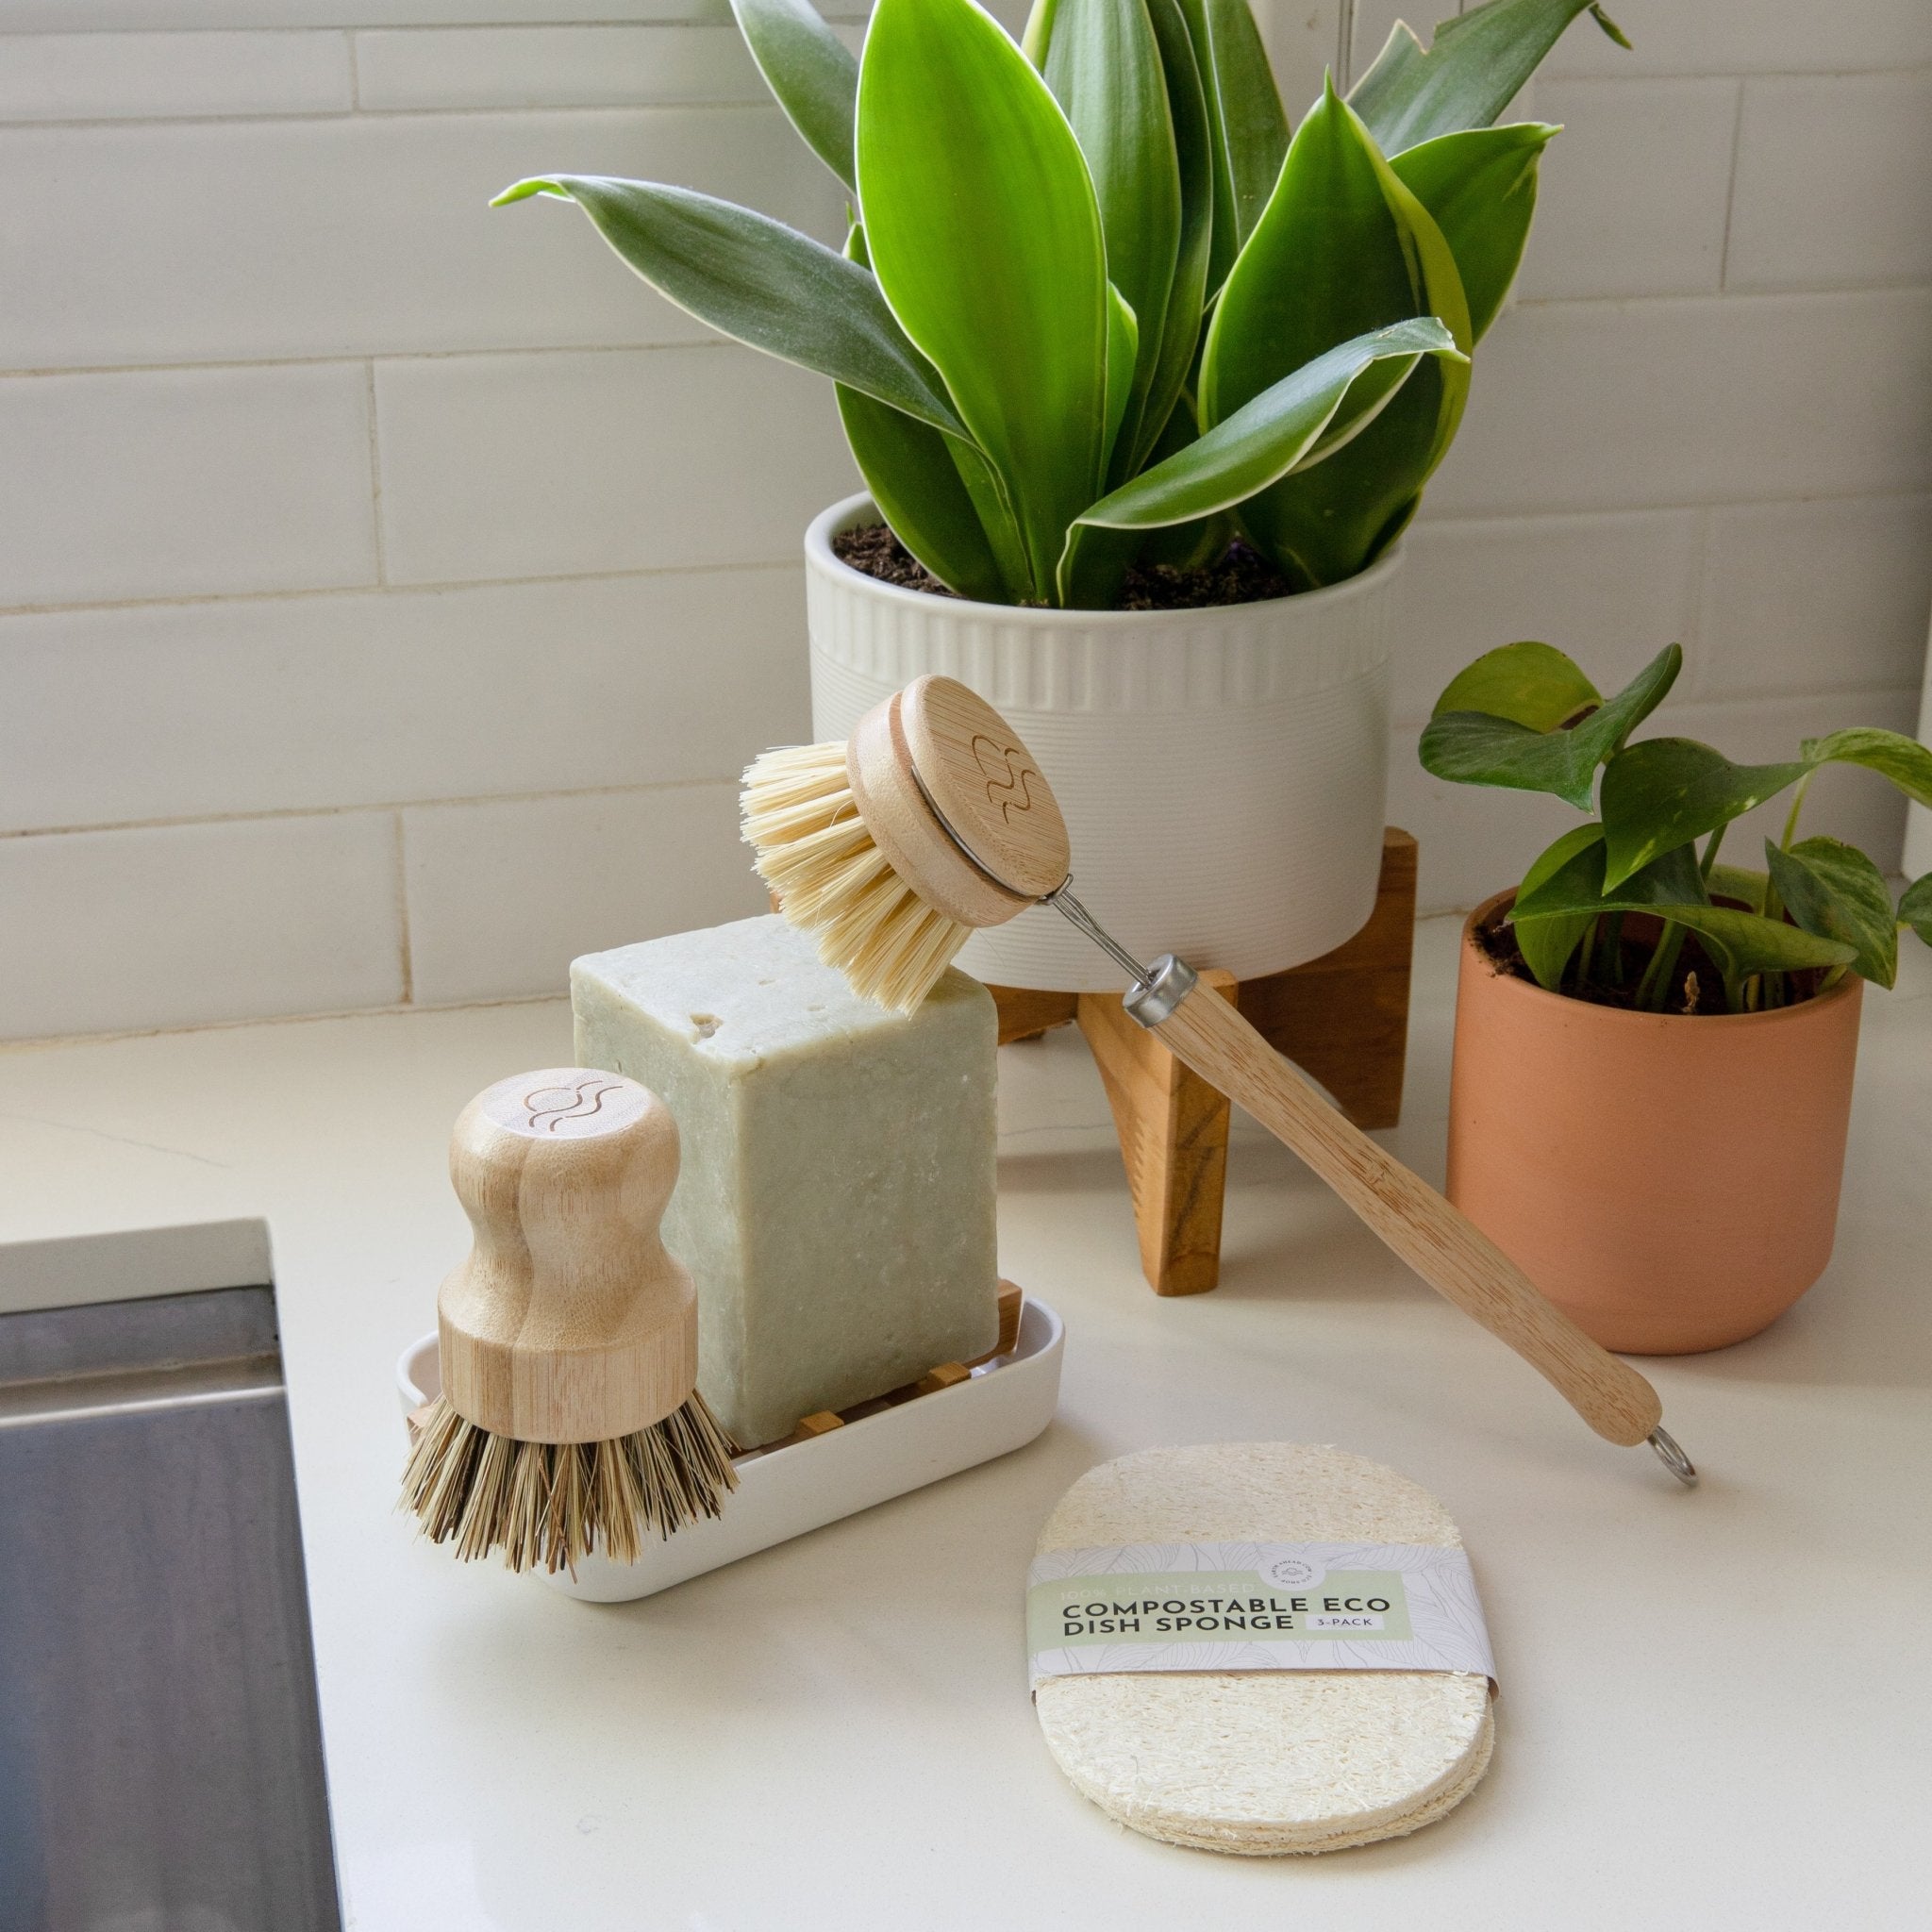
Now that you've cleaned your grease trap, it's time to ensure it stays in top shape between professional cleanings. Regular maintenance is key to preventing clogs and foul odors, and it's not as daunting as it might sound. Start by monitoring your grease trap frequently for signs of buildup. If you notice a rapid increase in grease levels or persistent foul odors, it may be time for a thorough cleaning.
Another handy kitchen cleaning tip is to avoid pouring oils or food scraps directly into the sink, as these can quickly clog your grease trap. Remember, a well-maintained grease trap is not just about cleanliness - it's about the health and safety of your kitchen. Need more home cleaning advice? Check out these expert tips and time-saving tricks to keep your home sparkling clean.
Now that you're aware of the importance of maintaining your grease trap, here's a handy checklist to guide you through the process. This will help you avoid common issues and keep your kitchen running smoothly.
Remember, while DIY maintenance is essential, there are times when professional help is necessary. Let's look at when you should call the professionals.
Know the Signs: When is it Time to Call in the Grease Trap Pros?
Just as you wouldn't let your air fryer get gunked up with grease, your grease trap needs the same level of care. But when do you need to wave the white flag and call in the professionals for grease trap maintenance? If your DIY cleaning isn't cutting it, if you're noticing persistent foul odors, or if your drain is slow, it's time to consider professional grease trap services.
While it might feel like a defeat, it's actually a strategic move. Professionals have the tools and expertise to perform a deep clean, reaching areas you can't. Plus, improper DIY grease trap cleaning can lead to bigger problems down the line, like blockages and even health hazards. So, is it time to swap your kitchen cleaning tips for the pros? Check out our cost comparison on DIY vs professional services to make an informed decision.
To help give you a better idea of what professional grease trap cleaning looks like, we've sourced a video that provides an in-depth look at the process.
Now that you understand what a professional grease trap cleaning process looks like, let's discuss how to choose the right service for your needs.
Choosing Your Grease Trap Guardian: A Guide to Professional Services
Embarking on the quest of grease trap maintenance may feel like stepping into an epic battle against grime and filth, but it doesn't have to be. With the right armor - knowledge, a kitchen cleaning tip or two, and a reliable professional service when needed - victory is within reach. But how do you know when your DIY efforts are enough, and when to call in the reinforcements?
Take a moment to reflect. Think about the last time you experienced the unpleasant surprise of a rogue odor in your kitchen, or the inconvenience of a clogged sink. Could proper grease trap care have prevented it? And do you feel equipped to tackle it yourself next time?
Remember, the key isn't just to fight the battles, but to prevent them. So arm yourself with knowledge, and make the right choices for your kitchen's defense.
Does Your Grease Trap Need Professional Cleaning?
Take this quiz to determine if your grease trap needs professional attention or if you can handle it yourself.
Learn more about 🧼 Does Your Grease Trap Need Professional Cleaning? 🧽 or discover other Clean Envy quizzes.
Got Questions? We've Got Answers: Your Grease Trap Cleaning FAQ
We know that grease trap cleaning can be a confusing topic, so we've compiled some of the most frequently asked questions to help you out.
We hope this FAQ section has answered your questions about grease trap cleaning. Remember, a clean grease trap is essential for a healthy, functional kitchen. Don't hesitate to call in the professionals when needed.


No comments yet. Be the first to share your thoughts!